Screenshots are a handy way to save the content of your display or screen as an image file. You can also use them to take digital notes and use them in other applications like PowerPoint or Word Documents.
Windows 11 comes with in-built apps like the Snipping tool for taking screenshots. Moreover, you can just press some keyboard shortcuts or keys like the Prnt Scr for taking a quick screenshot.
Here, we have listed all the possible ways to take screenshots in Windows using the pre-installed apps and features.
Take Screenshots using the Print Screen Key
This is perhaps the oldest method for taking screenshots on personal computers. In Older operating systems like MS-DOS pressing the Print screen key would take the content of the screen from the memory buffer and send it to the computer’s printer port. It would actually print a hard copy of the screen content if a printer was connected to the computer.
However, in modern computers, this key would take a screenshot and save it as a bitmap or PNG image file. The Prnt Scr key is usually present in the top most row of the keyboard, at the end of the Function keys.
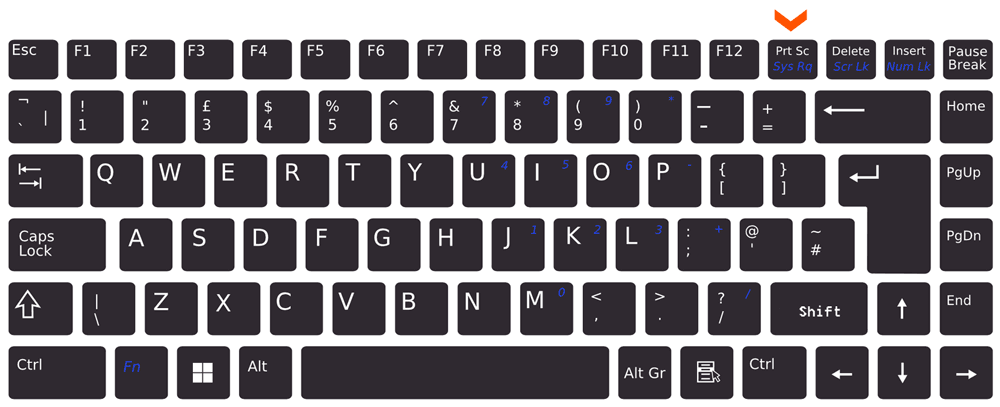
To take a screenshot you just have to press this key once. In some laptop models, you may have to press the Fn key along with the Prnt Scr key to take a screenshot.
The screenshot would be copied to the clipboard. You will have to open an app which supports pasting of an image file in order to save the screenshot. You can paste the screenshot in applications like MS-Paint, Paint 3d, Adobe Photoshop, Word, PowerPoint etc.
For instance, you can open Paint and then press the Ctrl + V shortcut to paste the screenshot. Then save it in JPG or PNG format.
Save the Screenshot using Windows + Print Screen Key
This method is useful when you want to take the screenshot and instantly save it to a default location or folder on your computer. Just pressing the Print Screen key would copy the screenshot to the clipboard but it’s not saved on your hard drive.
On the other hand, Windows + Prnt Scr key combination would save the Screenshot to the following location on your computer. (Replace the username with your username)
C:\Users\username\Pictures\Screenshots
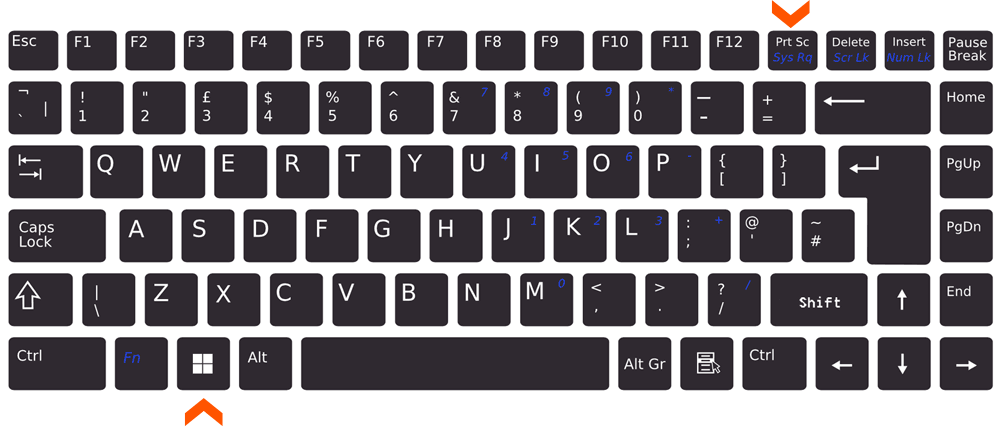
NOTE: In some laptops, you may have to press the Win + Fn + Prnt Scr key to save the screenshot.
The Screenshot file would be saved in the PNG file format.
Take Screenshot of the Active Window
Pressing the Alt + Prnt Scr key would take the screenshot of the active window on your screen. It would only take the screenshot of the selected window and exclude everything else on the screen from the final image.
Note: You may have to press Fn + Alt + Prnt Scr key on some laptop models to take the Window screenshot.
The screenshot would be copied to the clipboard and can be pasted in supported applications like Paint, Word, PowerPoint or Photoshop.
You can open Paint and press Ctrl + V to paste the screenshot. Then save it in the desired file format.
Take Screenshot with the Snipping Tool
The Snipping tool is a dedicated app solely developed for taking screenshots in Windows. There are two ways to take a screenshot using the Snipping tool. You can either open the app window or press the Win + Shift + S shortcut to directly take the screenshot.
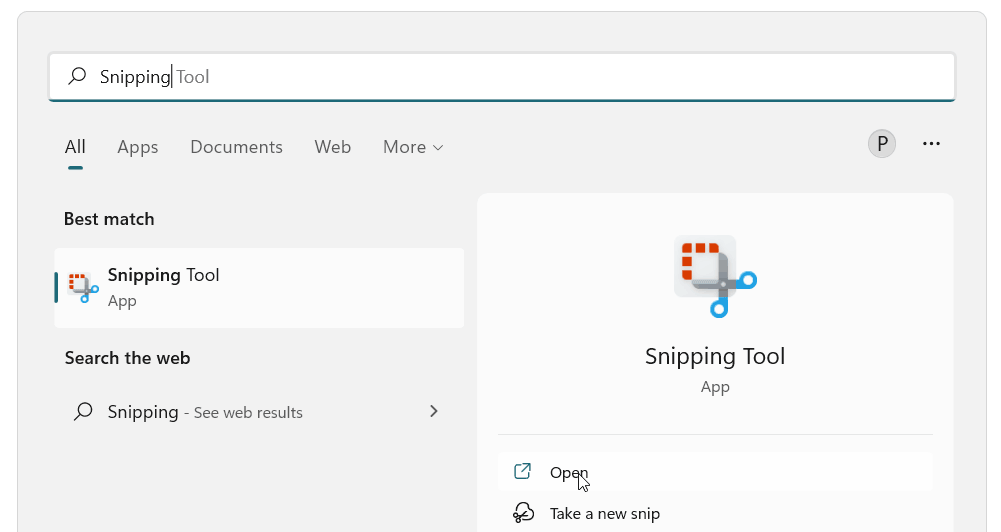
To open the Snipping tool app, press the Windows logo key on the keyboard and search for the Snipping tool in the Start Menu search. Open the Snipping Tool.
Select the snipping mode from the dropdown. Click on + New to take the snip. You would have to select the area for the screenshot if you select Rectangular or Free form snip.
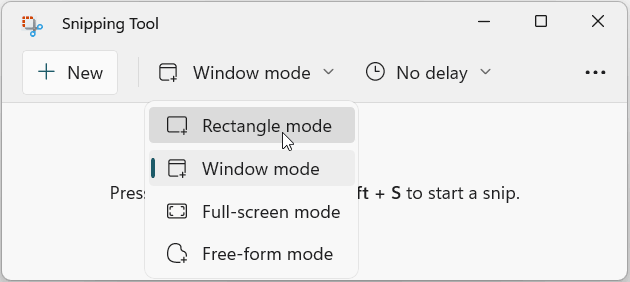
Selecting Full Screen snip would automatically take the screenshot. If you Select the Windows mode then you would have to select the active Window for the screenshot, if multiple windows are open on the screen.
The Snipping tool can also be opened with the Windows + Shift + S shortcut. The snipping tool would open with the mode selection tab on the top edge of the screen. Select the mode to take the screenshot.

After taking the screenshot, a Snipping tool notification will open in the bottom right corner of the screen.
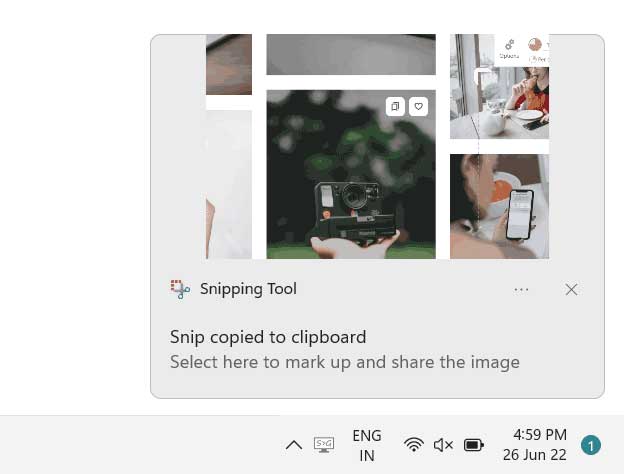
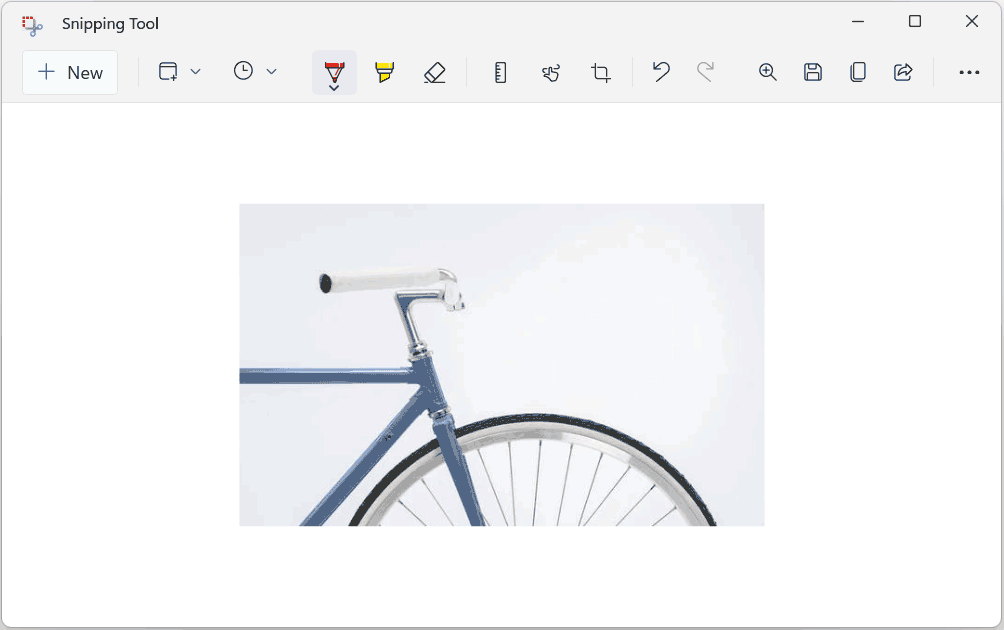
Clicking it will open the snip for editing, where you can crop, annotate or highlight the portions of the screenshot and also get the buttons to Save and Share the snip file.
You can also configure the Print Screen key to open the Snipping Tool instead of taking a screenshot. Follow the steps given below.
Open the Keyboard Settings by pressing Windows + R shortcut key and typing the following command in the Run dialog.
ms-settings:easeofaccess-keyboard
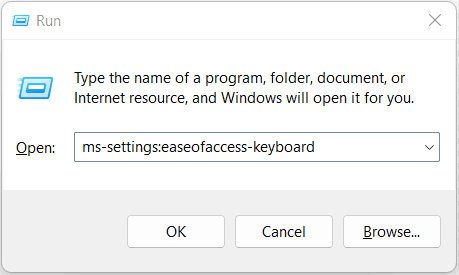
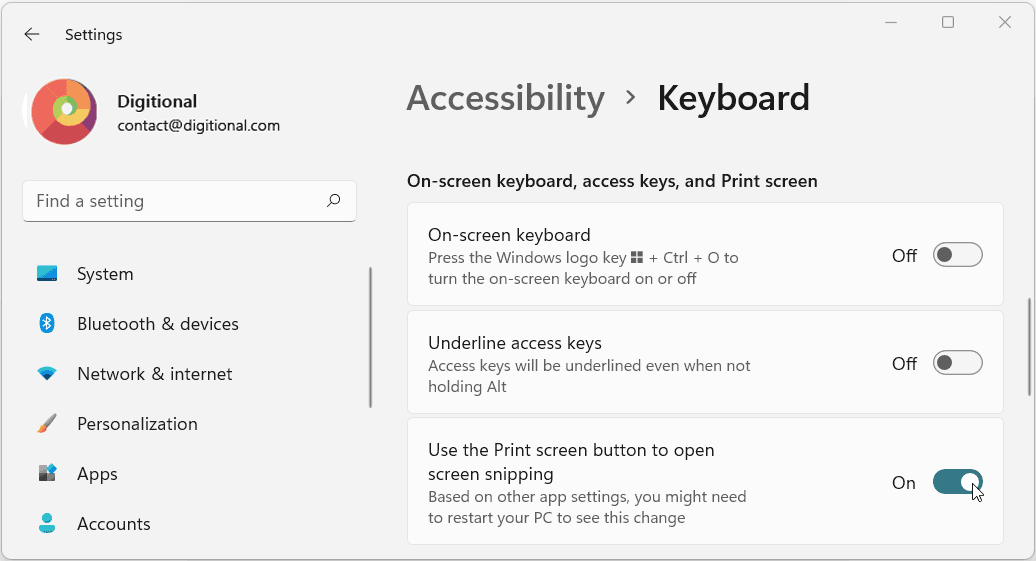
In the Accessibility > Keyboard window, toggle the button next to, Use the Print Screen button to open screen snipping to ON.
Take Screenshots using the GameBar in Windows
The Xbox Gamebar is a pre-installed application in Windows 11 that lets you record your desktop screen. Its primary purpose is to record video game clips for online sharing and to capture game screenshots.
Moreover, it also has widgets for showing CPU usage, Graphics usage stats etc. It also has widgets for controlling system audio and microphone & Xbox Social for online chatting during game play.
To Open the Xbox Gamebar, press the Windows + G shortcut. In the Game Bar at the top edge, select Capture to open the widget. The Capture Widget has a Camera icon for taking screenshots.
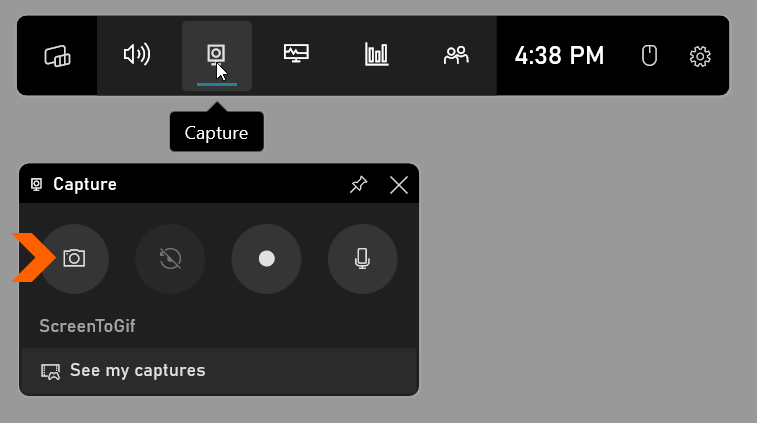
Click on this icon to save the current screenshot. The widget and Gamebar interface would not show up in the screenshot image.
You can also record your screen using the record button. However, the record button won’t work when you are on the desktop screen or when File Explorer is active. It would only work in a supported app or game window. It works fine in Chrome and Edge Browsers.
The default Save location for both the videos and screenshots is,
C:\Users\username\Videos\Captures
Taking Scroll Capture / Full Page Screenshots in Edge
Microsoft Edge in Windows 11 has a dedicated Web capture feature for taking screenshots of webpages.
To use this feature open any webpage in Microsoft Edge Browser and then press the Ctrl + Shift + S keys together to open the Web Capture tool.

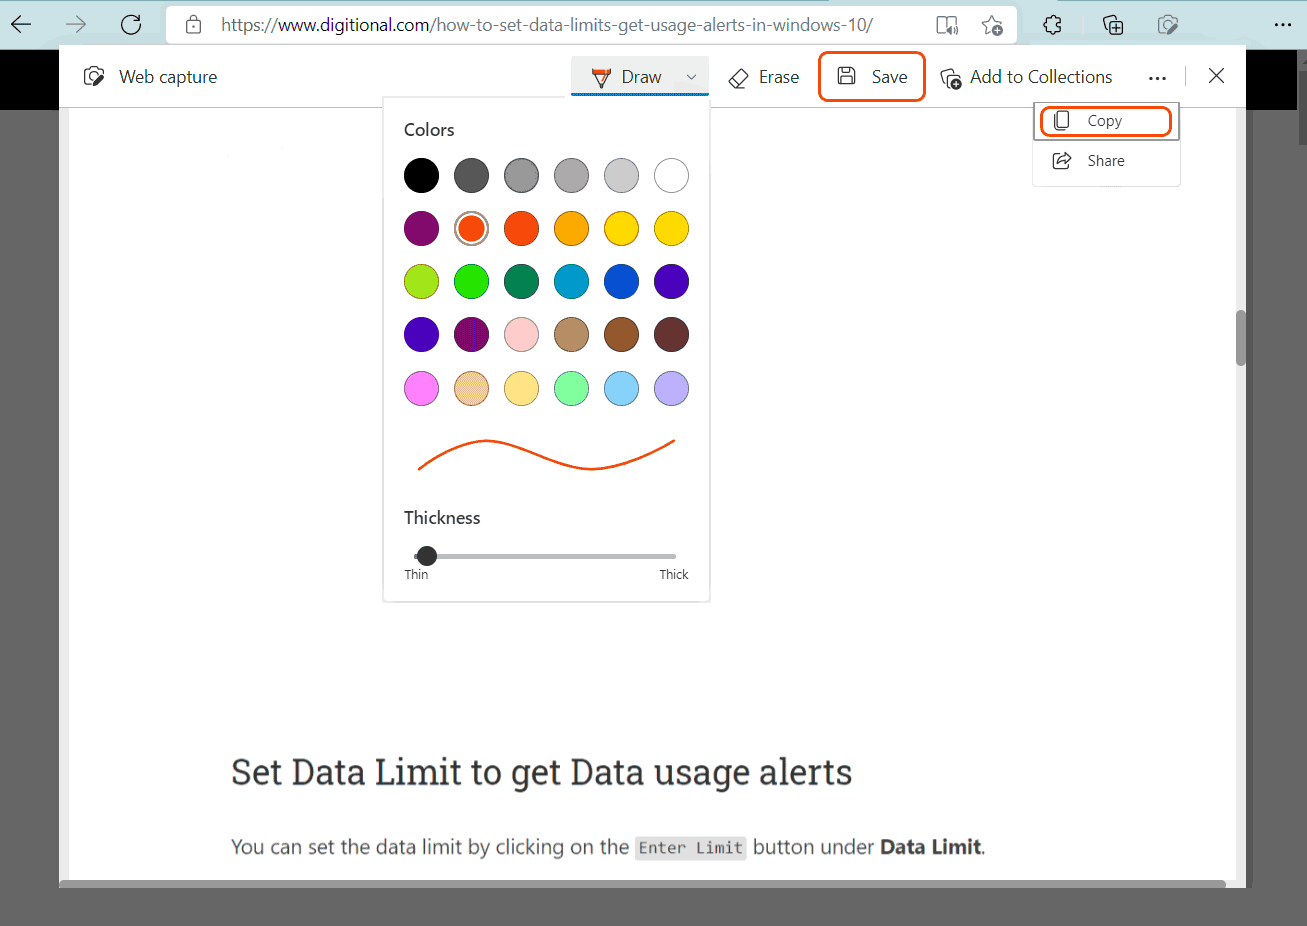
It supports two modes, Capture Area and Capture full page. Clicking on Capture full page would take a screenshot of the entire webpage (also called scroll capture) including below the fold content of the screen.
After taking the screenshot, Edge would open it for editing in a new tab. You can annotate the screenshot with a drawing pen, Copy it to the clipboard, Add it to collections, Share and Save it as a JPEG image.
Taking Automatic Screenshots with the Steps Recorder
Steps Recorder is a legacy app in Windows that is used for recording the steps that the user has taken to accomplish any task. It records screenshots along with user actions like keypress and mouse clicks.
It is helpful in situations when you are trying to troubleshoot any problem on your PC and need to send the screenshots of your actions to a support professional.
By default, it records 25 user actions or screenshots. You can increase this number in the Steps Recorder settings.
Press the Windows Logo key and search for the Steps Recorder app. Click on Run as Administrator to open the app with elevated privileges.
To record the screenshots, click on the Start Record button and minimize the Steps Recorder window.

It would keep taking screenshots with every click or keypress event.
Click on Stop Record Button to stop the recording. A Webpage preview (MHTML file) with the screenshots and details of the user action would be created.
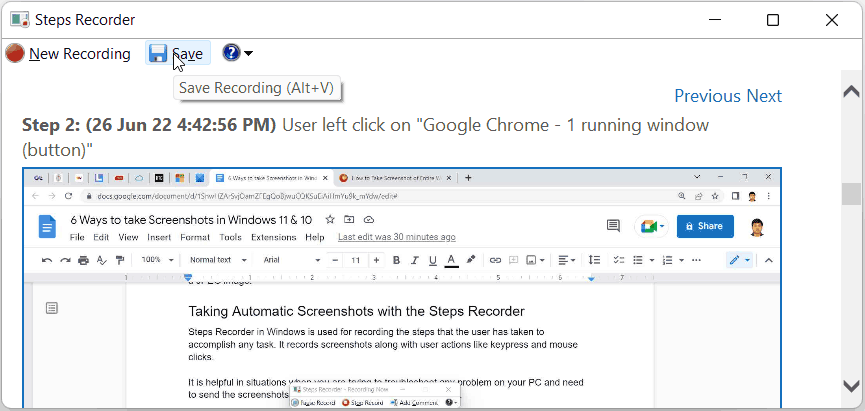
You can click on the Save button at the top to save this webpage preview (MHTML file) as a ZIP file containing the screenshots.
Use VLC player to Record Desktop Screen
VLC media player is one of the most popular free and open source multi media players. You can also use it to record a video of your desktop screen. However VLC won’t be able to record audio. Moreover, it can also take snapshots of the active frame while any video is playing.
You can press the Shift + S shortcut key to take a screenshot of the current frame of any video playing in VLC player. The snapshots are saved in C:\Users\username\My Pictures
For detailed instructions on recording the desktop video with VLC player; visit the following link.
How to Record Desktop Screen with VLC Player
Use Third Party Screenshot Tools for Windows
You can also use third party apps like Snagit which is a trial ware. If you are looking for a free & open source software, then ScreenToGif is a better alternative. It can take screenshots, record videos and can transform them into animated GIF files.