
Microsoft Outlook offers many ways to organize your emails and keep the inbox tidy. One of the best ways to sort your emails is to create folders and use the sweep feature to automatically transfer all emails from a sender to a specific folder.
If you receive a lot of messages from a particular sender or email address then you can create a folder with the name of that sender. Then, use Sweep to automatically transfer all the read messages or messages older than 10 days, to that folder.
Outlook’s sweep feature also gives you the option to automatically delete older and all the future messages from a particular sender. Moreover, you can also use Sweep to only keep the fresh messages and auto delete messages older than 10 days, if they are from a particular address.
How to use the Sweep feature in Outlook
Open Your Outlook email inbox in your web browser. The Sweep option would automatically appear on the menu bar when you select or open any message in your inbox.
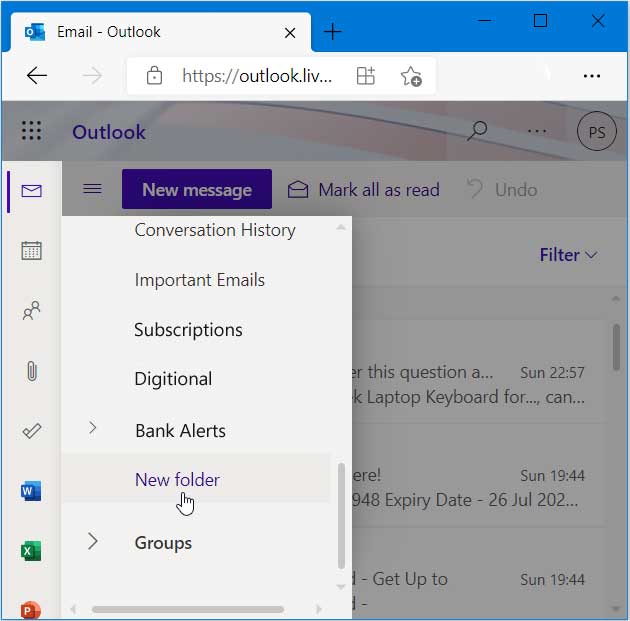
Before, you use Sweep on an email address, make sure that you have created the folder to save the messages. To create the folder click on New Folder located at the bottom of your Folder List, in the left panel. Give a name to the Folder.
Now select any message in your inbox. The Sweep option would automatically appear on the menu bar when you select or open any message in your inbox.
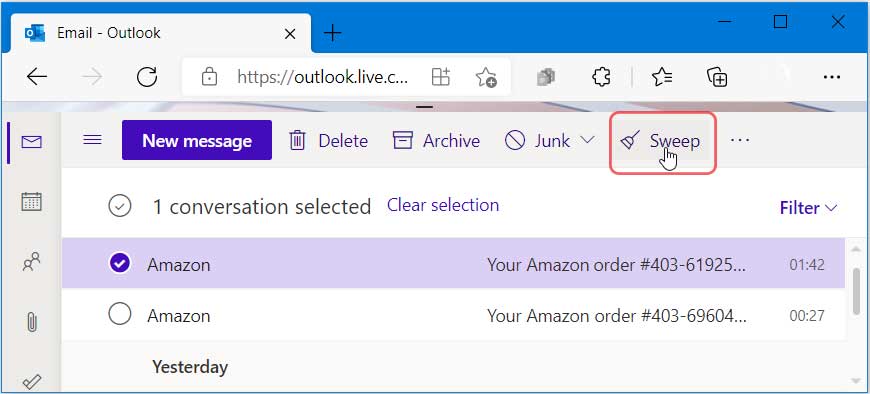
Click on Sweep to open the Sweep options. By default, the first option is selected which lets you delete all the old messages from that sender and move them to the Deleted Items Folder.
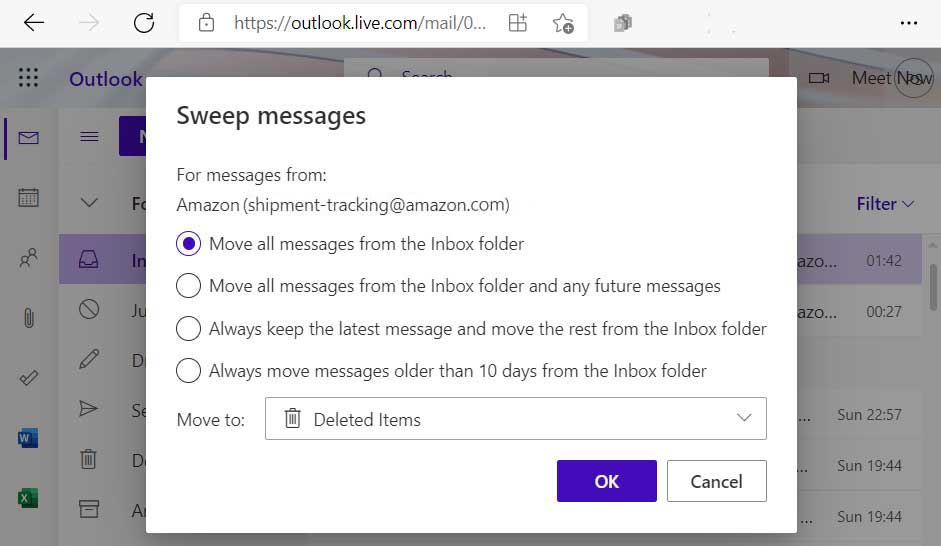
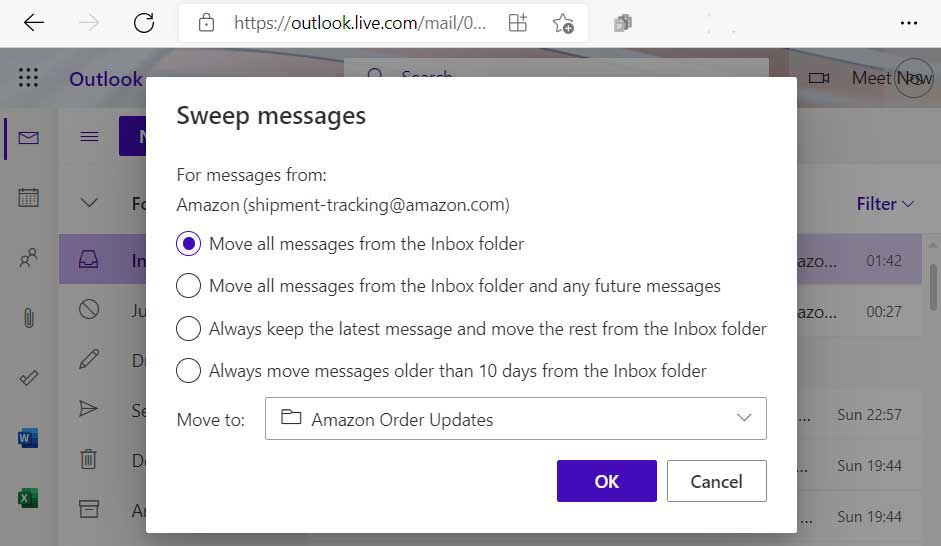
You can change the folder by clicking the dropdown and selecting the Folder you just created. Then select the appropriate Sweep option from the options list.
The first option would move all the messages already lying in your inbox to the Folder you selected.
The second option would move all old messages and all the future messages from that sender to the selected folder.
The third option would keep the latest message in the inbox and move the rest of the messages to the folder.
Fourth option would only show the messages of the previous 10 days and move the rest to your selected folder.
Select the desired option and then click on OK to create the Sweep rule.
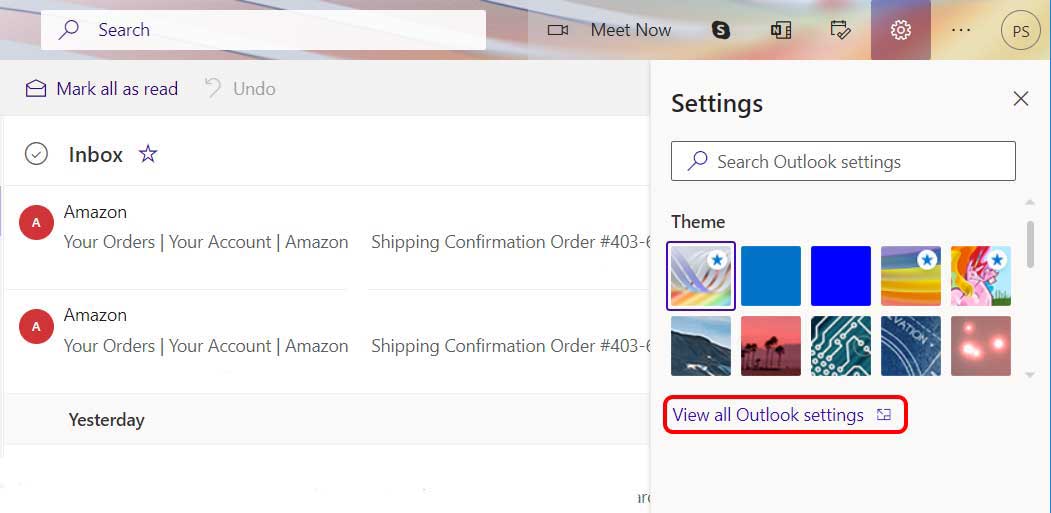
You can manage all your Sweep Rules from the Outlook Settings Page. Click on Settings icon in the Menu Bar and then click on the View All Outlook Settings link at the bottom.
In the Settings Page Click on Emails > Sweep, to view all the Sweep rules you have created.
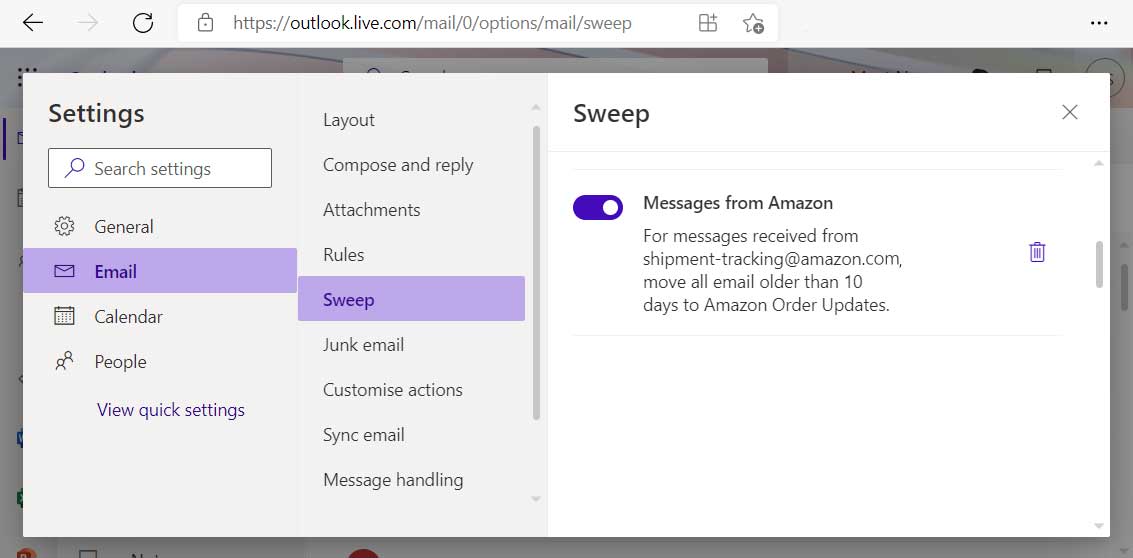
You can deactivate or delete the sweep rules if you want the future mails from that sender to remain in the inbox.