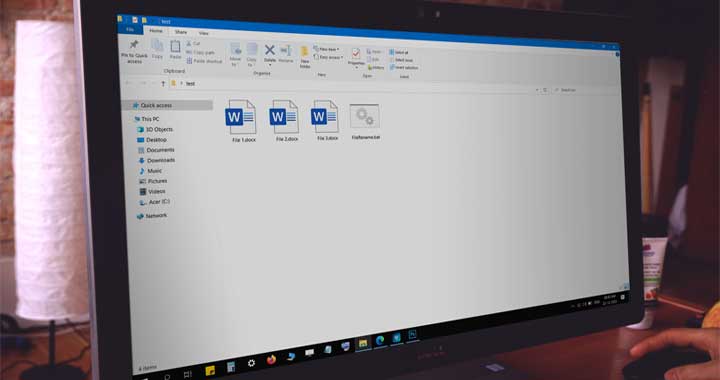
Changing file extension in Windows is not so straightforward like renaming filenames. Windows by default won’t even display the file extensions of the known and common file types.
Right clicking on a file and selecting Rename from contextual menu, by default selects the filename. You have to manually select the extension if you want to rename or change it. So, if you want to change the extensions of multiple files in a folder then it’s going to take a very long time if you go one file at a time.
There’s a simple way of changing the file extensions of all the files contained within a folder in one go. This tutorial would explain the steps to rename or change extensions of multiple files at once.
Moreover, you don’t need to install any third-party apps or programs, instead we would use the native Windows apps like the Command Prompt and PowerShell for changing the file extensions.
However, before continuing with these steps make sure that you have taken backup of your original files and have file extension view enabled in the Folder Options dialog.
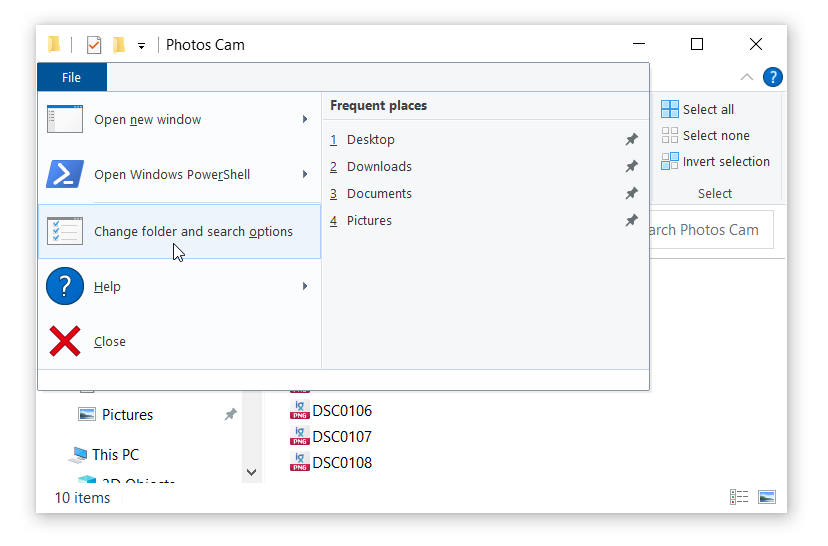
To enable File extension view, open Folder Options dialog by going to the File menu in the File Explorer window and then Selecting “Change Folder and Search Options”.
In the Folder Options dialog, select the “View” tab and then under Advanced Settings, uncheck the box labeled, “Hide extensions for known file types”. Click on Apply > OK.
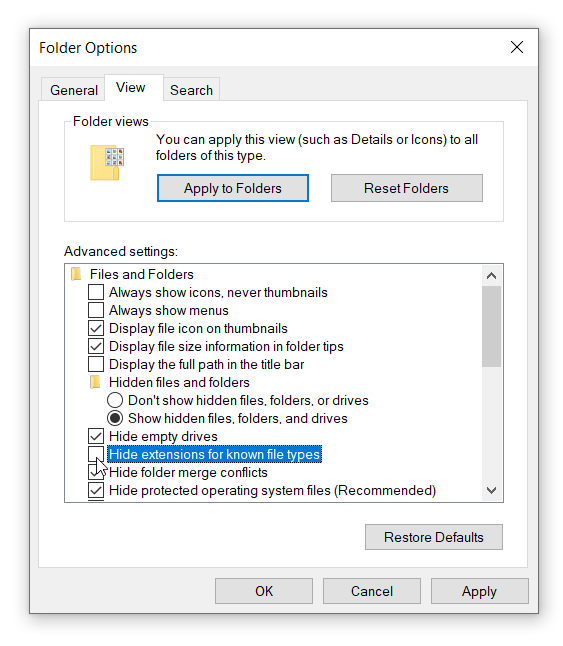
The File explorer window would now show the file extension along with the file name. Now, we would use Command Prompt to change the file extensions.
Change Extensions of all Files in a Folder Using Command Prompt
Step 1
To open Command Prompt Window, open the Start menu search by pressing the Windows + S shortcut key and then type cmd. Then click on Run as Administrator to open it with elevated privileges.

Step 2
We will use the following batch command to change the extensions of all the files contained in a folder. Copy the following command in a notepad window.
@ECHO OFF
PUSHD .
FOR /R %%d IN (.) DO (
cd "%%d"
IF EXIST *.old-extension (
REN *.old-extension *.new-extension
)
)
POPD
In the above code replace old-extension with the current file extension and new-extension with the new file extension.

For example, if you want to change .txt files to .docx then you can modify this command as follows.
@ECHO OFF
PUSHD .
FOR /R %%d IN (.) DO (
cd "%%d"
IF EXIST *.txt (
REN *.txt *.docx
)
)
POPD
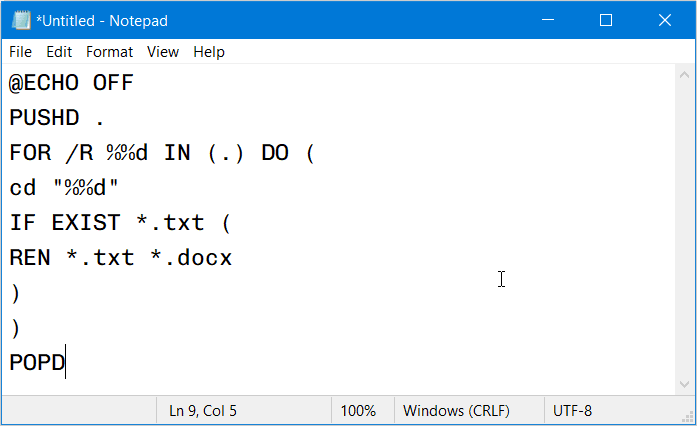
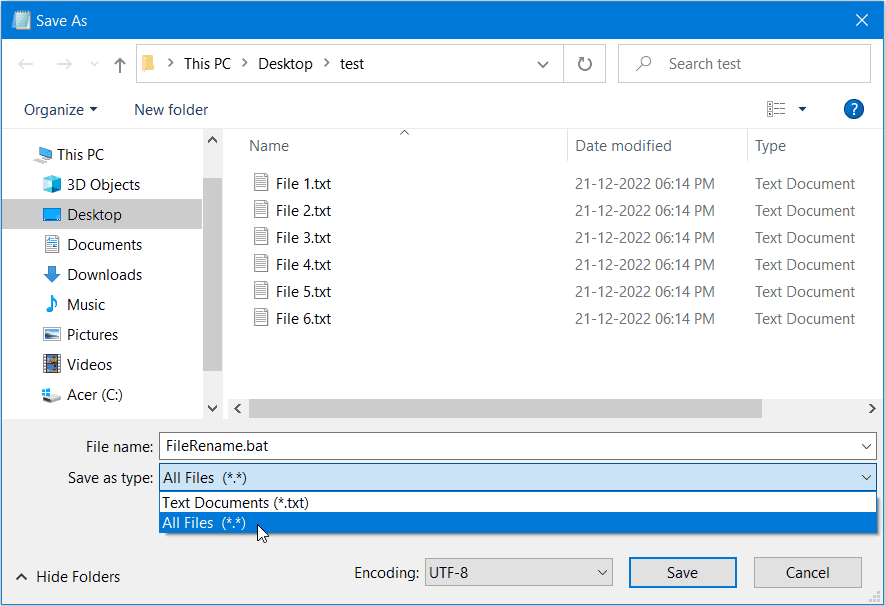
After changing the code, save the text file in the same folder where your files are located. Name this text file as FileRename.bat and select “All files (*.*)” in Save as type dropdown. Click on Save to save the file.
Step 3
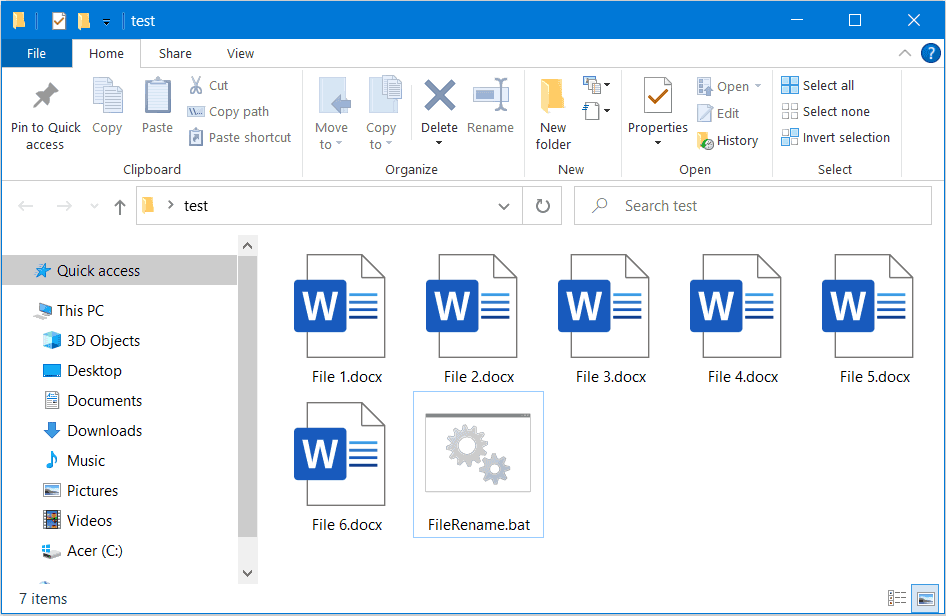
After saving this file, all you have to do is double click this FileRename.bat file and it will automatically change the file extensions of all the files contained within the folder.
You may have to refresh or close File explorer and open it again, if some of the files have not been changed.
Change Extensions of all Files in a Folder using PowerShell
Windows PowerShell is a native app in Windows 10 and 11 computers. You can use it to automate common tasks and to set and manage windows configurations using code.
We will be using it to change the file extensions of multiple files at once using a simple command or code.
Before continuing with these steps make sure that you have file extension view enabled in the Folder Options dialog and have taken a backup of your original files. The steps to enable file extension view are given above. Then follow the steps given below to change the extensions using the PowerShell Window.
Step 1
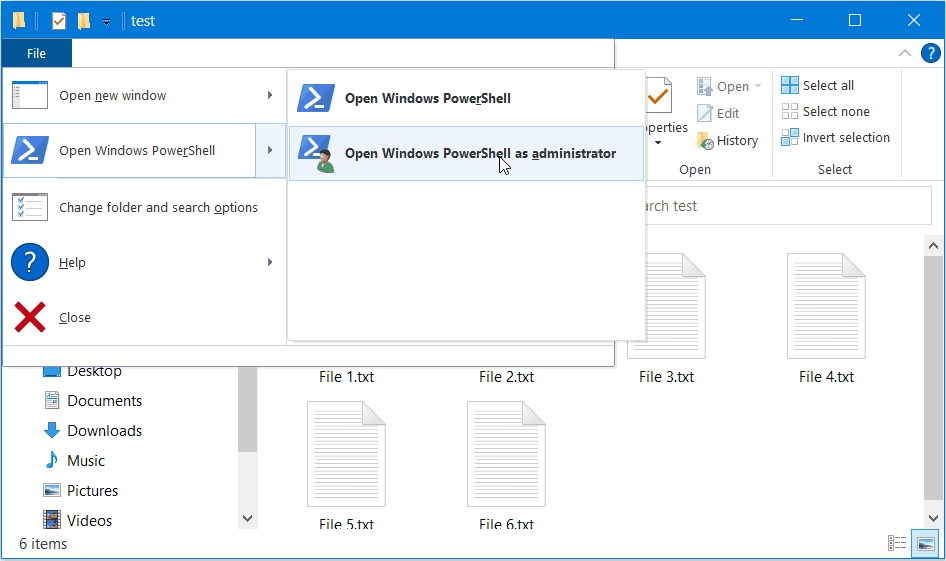
Go to the Folder where your files are located. Then click on File menu in File Explorer and select “Open Windows PowerShell > Open Windows PowerShell as administrator”
Step 2
To change the file extension of all the files in the folder, let’s say from .png to .jpg, you can use the following command. Copy-paste the following command in the PowerShell window after changing the old and the new file extension. Press Enter and PowerShell would automatically change the file extensions of all the files contained in the folder.
get-childitem -Path *.png | Rename-Item -NewName {[System.IO.Path]::ChangeExtension($_.Name, ".jpg")}
Please note that PowerShell won’t display any confirmation message after changing the file extensions. So, check the files in your folder after executing this command. If their extension has been changed then the command has worked correctly.
Similarly, if you want to change .txt files to .docx then you can use the following command.
get-childitem -Path *.txt | Rename-Item -NewName {[System.IO.Path]::ChangeExtension($_.Name, ".docx")}Both these methods, explained above, would instantly change the file extensions and Windows won’t show any alert or extension change warning message that it generally displays on changing file extensions.
Make sure that you have backed up your original files and you are changing the extension to a usable or Windows supported file type.