SSDs are fast with better read and write speeds than older mechanical hard drives. Traditional hard drives had moving parts and the data was written on a rotating disc or platter by magnetizing micro sized magnetic domains.
SSDs on the other hand use a totally different technology for saving data. They have a series of NAND chips which can trap electrons inside them and retain them even when you cut off the power.
So, a NAND cell or chip reads “0” when it has electrons trapped inside of it and “1” when there’s no charge. Yes, in NAND flash a “0” means a charged state or stored data and “1” is no charge.
Now, reading and writing data is fast on a SSD but overwriting data is slower and one of their functional limitation. SSDs have to make space for new data by physically erasing the previously written data which is no longer needed.
Sometimes, they also have to rearrange valid data to update it with new data. This is why SSD manufacturers recommend that you keep a significant portion of SSDs free or empty to avoid write wear.
So, it would be better for the functioning of an SSD, if data marked for deletion is immediately cleared and the space is made free for writing new data.
Older magnetic and mechanical drives did not have this limitation as you could write new data on top of the pre-existing data, without the need to wipe the disk clean. That’s why deleting a file on a magnetic hard disk just marked it for deletion instead of physically deleting the file.
SSDs would perform better if files marked for deletion are immediately deleted. This is where the TRIM function comes in as Windows tells the hard drive that a file or chunk of data is no longer needed and can be deleted immediately.
RELATED: How to Check If your Laptop has an SSD or a Hard disk Drive
Check TRIM status in Windows 10
TRIM is automatically enabled in Windows 10, if it detects that you are using an SSD.
You can check the status of the TRIM function using Windows PowerShell or Command Prompt.
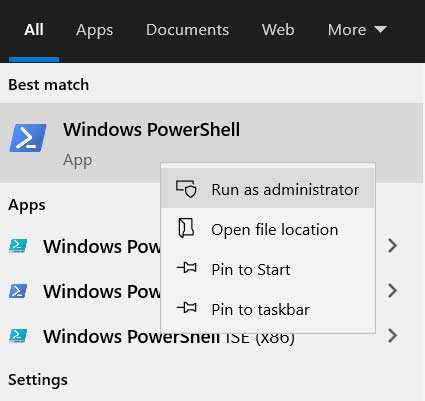
Search for “Windows PowerShell” in the taskbar search.
Click on Run as Administrator to open PowerShell with elevated privileges.
In the PowerShell window enter the following command
fsutil behavior query DisableDeleteNotifyIn the results look for,
NTFS DisableDeleteNotify = 0 (Disabled)

If this value is 0 (Disabled) then it indicates that TRIM is enabled in your Windows 10 OS. For TRIM to be active, this setting has to be disabled and should show 0 (Disabled) instead of 1.
However, if it shows 1 then it means that TRIM is disabled and you would have to enable it from Command Prompt.
RELATED: Free up Space by deleting Temp Files in Windows 10
Enabling TRIM in Windows 10
Before enabling TRIM you have to check it’s status. Enter the the following command in Windows PowerShell (admin) or Command Prompt(admin).
fsutil behavior query DisableDeleteNotifyIf the output of this command shows,
NTFS DisableDeleteNotify = 1 (Enabled)
Then for some reason the TRIM function is disabled and you would have to enable it using the command prompt.
Search for Command Prompt in the taskbar Search box.
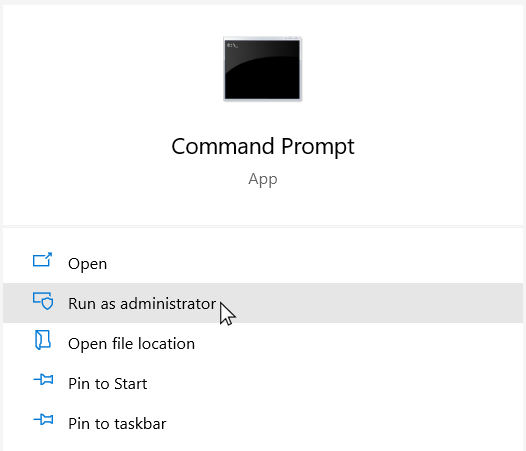
Run the Command Prompt as Administrator.
To enable TRIM enter the following command.
fsutil behavior set DisableDeleteNotify 0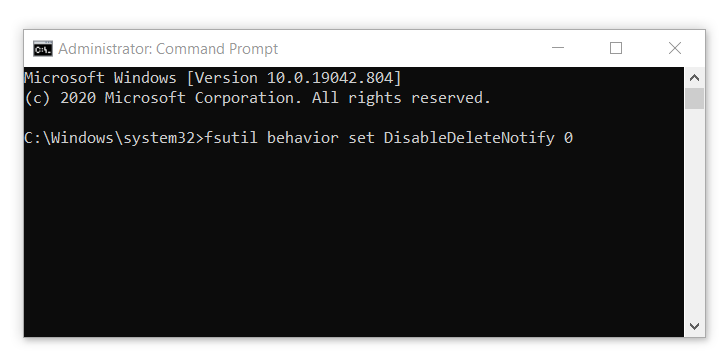
If later on you want to disable it, then simply run the following command.
fsutil behavior set DisableDeleteNotify 1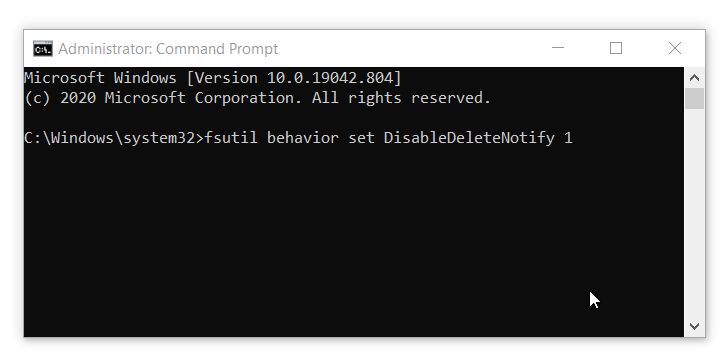
If you are using an SSD manufactured by Samsung then you can enable TRIM using Samsung Magician Software.
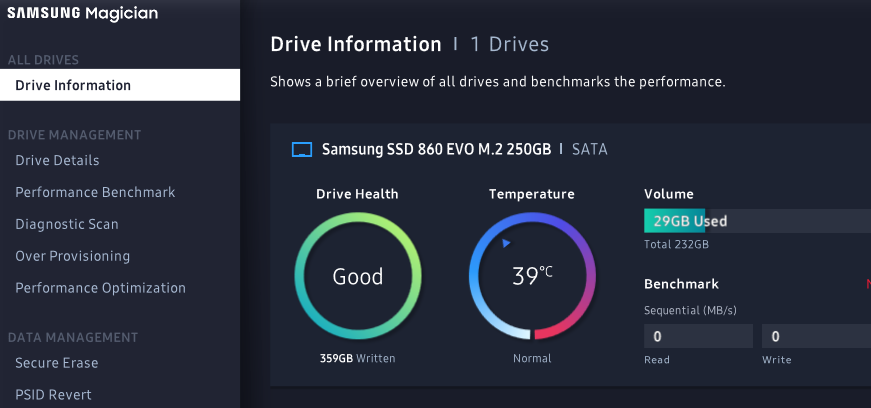
It’s a software for managing and monitoring the SSD. You get information about the amount of the data written. The operating temperature of the drive and the status of various storage functions like TRIM, AHCI and RAPID storage.
Install Samsung Magician and Go to Performance Optimization to enable the TRIM function.
Note: You must remember that Trim deletes the files permanently and you may not be able to recover any deleted data. But, it mostly works on temporary system files and your personal files wont be impacted if you don’t do a permanent delete. Moreover, Enabling TRIM doesn’t mean that deleted files lying in your Recycle Bin are automatically deleted. Windows won’t touch those files until you delete them manually.