
Microphone not getting detected, disabled, muted or low input audio are some of the most common reasons causing Microphone issues in Windows 11.
If you are facing any of these issues then you can use this checklist to identify the problem and try some of its possible solutions.
Check Physical connections in External Microphones
This is the most basic check before you try any other troubleshooting methods. A faulty cable, connector, or a faulty microphone itself can be causing microphone issues.
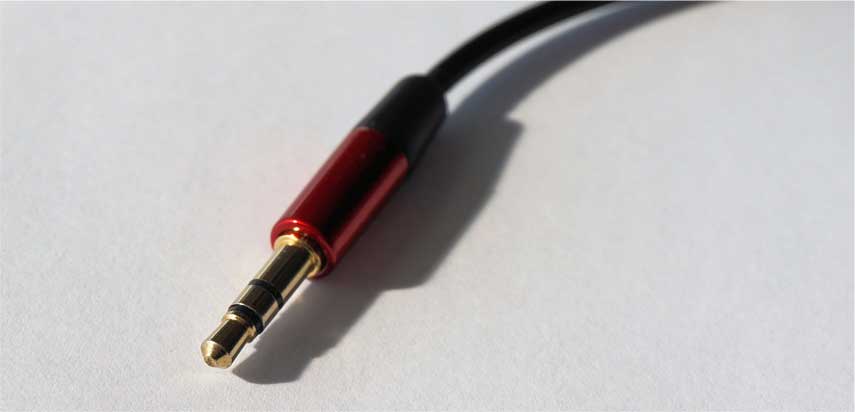
You should also check that you have connected the Microphone to the 3.5 mm Audio-In input jack. An audio in connector on your PC would be pink colored whereas the audio out for connecting the headphones is green in color.
Also, try connecting the external microphone to another PC or laptop, to check whether the problem lies in the microphone or the PC itself.
Check the Microphone Privacy Settings
Windows 11 has a Privacy Setting for Microphones which disables access to the microphone, either to a specific app or disables it all together for every app.
If access to your Microphone is completely disabled in the Privacy Settings then no App or program would be able to access your Microphone.
You should check that Microphone access is enabled in the Privacy settings for the app you are trying to use. To open Microphone Privacy settings, press the Windows + R shortcut and type or copy-paste the following command in the Run dialog.
ms-settings:privacy-microphone
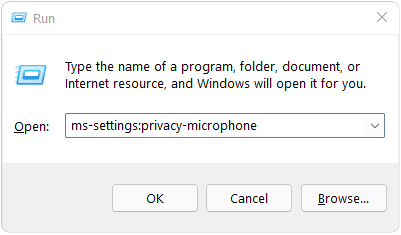
Alternatively, You can also open Microphone Privacy settings by going to Start > Settings > Privacy & security > Microphone.
Make sure that the toggle next to ‘Microphone access’ is turned ON. Also, ensure that ‘Let apps access your microphone’ is turned ON.
Also, scroll down and check that Microphone access for the app you are trying to use the microphone with, is enabled.
Unmute the Microphone
Your microphone will not work if it’s set to Mute in the system settings. To unmute the Microphone do the following.
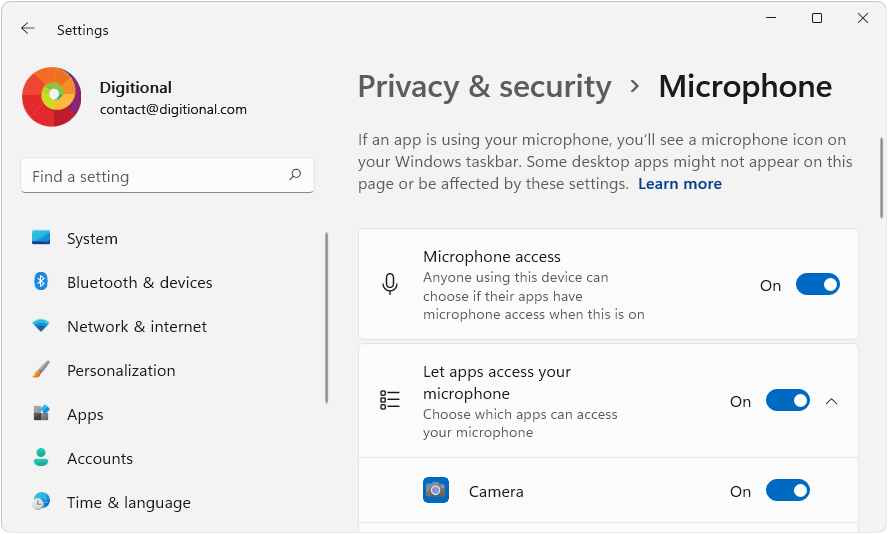
Press the Windows + R shortcut key and type the following command in the Run dialog.
mmsys.cpl
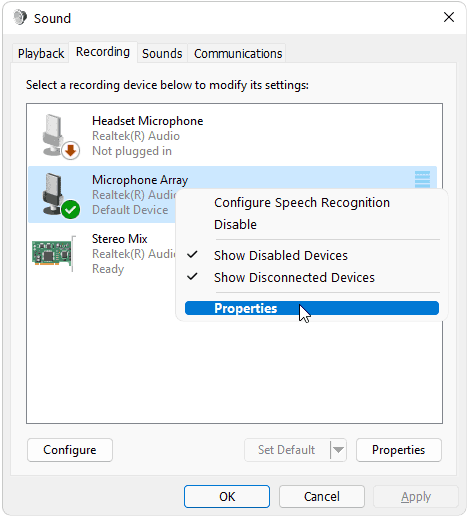
Select the Recording tab in the Sound Setting window. Then right click on your microphone device and select Properties.
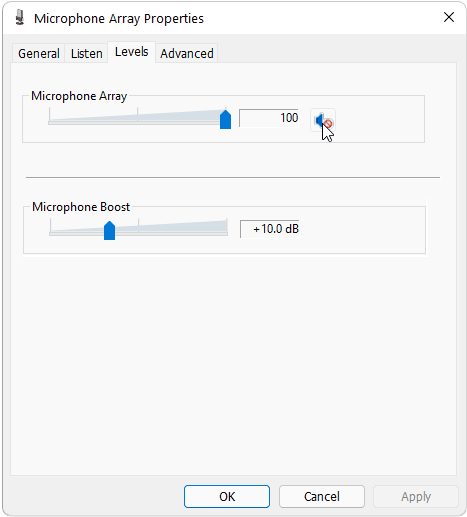
Select the Levels tab in the Microphone Properties Window and click on the Unmute button. Also check that the input volume slider is set to 100.
Enable the Microphone in Control Panel
Sometimes, a device may be disabled in the System settings, not allowing any apps to access it. To check the status of this setting and to enable your microphone you can do the following.
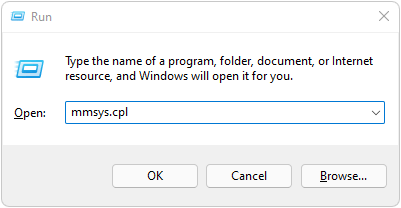
Press Windows + R shortcut and then type the following command in the Run dialog.
mmsys.cpl
This command would open the System Sound Settings window. Here, select the Recording tab, and make sure that your Microphone is enabled and set as the default device.
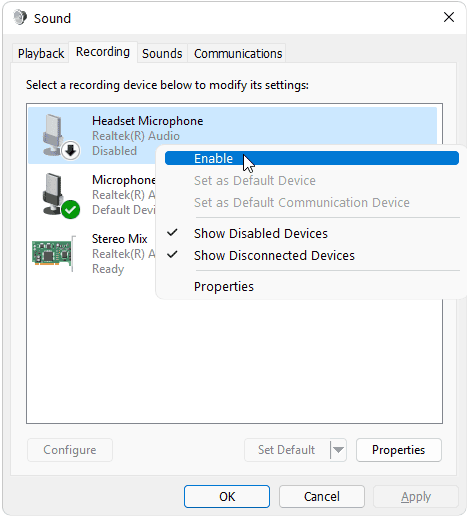
The device would be grayed out if it’s disabled. Right click on the device and select ‘Enable’. Also click on the Set Default button at the bottom.
Check the Input Volume in Sound Settings
Your Microphone may not detect your voice clearly if the Input Volume is set too low. You can check the status of this setting by doing the following.
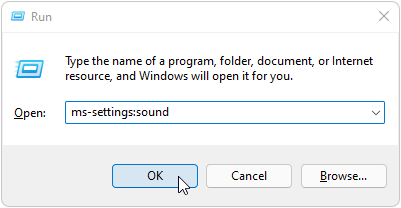
Press the Windows + R shortcut key and type the following command in the Run dialog to Open the Sound Settings.
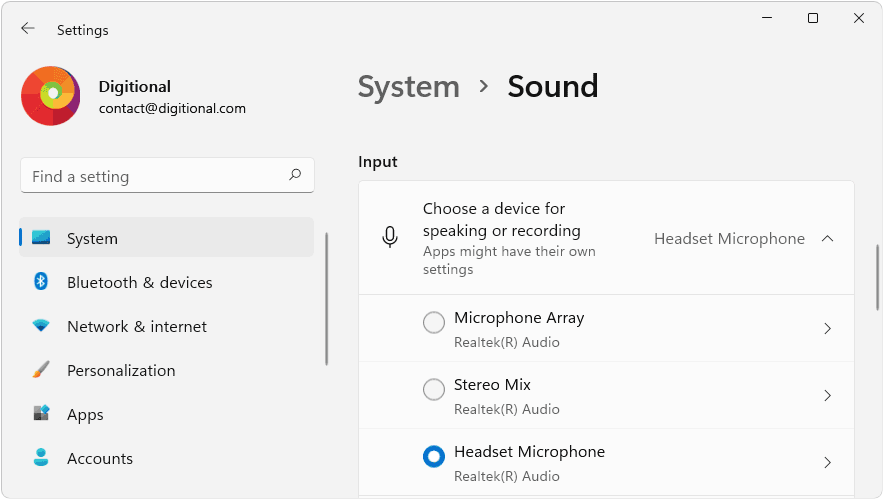
ms-settings:sound
Alternatively, you can also open Sound Settings by going to, Start > Settings > System > Sound.
In Input, under ‘Choose a device for speaking or recording’, select your default audio device by clicking on the option button. Then click on the arrow next to its name to open its Properties Window.
On the System > Sound > Properties page; make sure that the button next to “Audio (Allow apps and Windows to use this device for audio)” says “Don’t Allow”. This button would read “Allow” if your microphone is disabled. You should then click on “Allow” to enable your Microphone device.
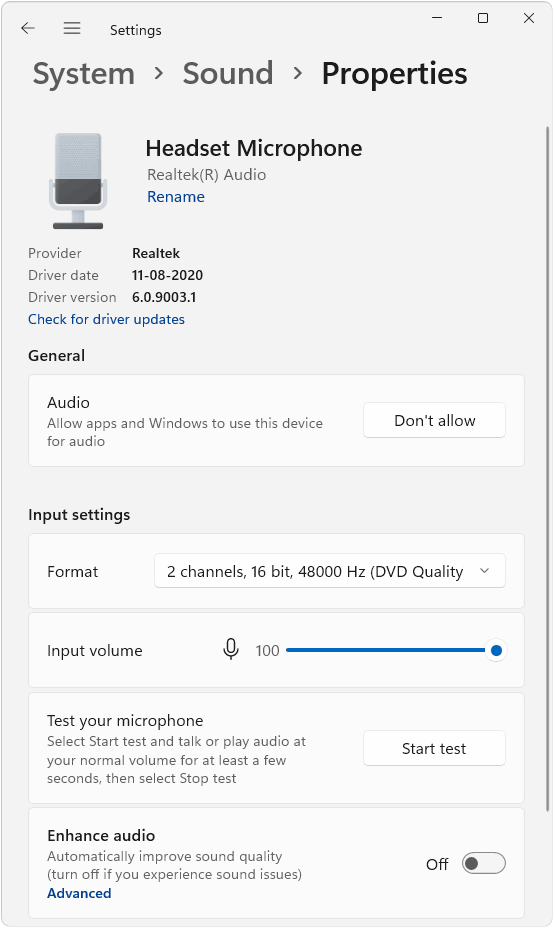
Also, make sure that the microphone is not set to mute and check the Input Volume under Input Settings and move the slider to 100. Make sure that Enhance Audio is Switched OFF.
Run the Input Device Troubleshooter
The Troubleshooter would look for common problems and hardware issues and would suggest possible fixes after scanning your computer. To Run the troubleshooter do the following.
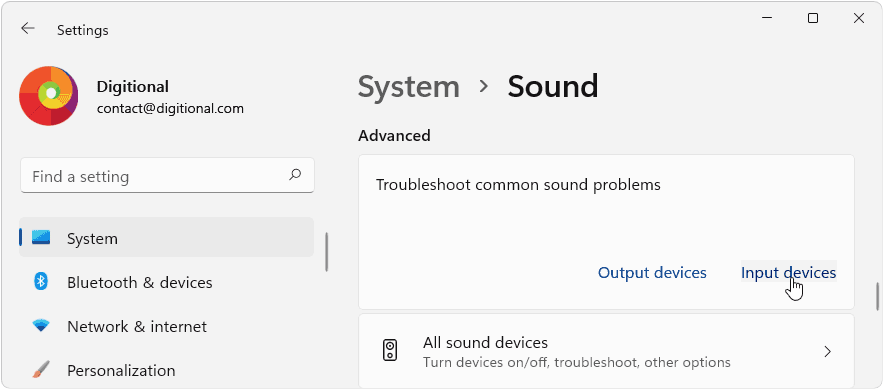
Open Sound Settings page by going to, Start > Settings > System > Sound. You can also open Sound Settings by pressing the Windows + R shortcut key and typing the following command in the Run dialog.
ms-settings:sound
On the System > Sound window, scroll down and look for “Troubleshoot common sound problems” under ‘Advanced’ heading. Then click on the Input devices to open the troubleshooter.
Select the faulty device or microphone and then click on Next.
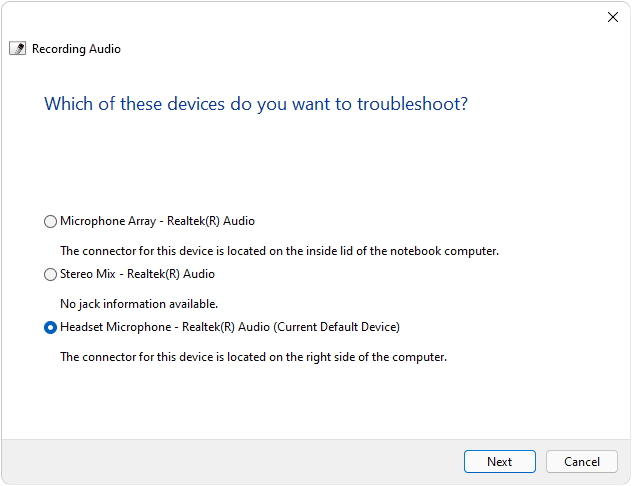
Try the fix suggested by the Troubleshooter and then Restart your system
Update Drivers
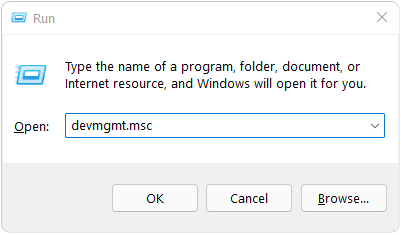
Open Device Manager by pressing the Windows + R shortcut keys and typing the following command in the Run dialog.
devmgmt.msc
If you are trying to fix an external microphone then make sure that it is connected and powered ON.
In the Device Manager window, Expand ‘Audio inputs and outputs’ tree. Then right click on Headset Microphone ((xxxx) Audio) and select Update driver.
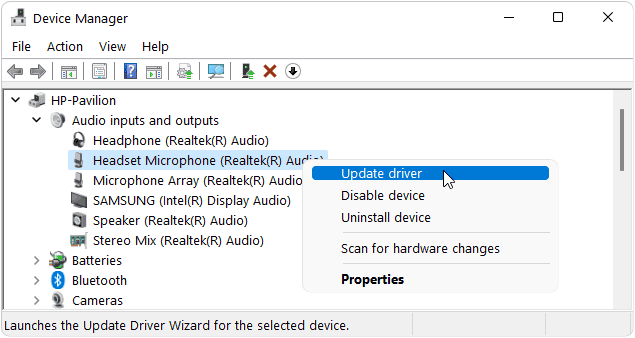
Similarly, right click on Microphone Array ((xxx) Audio) and select “Update driver”.
Update Windows
Make sure that your Windows 11 OS is up to date. Connect to the internet and go to, Start > Settings > Windows Updates and click on Check for Updates button.
Sometimes, Windows also sends optional updates which include drivers and firmware software tailored for your computer. However, these updates are not installed and are left to the user to decide.
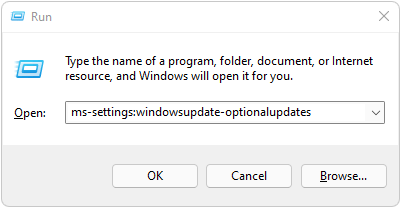
You can try installing the optional updates like the audio and sound drivers. To open Optional Updates, press the Windows + R shortcut key and then type the following command in the Run dialog.
ms-settings:windowsupdate-optionalupdates
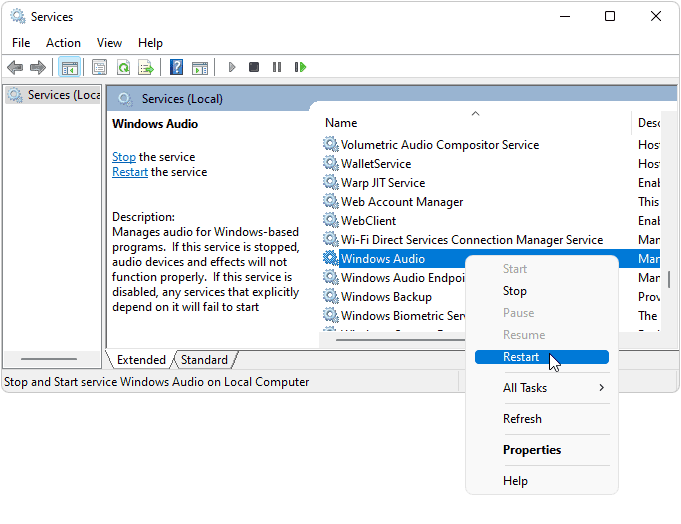
Restart Windows Audio Service
Windows Audio Service works in the background and manages audio devices. Sometimes, this service may malfunction or stop causing audio issues.
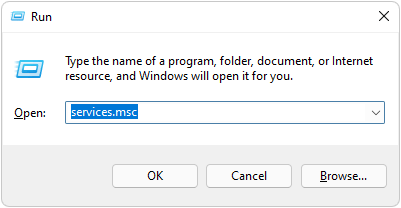
You can restart this service using, Windows Services. To Open, Windows Services, press the Windows + R shortcut and type the following command in the Run dialog.
services.msc
In the Services Window, look for ‘Windows Audio‘. Right click on Windows Audio and click on Restart if it’s already running or click on Start if it’s stopped/disabled.
Also check the following services and restart/enable them,
Windows Audio Endpoint Builder
Remote Procedure Call (RPC)