
Google Docs is a lightweight word processor which works entirely online. It provides all the essential tools and features needed for creating and editing a document. It’s free to use and you just need a gmail id or google account, to create documents.
Moreover, you don’t have to install any software or suite to use Google Docs as you can write and edit your document using any web browser. You can also share your documents with other users, allowing them to view or edit a document in real time.
However, some of the advanced features are not supported by Google Docs like adding Watermarks to your pages. You would have to use some workaround if you want to add a watermark to your document.
Creating the Watermark
Offline Word Processors like Microsoft Word lets you use either a picture or some text as the watermark. In Google Docs, however, you can’t use text as a watermark but you are allowed to add images to your document.
You can either use an image or a text converted to image format, in place of a watermark.
Use an Image as a Watermark
Open your Google document in your browser. Go to, Insert > Image > Upload from Computer and select the watermark image on your computer.
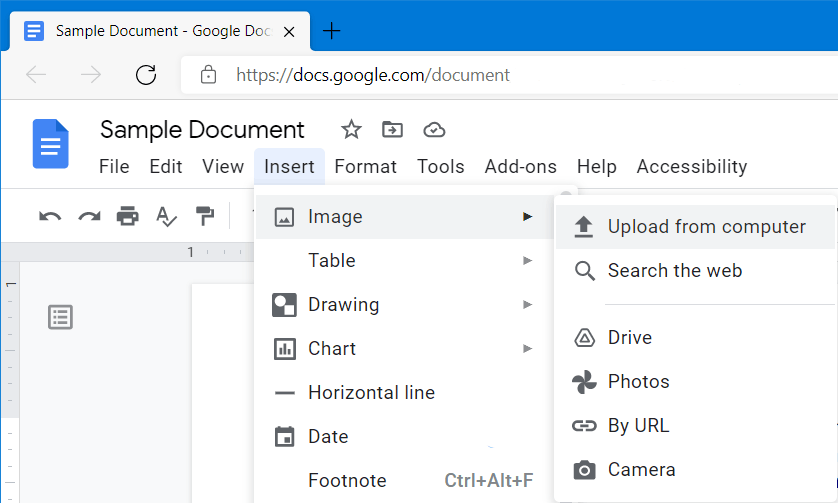
You can also use the URL of an image to insert it in your document. To insert an image from an URL go to Insert > Image > By URL and paste the URL of the image.

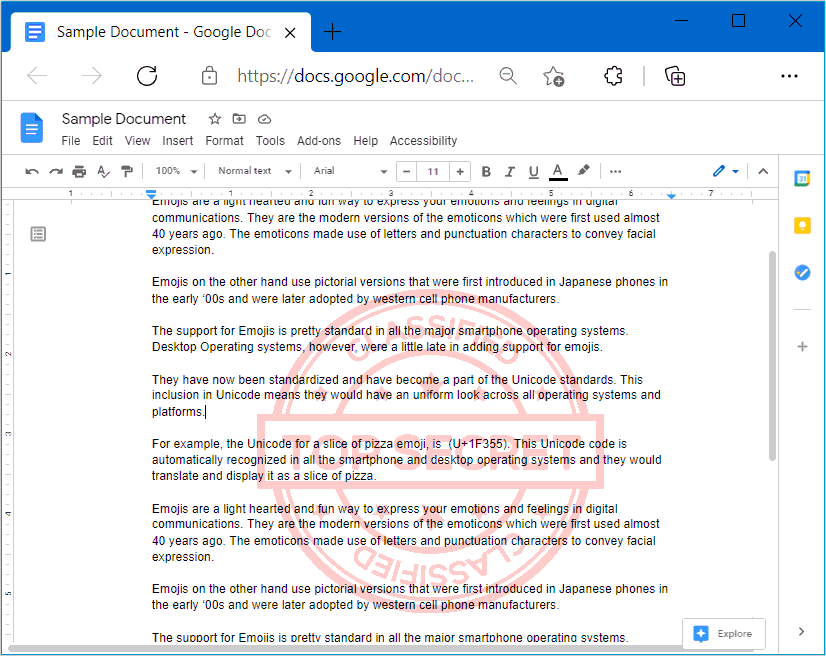
Once the image is uploaded it would automatically appear in the document inside the active page. You can resize, drag or rotate the image to position it within the document.
Select the image by clicking it and go to Format > Image > Image Options to open the image options panel.
In the Image Options panel,
Expand Text Wrapping and select Behind Text for Style. This will move the image behind the text. Expand Position and select the “Fix position on page” option.
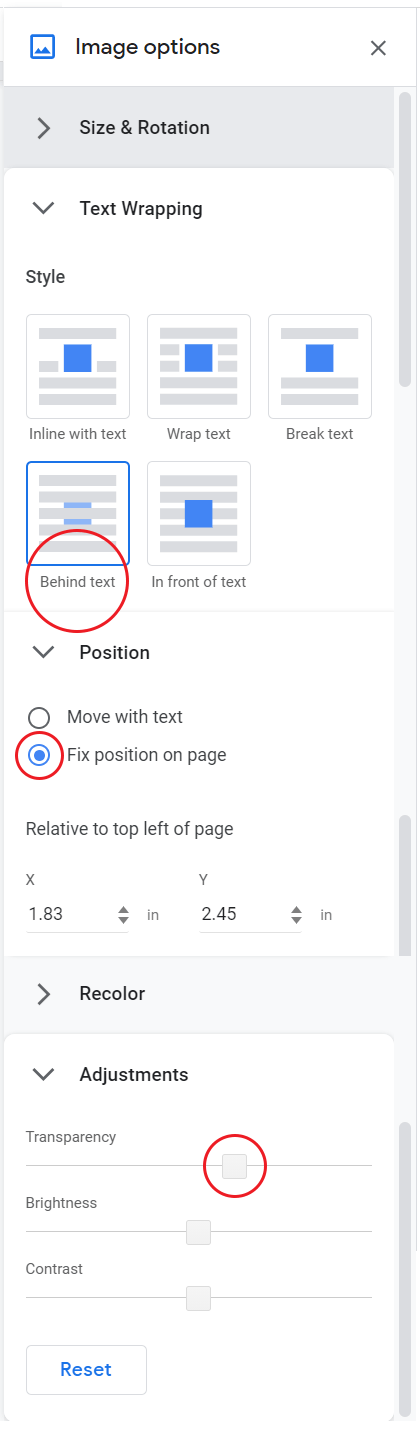
Expand Adjustments and set the transparency to 70% by adjusting the Transparency slider. This will make the image a bit faded so that the text on top is visible clearly.
Create Watermark using Google Drawings
If you want to create a custom text or image for your Watermark then you can also use apps like Paint in Windows or Google Drawings to create the watermark image. The steps given below use Google Drawings to create the watermark image.
Go to Google Drawings. Rename it by clicking on Untitled drawing at the top.
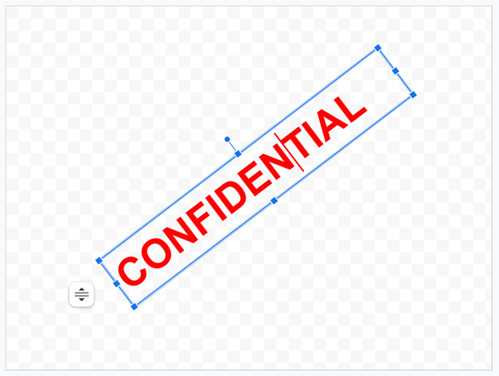
To insert custom text, go to Insert > Text box. Click anywhere and then drag with your mouse to create the textbox. Select the font and font size before entering the watermark text. Change the color by clicking the Text Color tool in the Toolbar.

Enter the watermark text in the textbox.
Finally, rotate the image if you want it to be slanted or vertical.
When done, you can either insert the drawing directly to your Google Docs document or you can download a PNG image of the drawing.
To download the image Go to File > Download > PNG Image (.png). Then follow the steps given above to set it as the watermark.
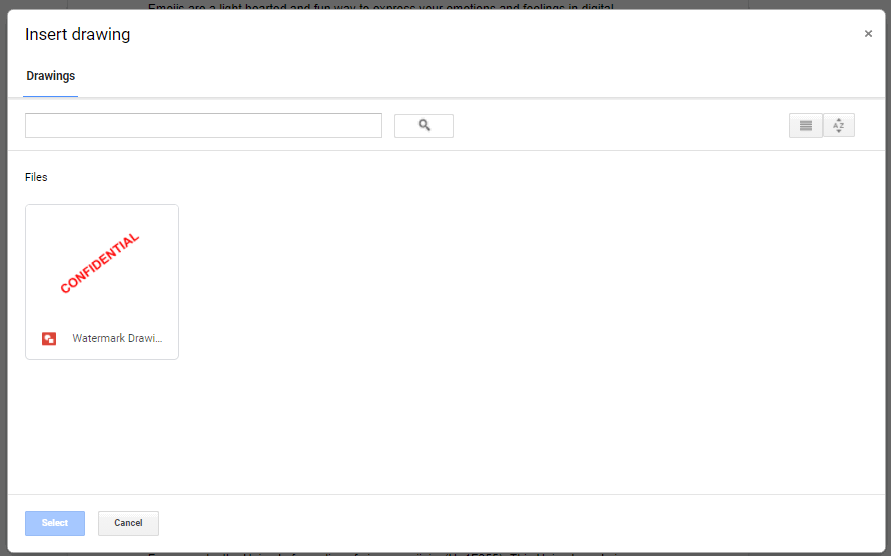
To insert the drawing directly to Google Docs, Open your Google Docs file and then go to Insert > Drawing > From Drive. Select the watermark drawing to insert it in your document.
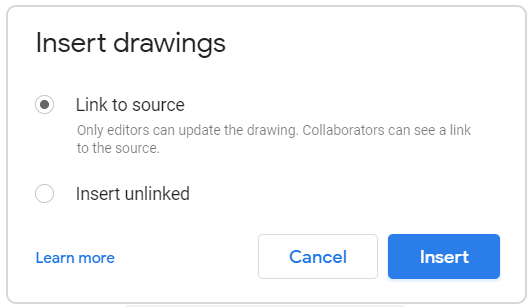
Select Link to Source option on the next screen and click on Insert.
After inserting the image, Go to Format > Image > Image Options. In the image options panel Expand Text Wrapping and select Behind text for Style.
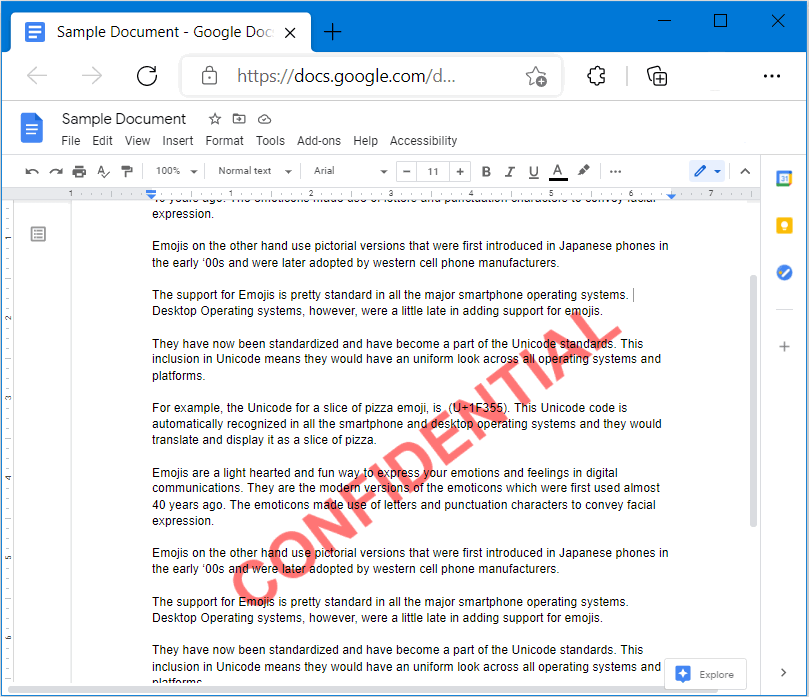
Expand Adjustments and set the transparency to 70% by adjusting the Transparency slider. This will make the image a bit faded so that the text on top is visible clearly.