Windows 11 is the latest operating system from Microsoft with many new and improved features. It has a significantly revamped Mac-like user interface, integration of android apps, new widgets, improved security & better support for gaming.
The adoption rate of Windows 11 has increased significantly as most of the latest laptops PCs now come with Windows 11 pre-installed. Moreover, it was offered as a free upgrade to Windows 10 users if their computer met the Hardware requirement.
If you upgraded your computer from previous versions, the Recovery options like Backups and Recovery disk for Windows 10 would not work in Windows 11.
If your PC runs into any kind of trouble or fails to start, you will need some form of recovery tool to repair or restore your Windows 11 operating system. Windows 11 offers various tools for fixing your PC when it fails to boot or becomes unstable.
Backup / Repair Options in Windows 11
You can create a System Image Backup, create a System Restore Point, use installation media or you can create a Recovery USB drive. In this tutorial we would be explaining the steps to create a USB Recovery drive.
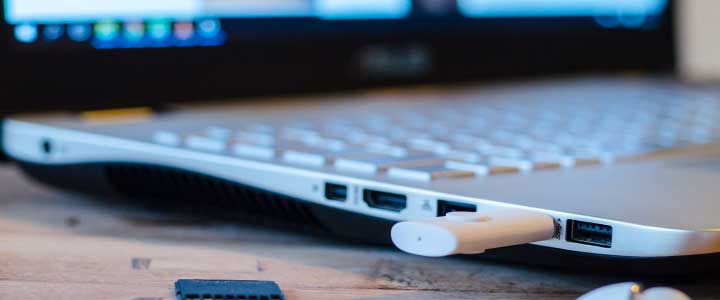
USB Recovery drive is the easiest method of taking a backup of your operating system. You would need a USB flash drive (also known as USB stick, Thumb drive or Pen Drive) with at least 16 GB capacity.
Moreover, in this method you don’t need to download any third party app or Windows installation files for creating the Recovery drive. Windows has in-built tools for creating a disk image or a recovery drive.
Your Windows 11 OS should be updated and running without any errors as Windows would copy the core operating system files and apps to your Recovery USB drive.
How Do You Use a Recovery USB Stick?
A Recovery drive would take a backup of all the System Files and the native apps which are part of Windows 11. But keep in mind that it won’t save any third party apps installed by you or the files lying on your computer.
It also saves all your system settings and preferences along with those of the native apps, at the time of creation. However, please be aware that the files in your Desktop, Documents, Pictures, Videos, Music or Download folders would not be copied to the Recovery USB Stick.
It would only have files which are a part of Windows 11 and are needed for repairing or resetting the operating system. So, don’t expect it to take a backup of your entire PC or the files lying on different drives of your computer.
You would be able to Repair or Reset Windows 11 using the Recovery USB drive. It would also allow you to boot directly from the USB stick by plugging it in one of the USB ports before switching on your computer. This feature is useful when your Operating System refuses to boot altogether.
You can also use it for doing a fresh install after wiping your computer hard drive clean or when you need to change or upgrade the hard drive of your computer to an SSD.
So, here are the steps to create a Recovery USB drive in Windows 11.
Steps to Create Recovery Drive in Windows 11
Press the Windows + S shortcut key to open the taskbar search. Search for Create a recovery drive.
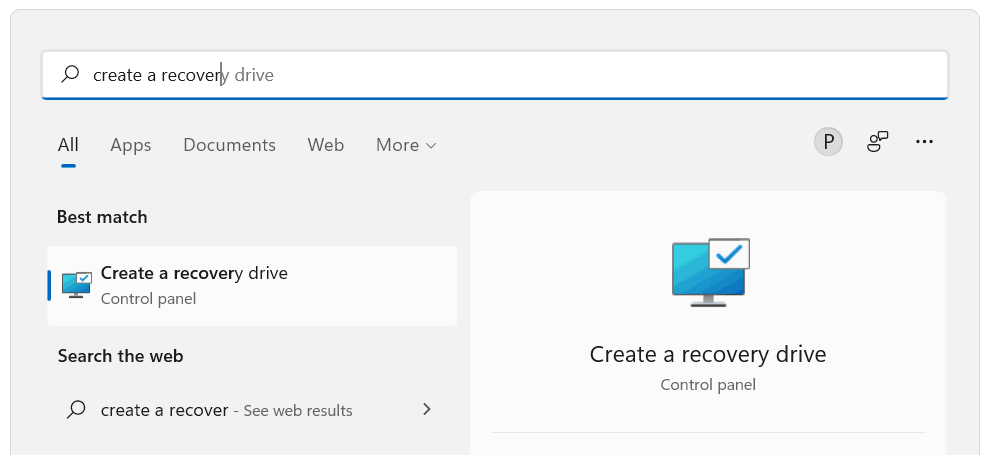
Select it in the search results and open it. You might be asked to enter your admin password if you are logged in using a non admin account. Also, select Yes if you get a User Accounts Control message asking for you permission to make changes to the device.
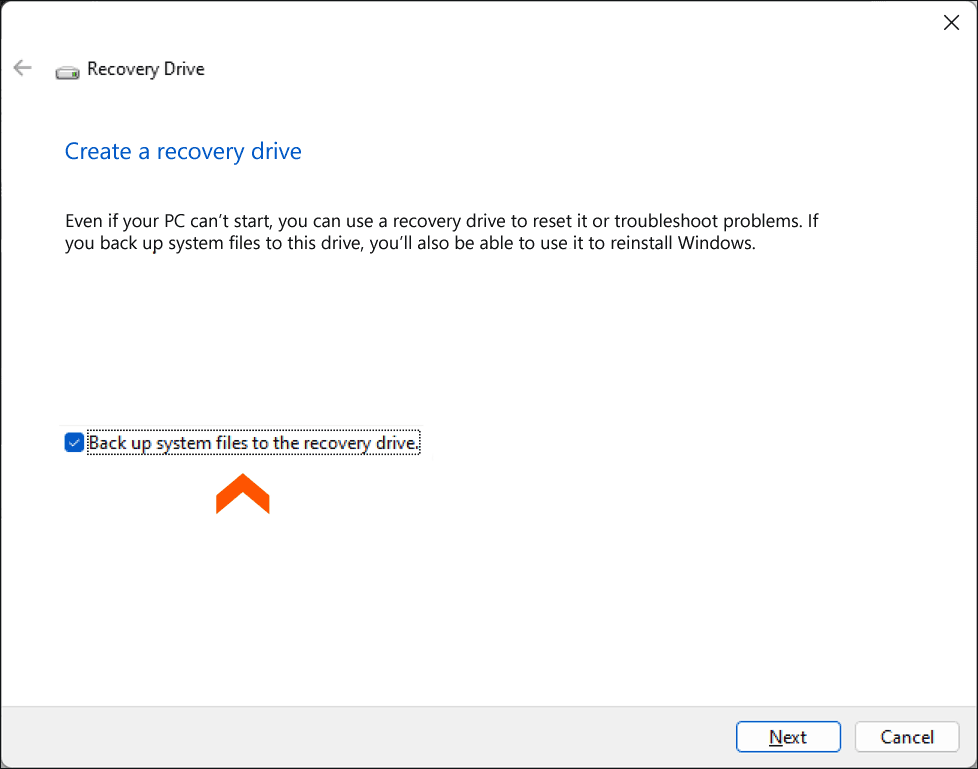
This will open the Recovery Drive tool or dialog shown in the screenshot given below. In the following screen, make sure that the checkbox labeled ‘Back up system files to the recovery drive’ is selected. Then connect a USB thumb drive to your PC and Click on Next.
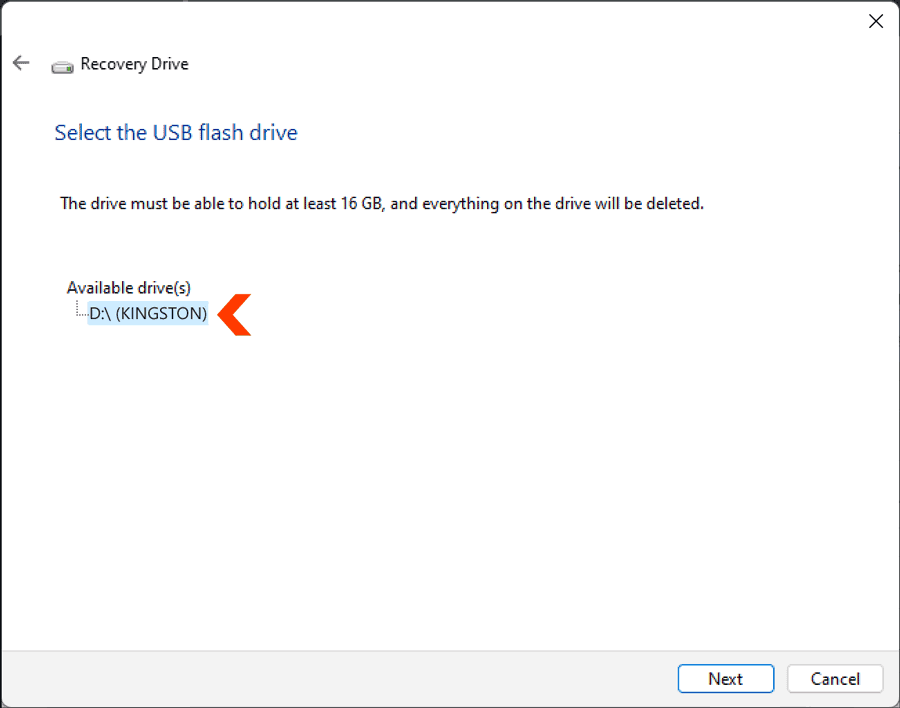
Windows would start scanning for any USB sticks connected to your computer and would display the following screen on detection. Click on Next when you see the USB stick or drive listed under Available drive(s).
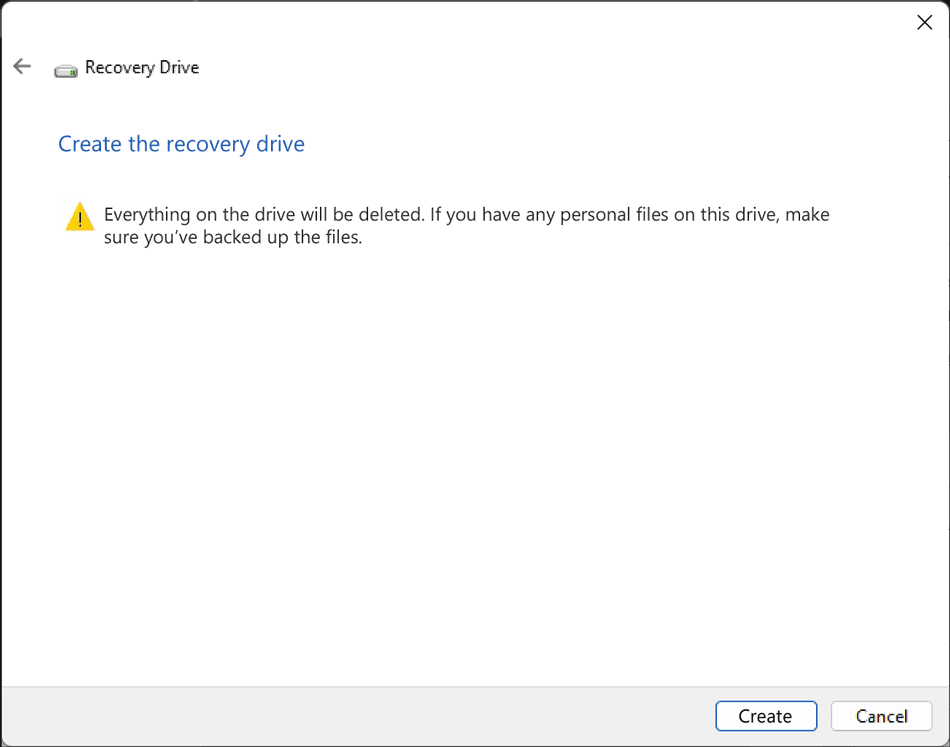
You would now see the following Screen warning or alerting you that the data present on the USB stick would be deleted for copying the recovery files.
So make sure that you have taken a backup of the files on your USB stick before continuing. Finally, click on Create.
Windows would start Formatting the Drive clean to prepare it for writing new files.

Also, please be aware that after creation, the Recovery USB stick cannot be used for storing other data even if it has empty space. It can solely be used for repairing or reinstalling your operating system. You will have to format it and delete any partitions which Windows created if you want to reuse it for storing data.
Windows would now start copying the System Files on your USB stick. This process may take a couple of hours depending on the size of your operating system files and your USB stick.

Finally, the Recovery Drive dialog would display the following message.
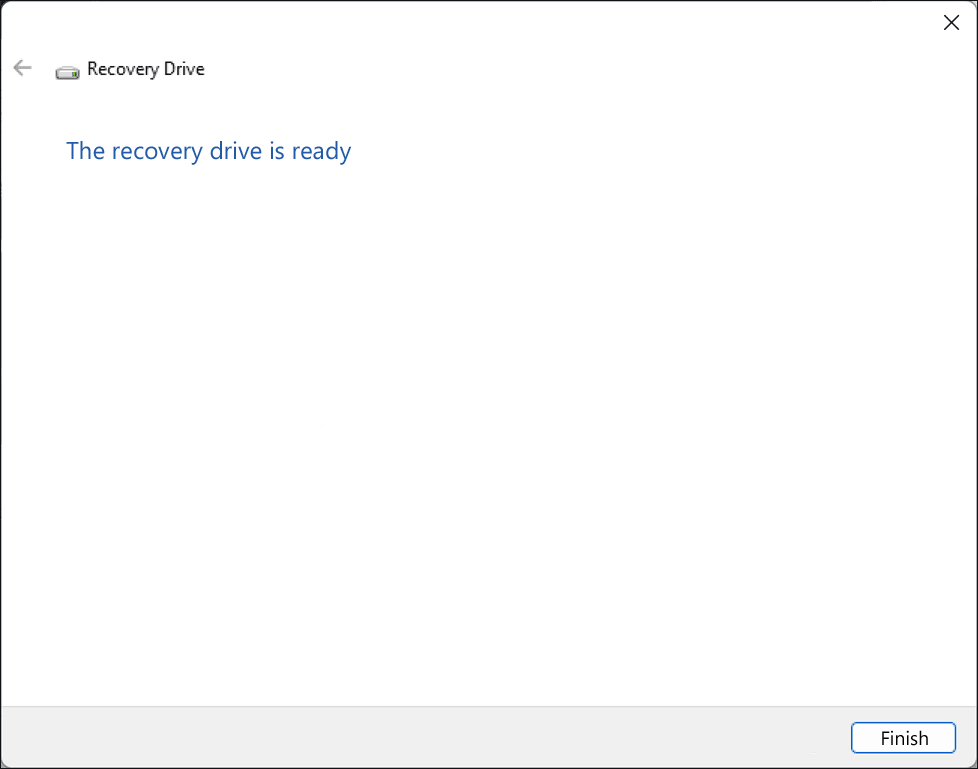
Your USB stick is now ready for Repairing and reinstalling Windows 11.
Important Things to Remember
Recovery drive would not take a backup of your personal files and third party apps. So, those apps will be missing if you do a Reset or clean install of Windows 11 using the Recovery drive. You would have to reinstall all the third party apps. However, your third party apps would still be there if you are using a Recovery drive for repairing your computer.
Your personal files are not copied to a Recovery drive to keep the file size within limit. So, please take a manual backup of your personal files lying in the Desktop, Documents, Pictures, Videos, Downloads & Music folders.
Also, The Recovery tool uses the Operating system files to create the USB Recovery drive. A Recovery drive is not updated regularly like your operating system. So, all the updates to the operating system would be lost if you are using an old recovery drive for repairing or reinstalling your computer.
Therefore, it is recommended that you create a new recovery drive after a major Windows update or at least twice a year. This will create a Recovery drive with all the latest updates and patches to the Operating system.
How to Boot your Computer using the Recovery Drive
As we mentioned earlier, you can use Recovery drive to either repair or re-install the operating system. Sometimes, Windows 11 may fail to boot altogether due to a hardware failure like a failed or corrupt hard drive.
You can use the Recovery drive in such a situation when your computer won’t load the operating system. You can boot your computer directly from the USB recovery drive if it fails to boot from the computer’s internal hard drive. You can also use it to reinstall Windows 11 after replacing your hard drive or when you upgrade it to an SSD.
To boot from Recovery Drive, you would have to connect the Recovery Drive before your computer starts booting i.e before switching it on. Most of the latest computers would automatically detect a bootable USB Recovery Drive and would load the Windows 11 Advanced Startup Options.
However, some older computers with old hardware may fail to detect a bootable USB or Recovery drive. In such a situation you will have to change the Boot Priority in BIOS settings of your computer. Enter the BIOS settings of your computer and change the boot priority by moving USB Storage to the top in the boot order.
On some computers pressing the F12 or F9 key as your computer starts to boot, would load the Boot Selection Menu which allows you to change the Boot Priority.
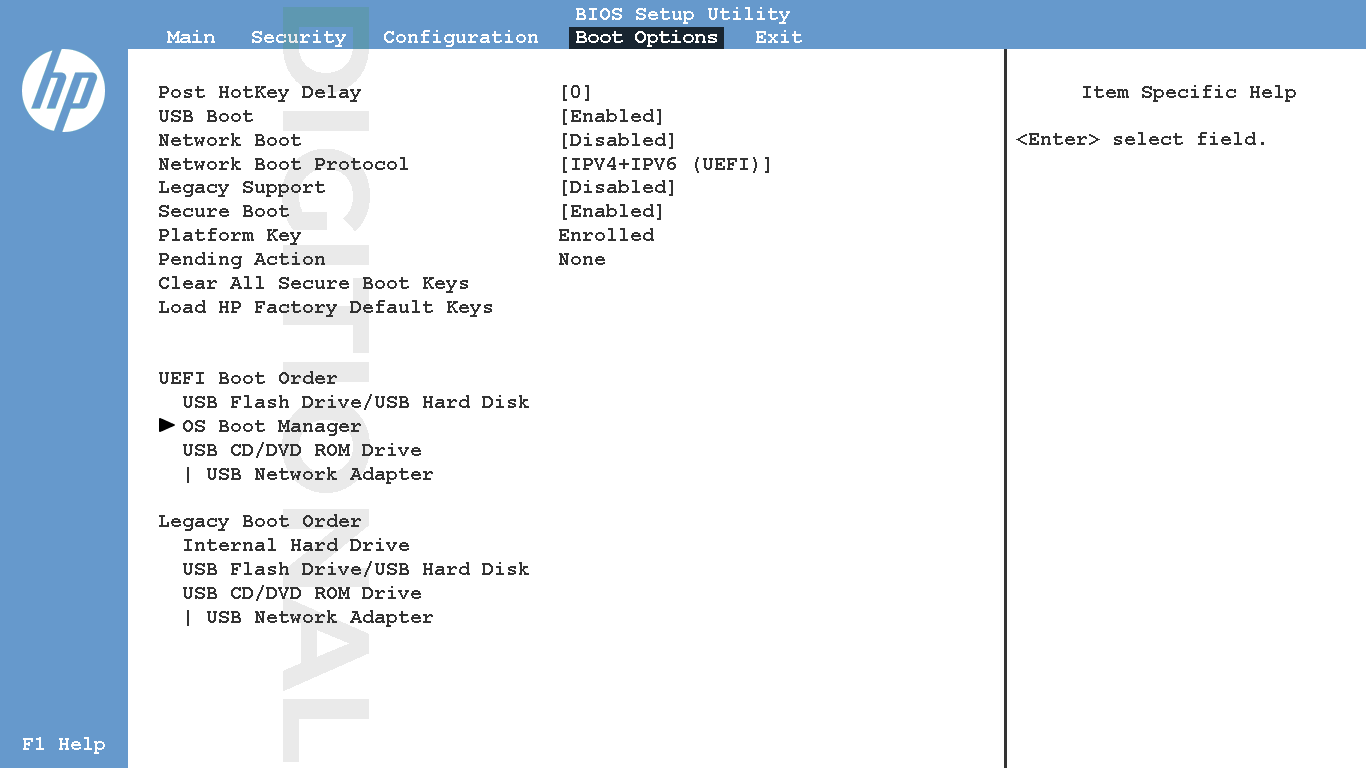
After changing the Boot Priority, save the changes to the BIOS and let your computer boot normally.
Choose your Keyboard Layout on the next screen. Then your computer should load the Advanced Startup Options after booting from the USB stick.
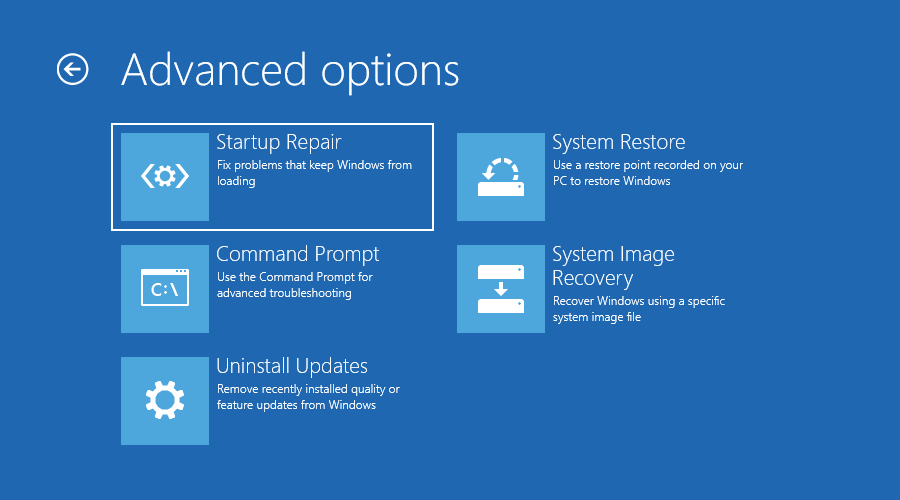
The Advanced Startup Options Screen shows a list of system recovery tools you can use to repair startup problems, run diagnostics, or restore your system. The following is a screenshot of the Advanced Startup Menu in Windows 11.
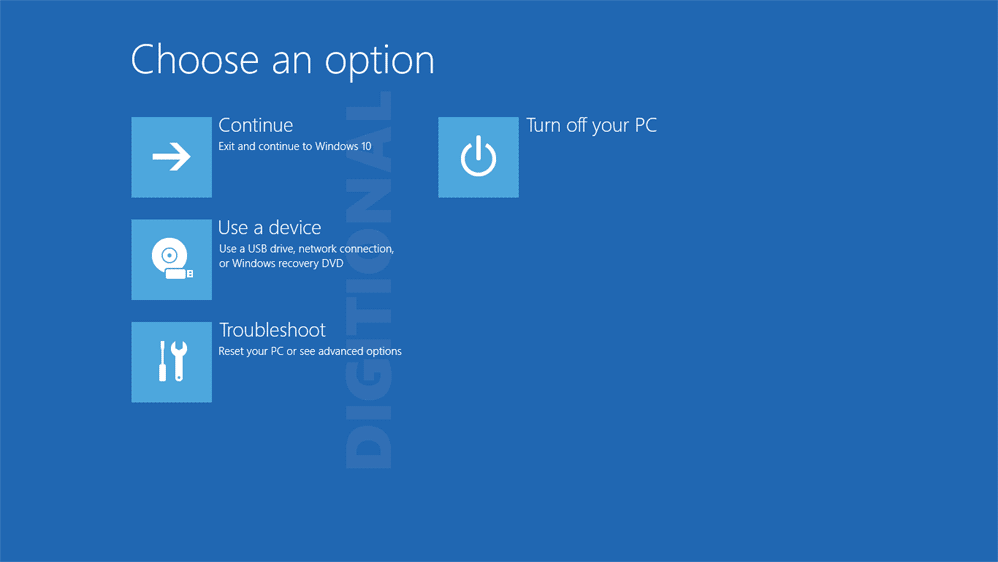
Select the Troubleshoot Option and then Select Reset this PC (or Recover from a drive in some PCs) Option if you are trying to Reinstall Windows with your System Settings and preferences intact.
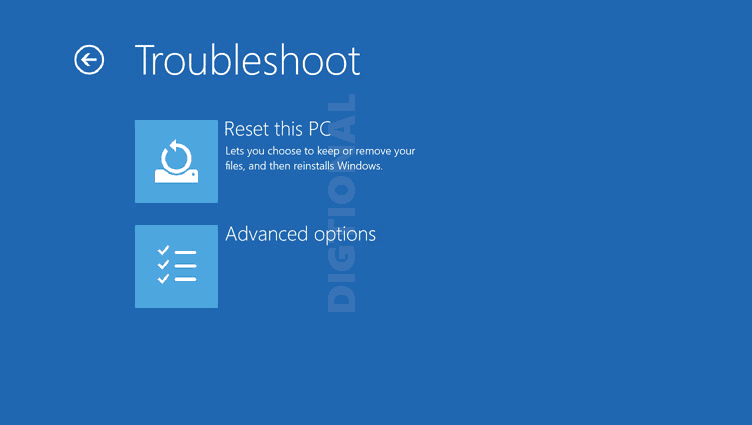
To Repair your Windows 11 operating system you should select Advanced Options and then select Startup Repair and follow the steps.