No Sound or audio in Windows is one of the most frequent and commonly occurring problems. It can happen due to multiple reasons such as faulty cables, hardware failure, misconfigured settings, apps, missing drivers or incompatible Windows updates.
Moreover, most users frequently switch between sound devices like speakers and headphones, making it more likely for sound issues to occur. Windows 11 users facing these issues can use this checklist to identify the problem and try its possible solutions.
Check all Physical Connections in Wired Speakers and Headphones.
Make sure that your Audio device like the Speaker or Headphones are switched On and are connected to your computer. Check that the Auxiliary audio cable is properly inserted in the right 3.5mm jack both in the computer and the speaker. Try cleaning the jack with a soft clean cloth to remove any oil or dirt layer.
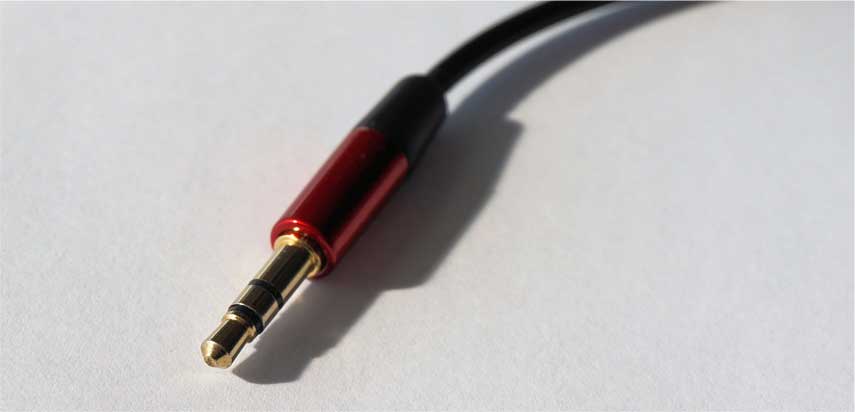
Also, check that you have connected the Aux cable to the right port. A headphone or Aux cable should be connected to the green or black audio out port.
Make sure that any Wired speaker connected to your computer is powered on and its connection Mode is set to Aux-In. Most wired speakers also support Bluetooth and USB playback modes. If the mode in the speaker is set to Bluetooth then change it back to Aux-In (Audio-In). Also, try increasing the volume with the physical button within the speaker.
You can also try connecting the speaker or headphone to your smartphone or a different computer to check if it works. This would find out whether the problem lies in the PC or in the audio device.
Check the Mute Button & Settings.
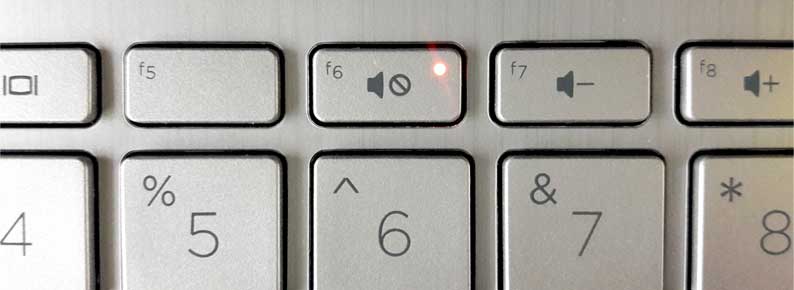
Most laptop computers have a physical mute button on the keyboard. Try pressing this button to Unmute your computer.
The Speaker icon in the Windows taskbar at the bottom right also shows the status of your sound device.
Press the Windows + A shortcut to open the Action Center and then Click on the speaker icon to Unmute the sound device.
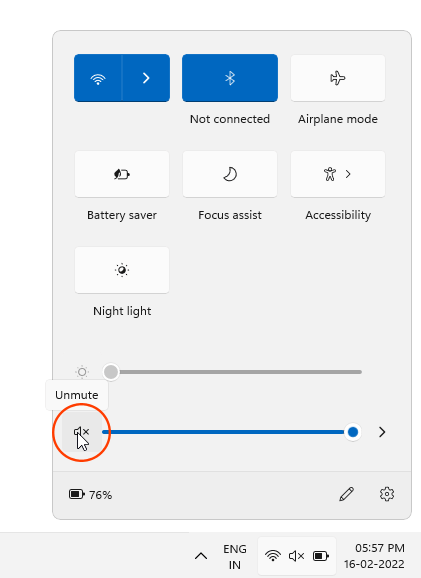
Check the volume level and increase it to 100 % using the slider.
Also check any physical mute buttons in your External Speaker or headphone. Check that the app or program playing the audio is not set to mute. Also, try playing the video/audio in a different app.
Change the Default Audio Device
Most computers these days can connect multiple audio devices at the same time. A laptop computer has internal speakers, can also have a monitor or TV with speakers connected to the HDMI port and a Headphone connected with Bluetooth or with the 3.5mm Aux jack.
Windows automatically changes the new device as active when you connect it to your computer. However, situations may arise when you accidentally change the audio device to internal speakers when you want the headphones/external speakers to play the audio.
In situations like these Windows would play the audio through the internal speakers, even when external speakers or headphones are connected.
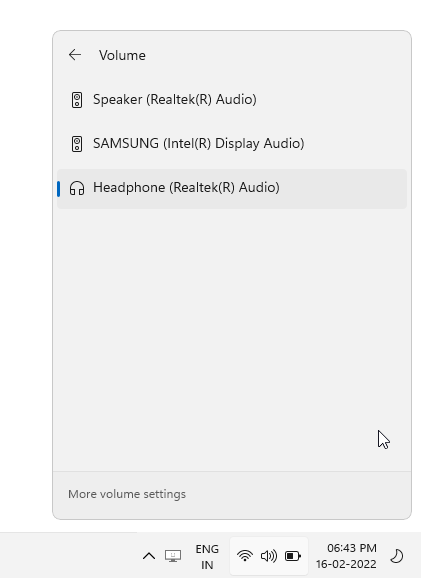
You can change the Default Audio device using the Action Center. Press the Windows + A shortcut to open the Action Center and then click on the Manage Audio Device arrow.
This would list all the active audio devices connected to your computer. Select the device where you want the Audio to play.
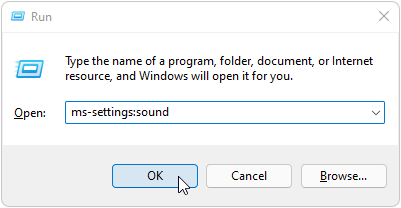
You should also try changing the Default Audio device using the Sound Settings in the Settings app. To open Sound settings, press the Windows + R shortcut key and type the following command and hit Enter. Alternatively, you can also access it through Settings > System > Sound.
ms-settings:sound
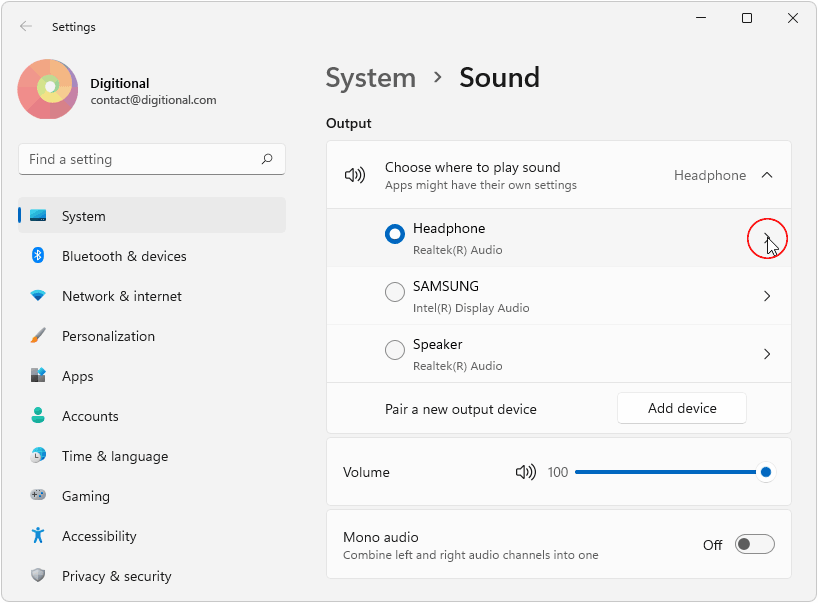
In the System > Sound window, select your preferred audio device and click on the Arrow next to its name.
The next page would open its Properties settings. Make sure that the button next to Audio says “Don’t Allow”. If the audio device is disabled then this button would read Allow. You should then click on “Allow” button to enable this device.
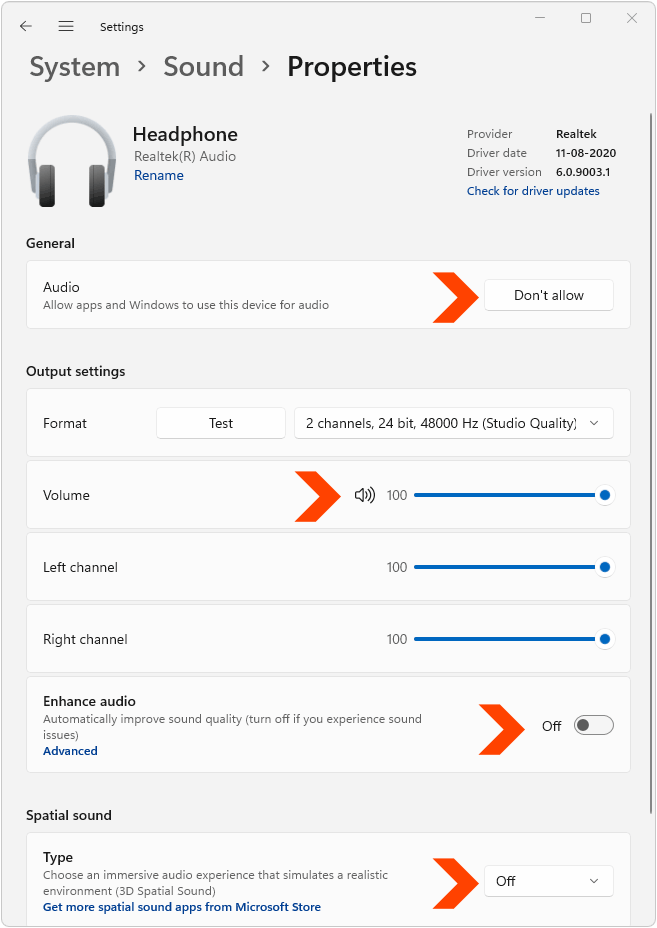
Also, scroll down and increase its volume slider to 100. Also, toggle Off the button next to ‘Enhanced Audio’ and ‘Spatial Sound > Type‘.
Reconnect Bluetooth Speakers/Headphones
A Bluetooth or Wireless speaker may have audio issues if the bluetooth in your computer is switched off or the device is out of range or not configured or connected properly.
You can try removing its Bluetooth pairing with your computer and reconnect it to see if it fixes any audio issues.
Make sure that your Speaker is set to Bluetooth mode and kept close to your computer with no obstructions.
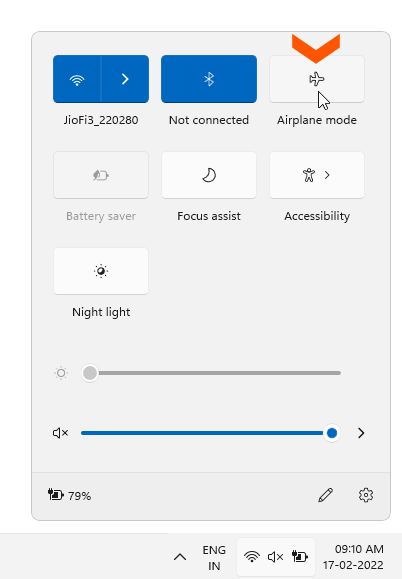
Also, confirm that Airplane mode is disabled in Action Center. To Check the status of Airplane Mode, press the Windows + A shortcut and check that “Airplane Mode” is not active.
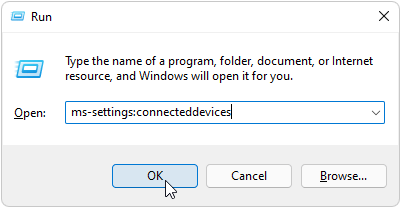
Then, Press the Windows + R shortcut key and type the following command in the Run dialog.
ms-settings:connecteddevices
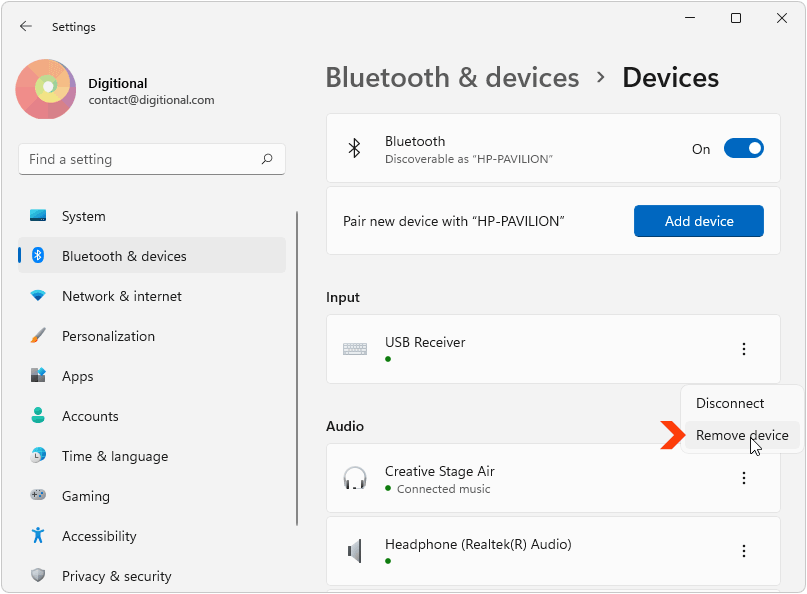
Make sure that the toggle button next to Bluetooth is turned to ON.
This page would show your Bluetooth speaker under ‘Audio‘ if it’s already connected and paired to your PC. It would show the active connection status with a small green dot.
Click on the three dot icon next to your Bluetooth speaker or Headphone’s name and then select Remove Device. Click on Yes on next dialog to Confirm removing the device.
After removing the Audio device pairing, click on the Add device Button on top.
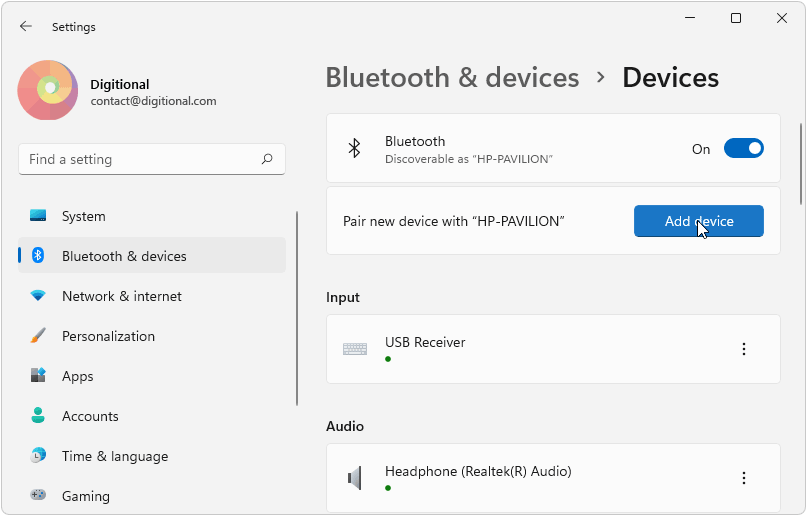
Select Bluetooth on the ‘Add a device‘ window.
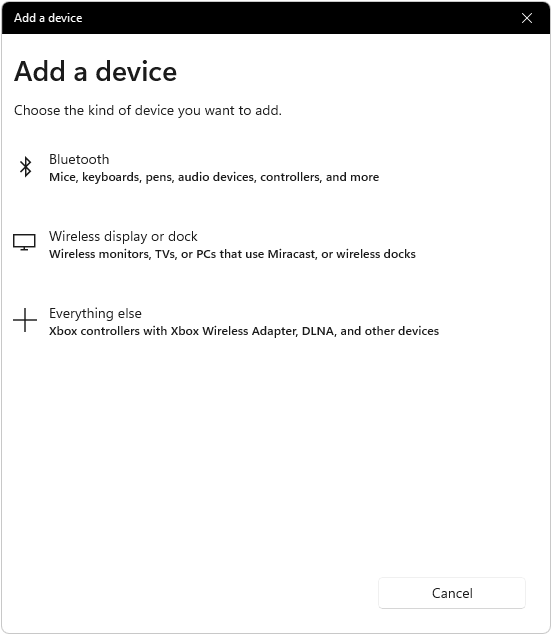
Windows would start scanning for your speaker. Click on its name to connect and pair it.

Check the volume in Windows taskbar after pairing and also increase the volume in the speaker using its physical volume button.
Enable the Audio Device in the System settings
Audio devices accidentally disabled or misconfigured due to an app or setting can be re-enabled in the System Sound Settings.
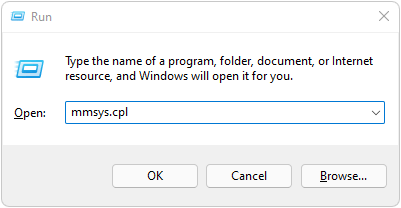
To open this window press the Windows + R shortcut key and type the following command in the Run dialog and hit Enter.
mmsys.cpl
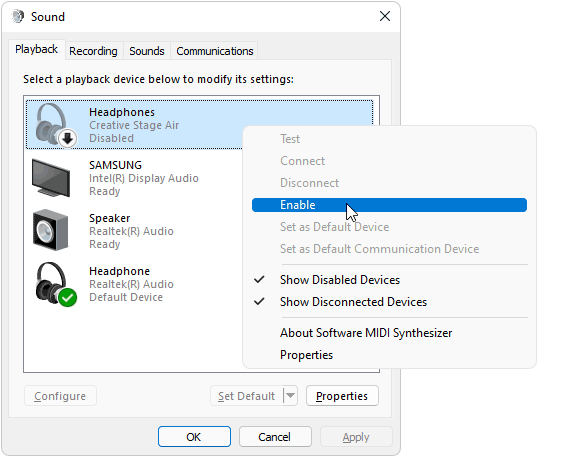
In this window, make sure that your preferred audio device is enabled. A disabled device would be grayed out. Right click on the disabled device and select Enable from the contextual menu.
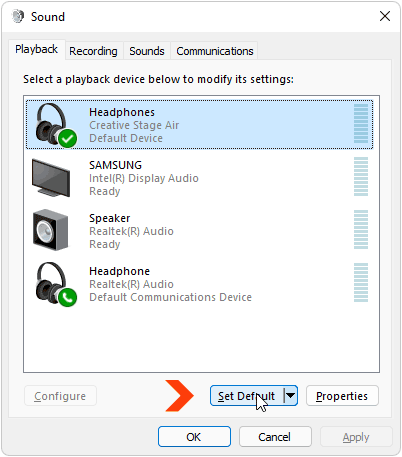
Also, click on the Set Default button at the bottom after enabling it.
Run the Audio Troubleshooter
Audio Troubleshooter in Windows would look for common errors and settings which are causing sound output issues and suggest solutions.
Press the Windows + R key to open the Run dialog and enter the following command to open the Sound settings.
ms-settings:sound
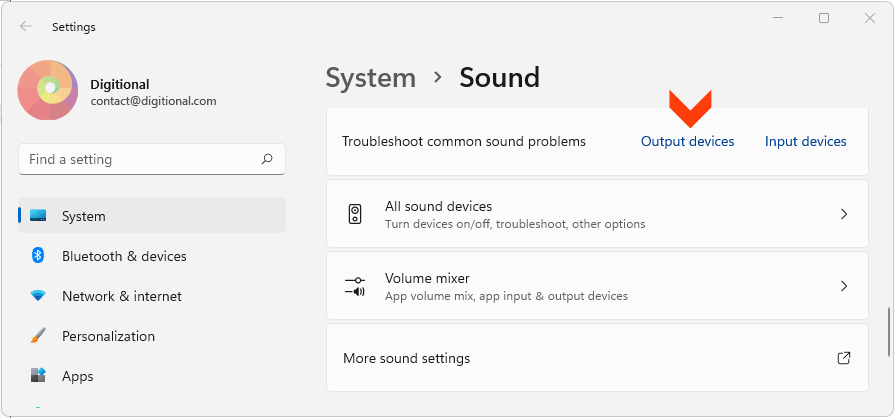
Scroll down and look for ‘Advanced‘ heading. Under Advanced, click on Output devices next to “Troubleshoot common sound problems”.
Select the Faulty Audio Device and Click on Next.
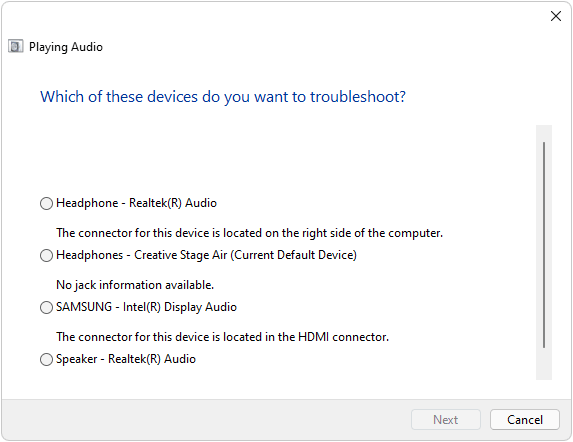
Try the fix suggested by the Troubleshooter to fix your sound issues and Restart your computer.
Reinstall Audio Drivers
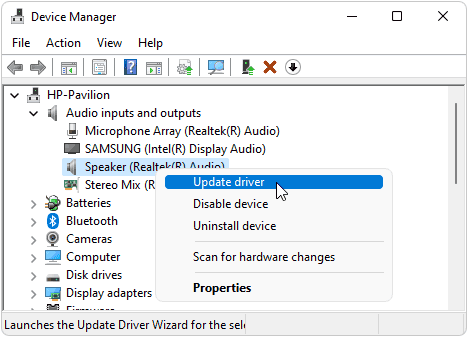
Press the Windows + X shortcut and select ‘Device Manager‘ from the contextual menu which appears.
In the Device Manager, expand the ‘Audio inputs and outputs’ tree. Right Click on your primary audio device and select ‘Update Driver‘.
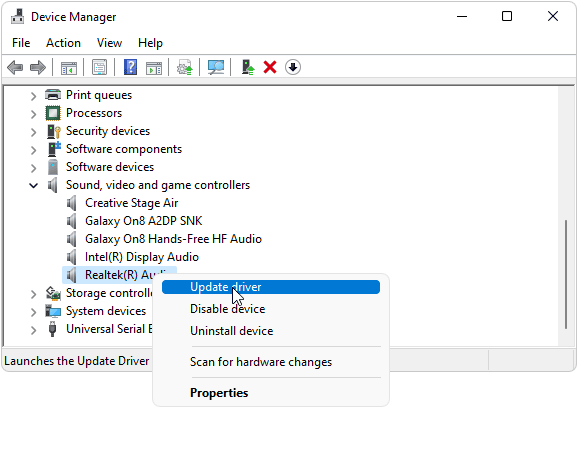
Also, expand the ‘Sound video and game controllers‘ tree. Right click on your primary sound device and select Update Driver.
You can also try Uninstalling the device, then restart your computer and let Windows install the new drivers for your audio device.
Update Windows
Sometimes updating Windows may fix some Sound issues in your computer. Make sure that Windows is up to date. Go to System > Windows Update and click on Check for Updates button.
Sometimes, Microsoft also sends optional updates like drivers and firmware updates, tailored for your computer which are not installed by Windows and are left to the user to decide.
You can try some of these optional updates to see if it fixes the sound issues on your computer.
To open, Optional updates, press the Windows + R shortcut key and type the following command in the Run dialog.
ms-settings:windowsupdate-optionalupdates
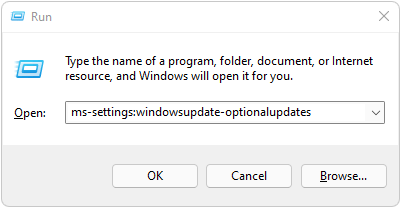
Select all the optional updates for Sound and Audio drivers, if available and click on Download and Install.
Restart Windows Audio Service
As the name suggests the Windows Audio service manages audio devices and works in the background. This service may malfunction or get stopped, which would cause audio issues.
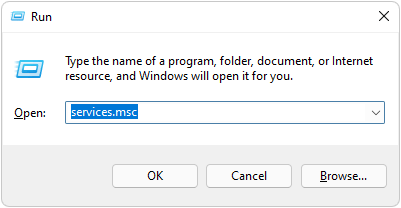
You can restart this service using Windows Services. To open it, press the Windows + R shortcut and type the following command.
services.msc
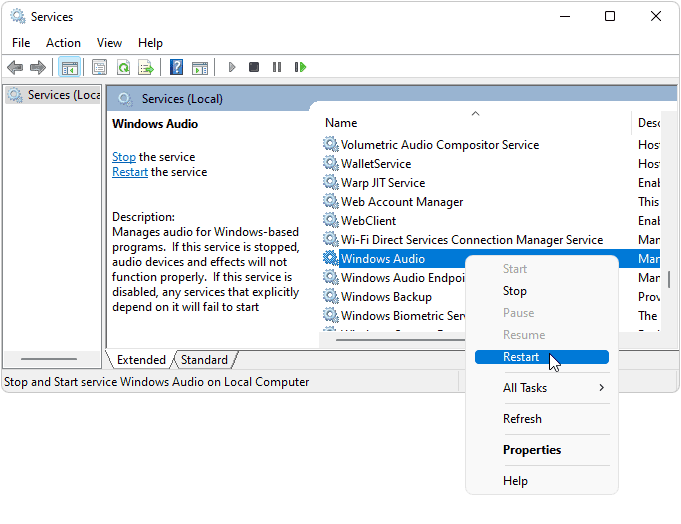
In the Services Window, look for ‘Windows Audio‘. Right click on Windows Audio and click on Restart if it’s already running or click on Start if it’s stopped/disabled.
Also check the following services and restart/enable them,
Windows Audio Endpoint Builder
Remote Procedure Call (RPC)
Reset Your PC
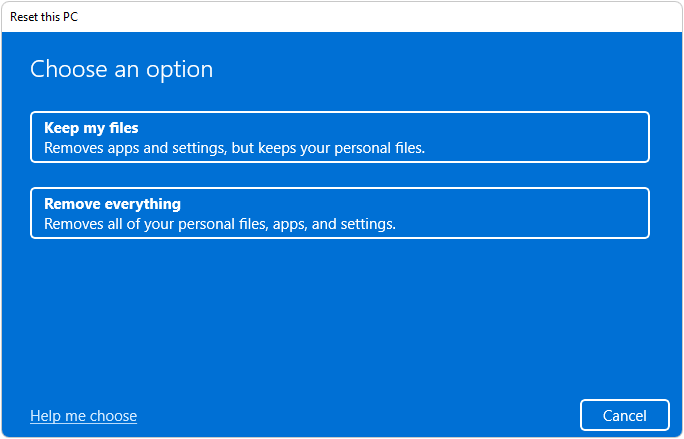
You can try resetting your PC if nothing else works and the problem is not due to a hardware failure. Resetting the PC in Windows 11 gives you the option to keep the files and settings intact.
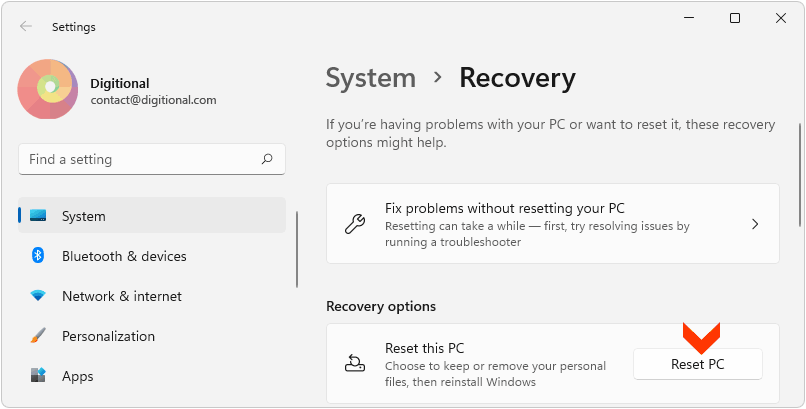
To open, Windows Recovery & Reset, press the Windows + R shortcut and enter the following command in the Run dialog.
ms-settings:recovery
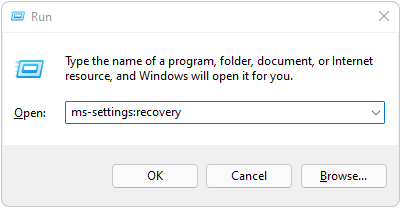
Click on the Reset PC Button.
Select your preferred option on the next window to continue Resetting your PC.
We hope, you were able to fix the no audio issue by following these steps.