A frozen or stuck mouse can be due to numerous reasons like a hardware failure, dead battery, misconfigured app or settings, missing drivers or incompatible Windows updates.
Windows 11 users facing erratic or stuck mouse issues can use some of the methods listed below to identify the problem and try its possible solutions.
Check for Hardware Failures
A hardware failure like a faulty mouse cable or damaged USB connector means a completely dead mouse. If it’s an optical mouse then check whether the optical LED at the back is glowing when the mouse is connected to the USB port.
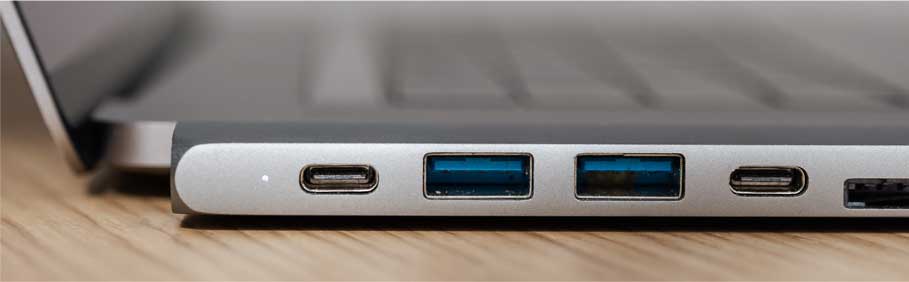
If the LED is not glowing then try plugging its connector to a different USB port.
If its LED at the back still doesn’t glow then it’s probably a hardware failure or dead USB ports.
A Wireless mouse on the other hand uses an InfraRed LED which is not visible to the human eye, so you won’t see a glowing LED even when the Wireless Mouse is working.
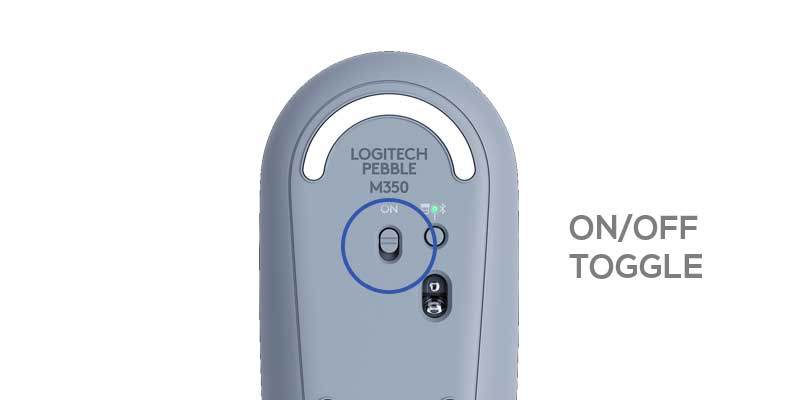
In a Wireless mouse, the first thing you should check is the ON/OFF toggle button at the back of the mouse. Check if the button is in the ON position.
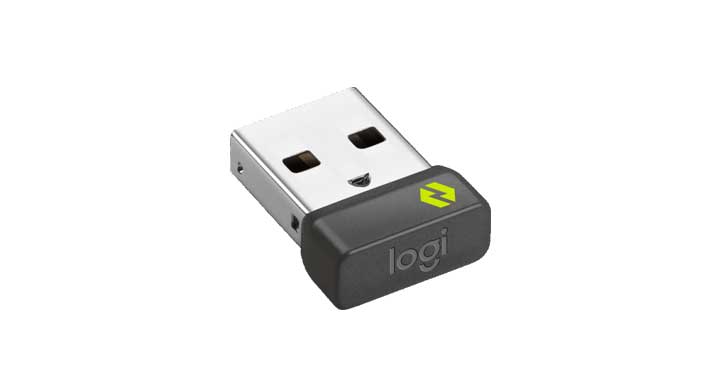
If your wireless mouse still doesn’t work then you can try changing the USB port of the Wireless Mouse Receiver.
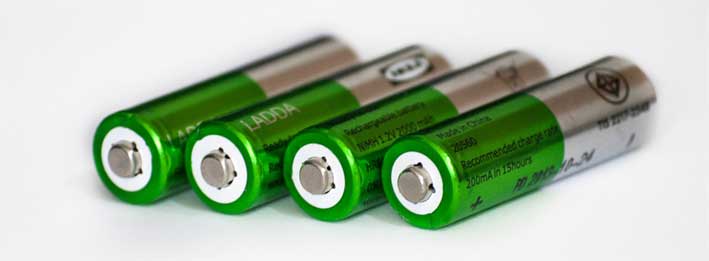
If that doesn’t work then you can try changing the batteries of your Wireless Mouse.
You should also try connecting the Wireless Mouse to a different computer.
If none of the things mentioned above worked, then you can use your phone camera to check if the InfraRed LED in the Wireless mouse is working. InfraRed LED is not visible to the human eyes but your phone camera is sensitive to IR light and can help you to diagnose a faulty Wireless mouse.
Switch on your phone camera and focus it on the LED cavity at the back side of the mouse. Cover this cavity with your thumb and gently slide your thumb sideways so as to quickly cover it and then reveal it.
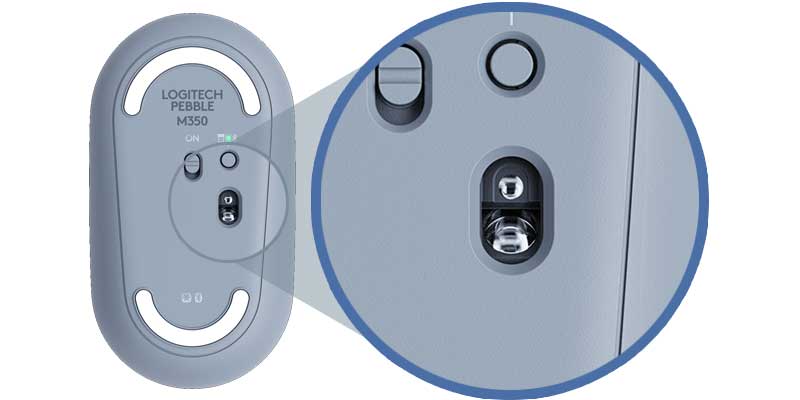
You would see a faint blue light being emitted from the InfraRed LED which indicates that your Mouse is Working all right and the problem lies in the Computer or the Mouse Receiver. Do this test in a dark room for better visibility.
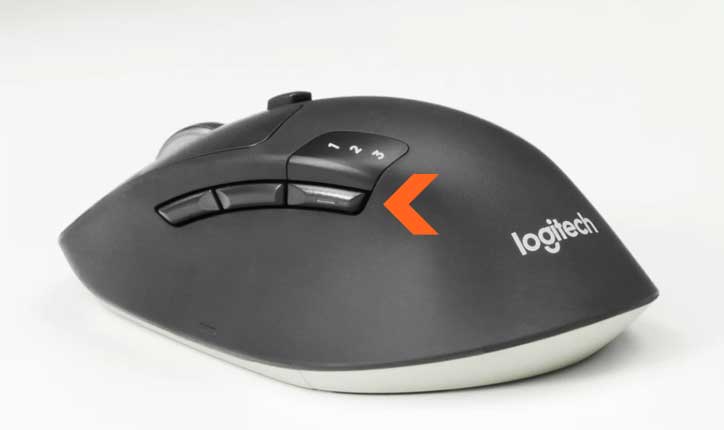
If it’s a multi OS or multi-device compatible Wireless mouse then try switching the OS / device by pressing the OS/Device Switch buttons.
Check the Mouse Connection Status
Windows Settings app shows the connection status of all the active devices connected to your PC. If your Optical, Bluetooth or Wireless Mouse is not being detected in Windows then you can find out the connection status using the Settings app.
To open the Settings window press the Windows + R key, to open the Run dialog. Then, type or copy paste the following command and click on OK
ms-settings:connecteddevices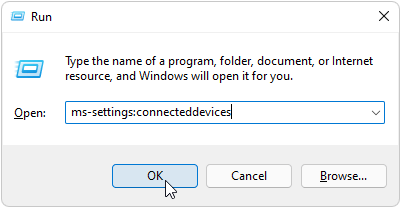
This would open the Bluetooth & Devices > Devices window. This window lists all the active devices and their connection status.
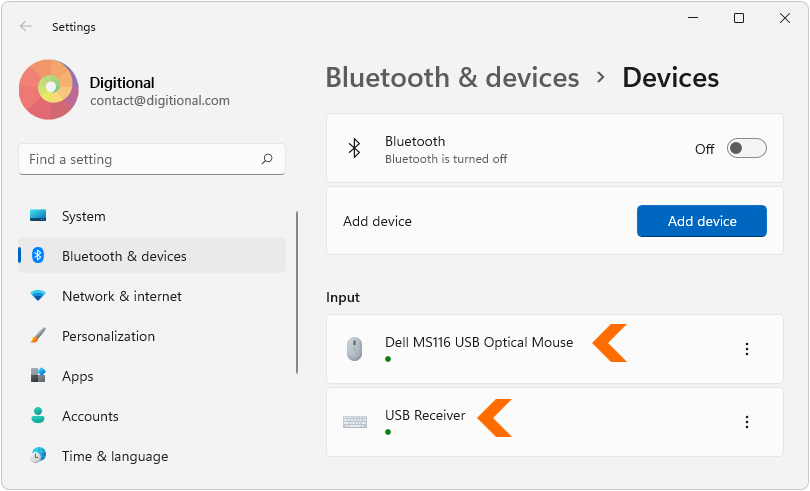
Look under Input for the connection status of your Optical or Bluetooth Mouse. If it’s a Wireless Mouse or a Keyboard-Mouse combo then It would show its USB Receiver’s connection status with a small green dot.
If you are using a Bluetooth Mouse then ensure that the Bluetooth is switched ON and the Mouse is listed under Input and the connection is active.
You can also try adding the device by clicking on the Add Device button.
Reinstall the Drivers for the Mouse.
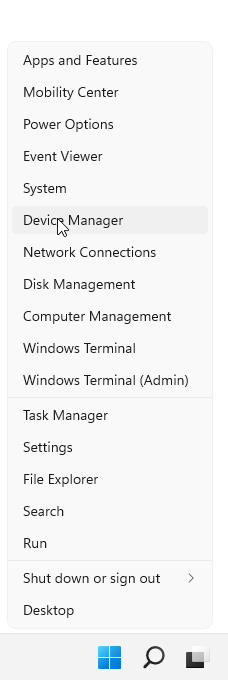
You can reinstall the drivers for your Mouse or keyboard using the Device Manager app on Windows. To open Device Manager, Right click on the Start Menu and select Device Manager from the context menu or press the Windows + X keyboard combination and choose Device Manager.
If you have multiple mice connected to your computer then remove all of them and only keep the faulty mouse connected. In Device Manager window, expand the ‘Mice and other pointing devices‘ tree. It would show all the mice connected to your computer.
The mouse would be listed as ‘HID-compliant mouse’. Right Click on it and select Properties. In ‘HID-compliant mouse Properties’ window, select the Driver tab.
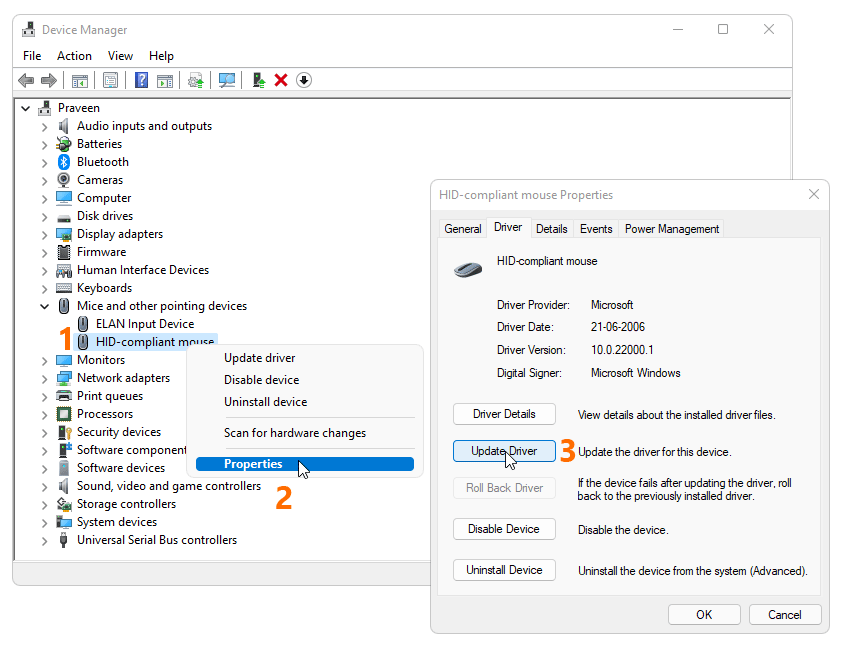
The Driver tab gives you the option to Update and Uninstall the drivers for your Mouse. Try Updating the driver, then restart your PC to see whether it fixes the mouse issue.
You can also try Uninstalling the Device by clicking on Uninstall Device. After Uninstalling the device, keep your mouse connected to the PC and then Restart it and let Windows automatically install the drivers for your mouse.
You can also try installing the mouse drivers from its Manufacturer’s website.
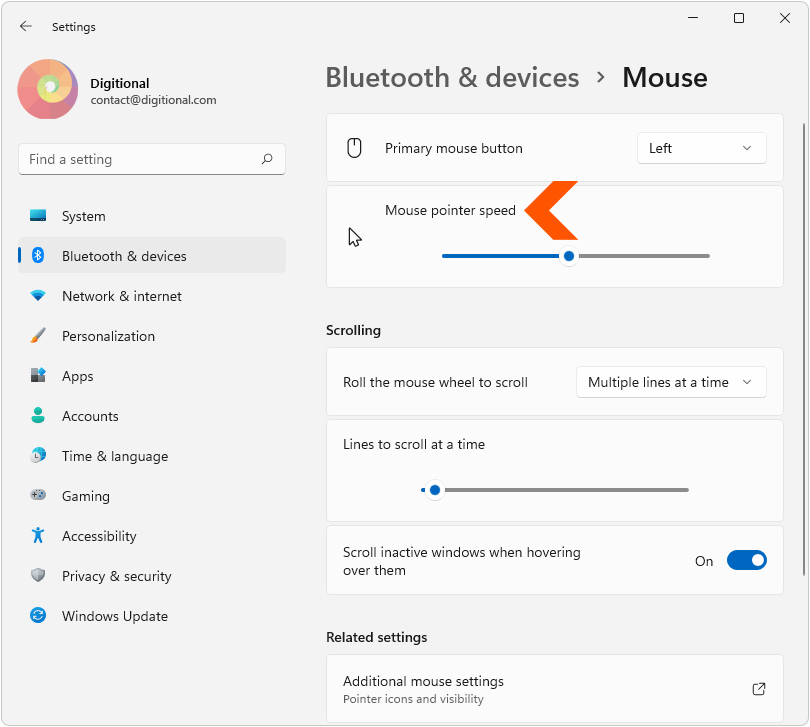
Try Changing the Pointer Speed
You can also try changing the pointer speed of your mouse in Windows settings to see if it makes any difference.
To do that press the Windows + R shortcut to open Run dialog. Then copy-paste or type the following command and click on OK.
ms-settings:mousetouchpad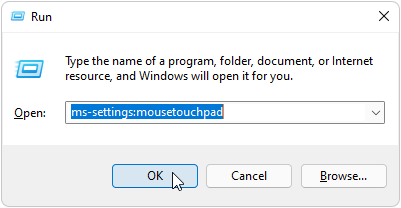
Use the slider next to Mouse Pointer speed to increase or decrease it as per your preference.
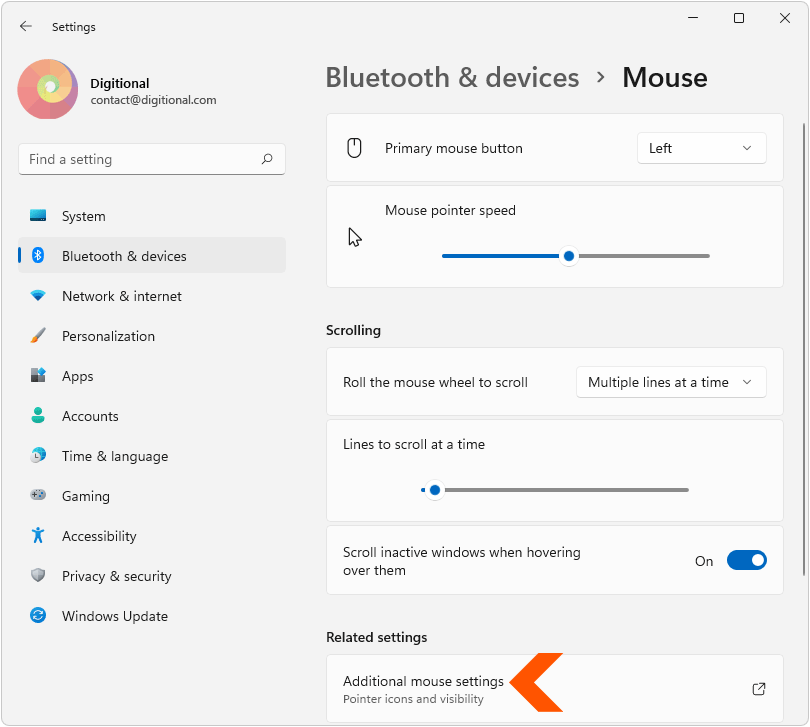
Enable / Disable Pointer Precision
You can also try Enabling/Disabling Pointer Precision to check if it makes any difference. Open the Mouse Settings Windows by pressing Windows + R key and typing the following command in the Run dialog.
ms-settings:mousetouchpadTo access this setting click on Additional Mouse settings at the bottom of the Mouse settings window.
Then select the Pointer Options tab in Mouse Properties window. Check the box labeled ‘Enhance Pointer precision’ if it is not already enabled.
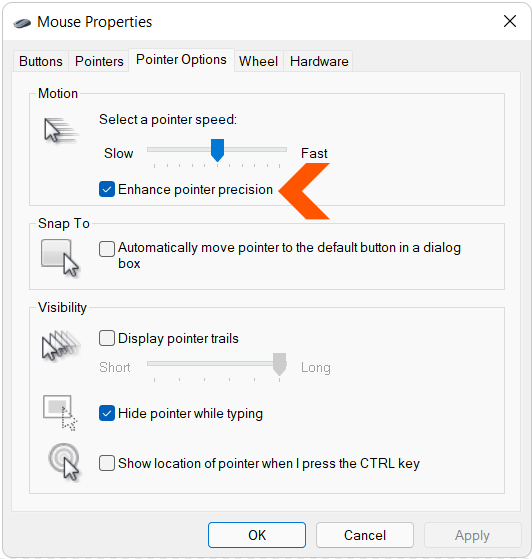
You can also try disabling this setting if it makes your Mouse pointer erratic.
Try Hardware and Devices TroubleShooter
The Hardware and Devices Troubleshooter is an inbuilt application which would run a system diagnostic and check for settings and common errors causing hardware issues. You can run this troubleshooter to check if it fixes the mouse issue.
Press the Windows + S shortcut to open the start menu and search for ‘Command Prompt’ app. Click on Run as Administrator to open it with elevated privileges.
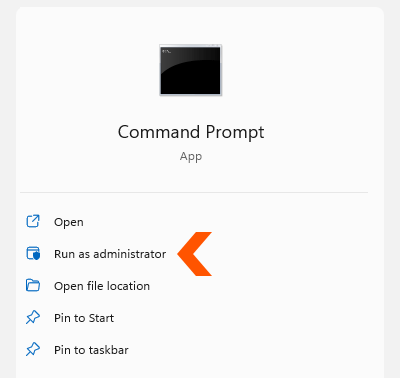
Then copy-paste or type the following command in the Command Prompt window and hit enter.
msdt.exe -id DeviceDiagnostic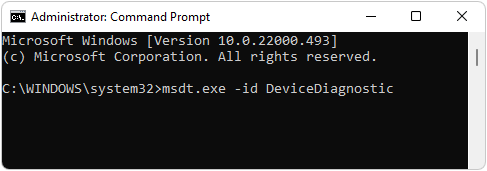
This would start the troubleshooter which would start scanning your PC for any recent hardware changes and errors and would suggest the associated fixes for the issue.
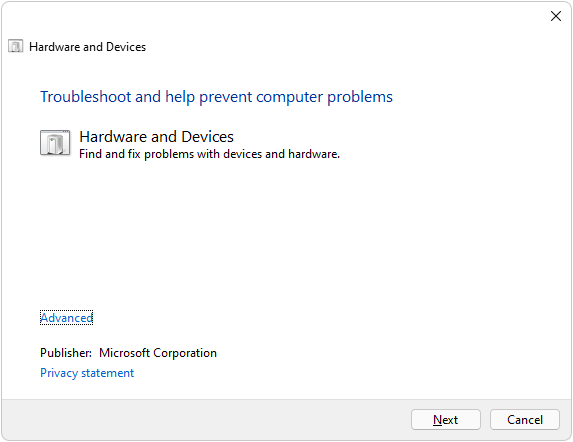
It would suggest fixes after scanning for errors and hardware issues. Select a Fix to apply it.
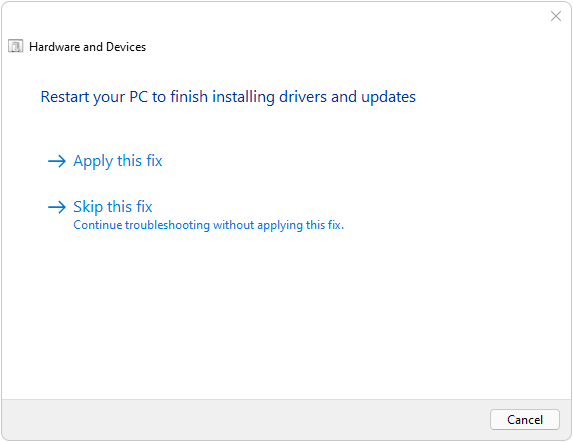
Restart your PC and see whether your mouse starts working again.
Uninstall / Reinstall USB Controller Drivers
You can also try uninstalling the USB controller drivers from the Device Manager if none of your USB ports are working. Try this fix if you have an optical or Wireless mouse with a Wireless receiver. This will not work for Bluetooth connected mice.
Open the Device manager by right clicking on the Start menu, or by pressing Windows + X shortcut key and selecting Device Manager.
In Device Manager window, look for ‘Universal Serial Bus Controllers‘ and expand it.
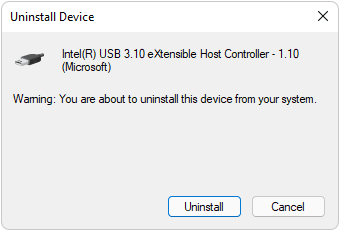
Right Click on ‘USB 3.XX eXtensible Host Controller’ and select Uninstall Device.

On the next window click Uninstall.
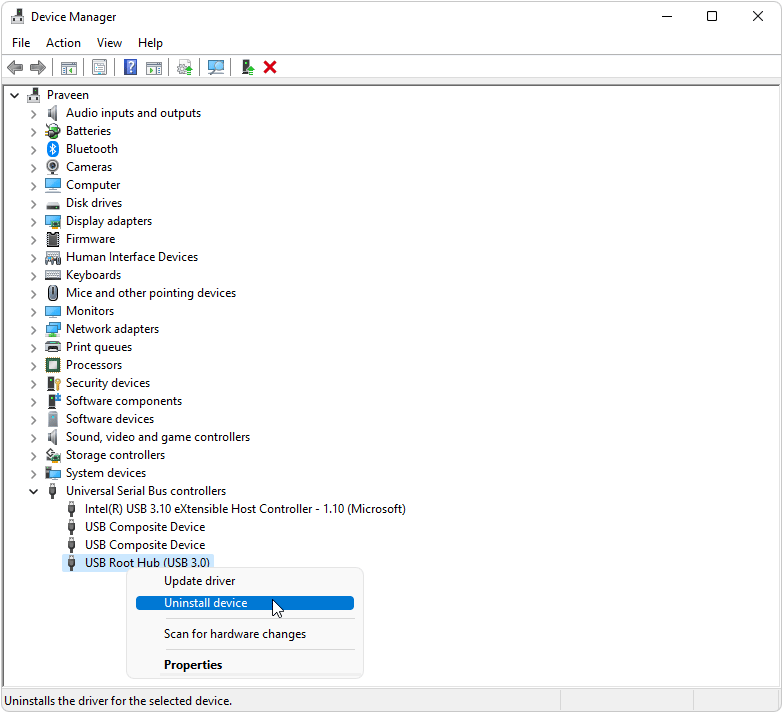
Similarly, Right Click on USB Root Hub (USB 3.0) and select Uninstall Device and click on Uninstall in the next window.
Restart your PC, after uninstalling these drivers. After restarting, Windows would automatically look for new drivers and install them. This should fix the mouse issue if your USB ports were causing the problem.
Try Cleaning the Mouse Lens
Try Cleaning the Mouse lens in the LED cavity with a clean moist cloth or isopropyl alcohol. Any dust accumulated on the lens can make the mouse pointer erratic.