Icon Cache in Windows is a database file maintained by the Operating system to save the layout, position and properties of your desktop and file explorer icons.
These database files are used by the Operating system and apps like Windows Explorer for displaying and rendering the icons. There are separate icon cache databases for every screen resolution and icon size.
This database is automatically created, managed and handled by Windows but sometimes these database files may get corrupted, causing your icons to shift or move from their position automatically.
In such a situation you can try deleting these database files and let Windows rebuild the icon cache files afresh.
How to Delete the Icon Cache in Windows 10 & 11
The steps to delete the Icon Cache in Windows 11 & 10 are the same. However, you won’t be able to delete these database files using the File explorer. These files are in perpetual use by the Windows Explorer and it won’t allow you to delete them while it’s active.
However, you can use the Command Prompt in Windows to delete the Icon Cache Files. To delete the files follow the steps given below.
Step 1
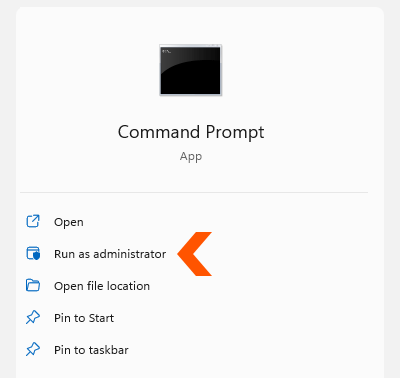
Press the Windows + S shortcut key to open the Start Menu search and type Command Prompt in the search box.
Click on Run as Administrator to open Command Prompt with Elevated privileges. This is important as you need admin privileges to delete the Icon Cache files.
Step 2
The Icon Cache databases are located at the following location in your computer. You have to replace the username with your Windows username in the following path. However, you won’t be able to delete them from file explorer.
C:\Users\username\AppData\Local\Microsoft\Windows\Explorer
Type the following command in the Command prompt window to open this folder within the Command Prompt.
cd %homepath%\AppData\Local\Microsoft\Windows\Explorer
Step 3
You can type the following command to view the Icon Cache database files within the Command Prompt. These files would have a .db extension.
dir iconcache*
This command would display all the Icon Cache database files maintained by Windows.
Step 4
Now, we will delete these files and let Windows rebuild the Icon Cache database on its own. However, we will first have to close the Windows Explorer, which is always running in the background and won’t allow deleting these files.
To close Windows explorer first close any open File explorer windows and any other apps and then enter the following command in the Command Prompt window and hit Enter.
taskkill /f /im explorer.exe
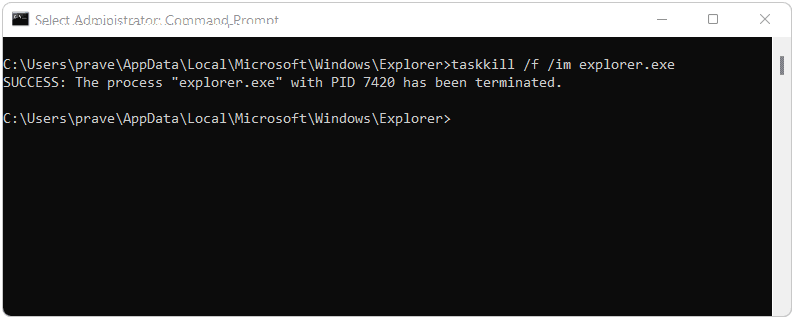
On executing this command Windows would close the Taskbar or Start menu and your screen may go blank or dark. Your computer would return to normal state when we restart Windows Explorer after deleting the Icon cache files.
Now, enter the following command in Command Prompt to delete the icon cache files.
del iconcache*
If you get an Access denied error on deleting, this means you are running Command prompt without administrator privileges. You will have to go back to Step 1 and start Command Prompt in ‘Run as Administrator’ mode.
Step 5
After deleting the Icon Cache files you can restart Windows explorer by typing the following command in the Command Prompt.
explorer.exe

This would bring back the taskbar and Windows Explorer.
Type “exit” without quotes, in the command prompt window to close it.
Restart your computer and Windows would now rebuild the Icon Cache. This should fix the Icon missing or shifting issue.