Photoshop has many features which allow you to automate your workflow and save time. Photoshop can record your actions and then repeat the same action on other files. Let’s say you are applying sepia tone to a color photo in Photoshop.
You can tell Photoshop to record every step you took and then tell Photoshop to save these steps as an action. You can then use the action or recorded steps to convert hundreds of color photos to sepia color tone with just a single click.
Then there are scripts which are more or less similar to actions but can accept conditional instructions. You can create your own scripts or actions by recording your steps or you can buy them online.
Image Processor is one such script which comes preinstalled with Photoshop. You can use it to batch resize multiple images at once. If you are transferring hundreds of photos from your camera and want to resize all of them to a lower resolution, then you can use this script and let photoshop resize them automatically.
Resize images using Image Processor in Photoshop
Before you begin, put all your original size photos in a single folder. Open Photoshop.
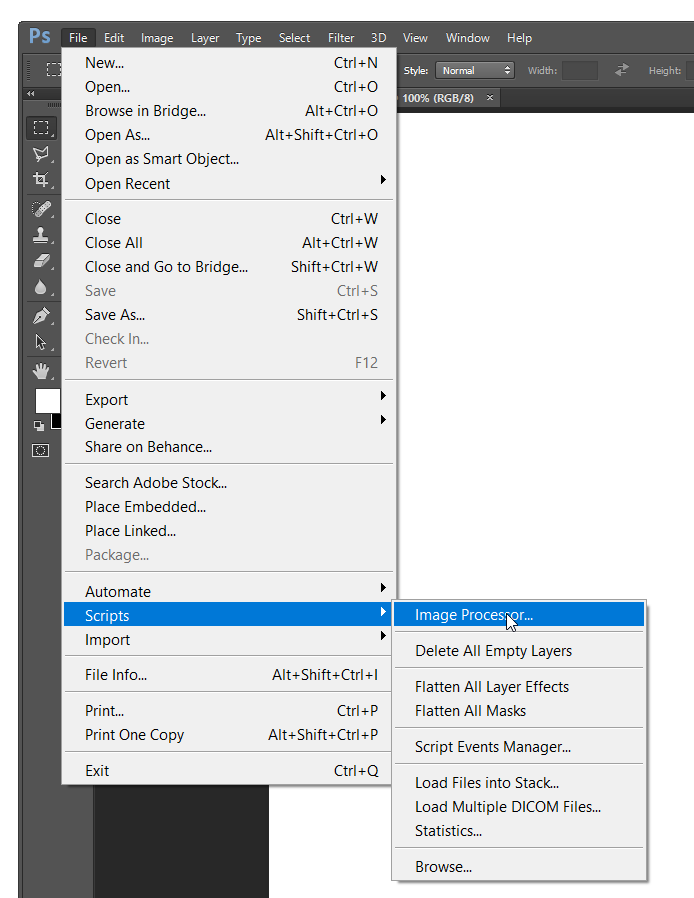
Go to File menu in Photoshop and then Select Scripts > Image Processor. This will open the Image Processor dialog.
Step 1
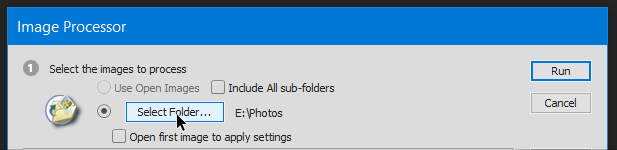
The Image Processor dialog is divided into four sections. In the first one you have two options, either to resize the already open images or to select a folder containing all your images.
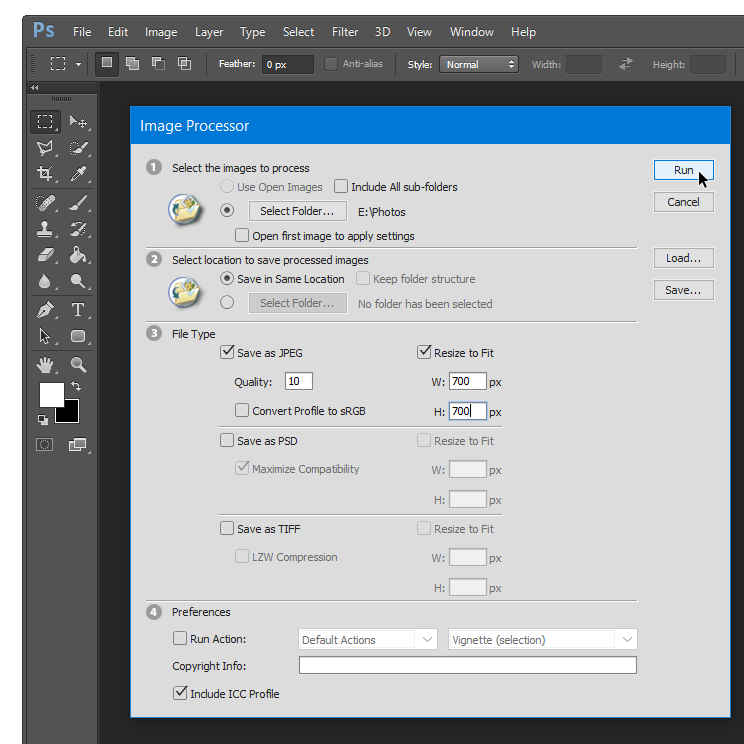
Click on the, Select folder option and then navigate to the folder containing the photos. Click on the checkbox titled Include all sub-folders if you have sub-folders inside your main folder.
Step 2
In step 2 you have to select the location of the folder where you want to save your resized images. You can either select the same location or select a different folder for the converted images.
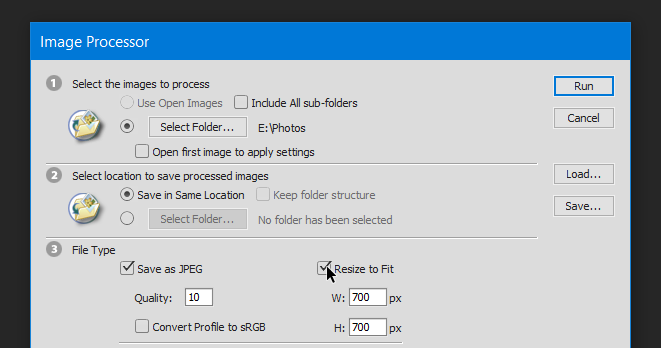
If you select the same location option, then Photoshop would create a separate folder inside the folder containing your original images, for saving the resized copies. Photoshop won’t overwrite or mess up your original images.
Moreover, you also have the second option of selecting a different folder for saving your resized copies.
Step 3
This is the most important step where you have to specify the dimensions and file type for your final resized images.
Select Save as JPEG checkbox. In the Quality textbox, you have to enter a value between 0 to 12. The higher the number the higher would be the quality and file size of the image. Select the checkbox titled, Resize to Fit.
Now, enter the dimensions for resizing your images. Let’s say you have images with a width of 1366 pixels and height of 768 pixels. You can either resize it by height or by using its width.
Let’s say, you want to reduce the width of an image from 1366px to 700 pixels. Then enter 700 in both the boxes for height and width, without worrying about stretched images.
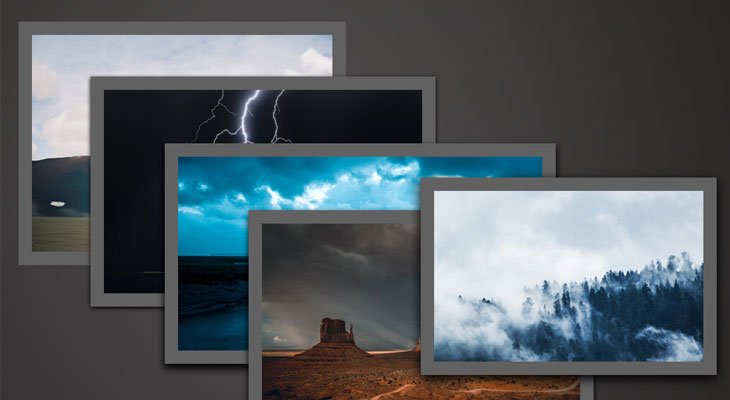
Photoshop would maintain the aspect ratio upon resizing the images. As you can infer from the image shown below, both images A and B have the same width in pixels but their height is different.
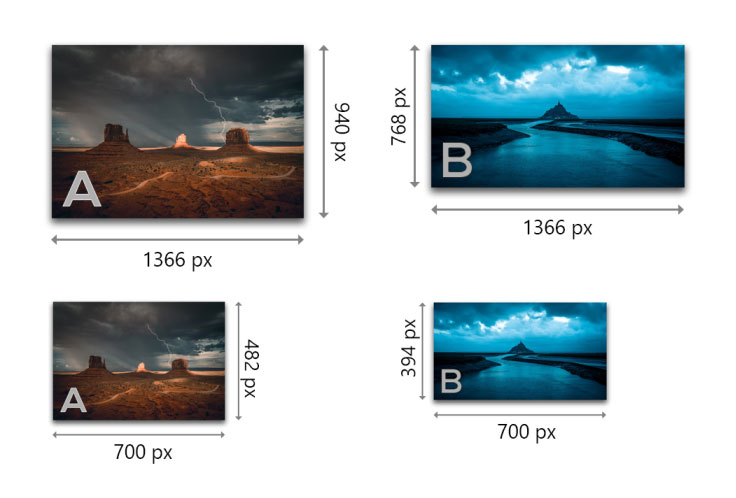
Photoshop would maintain the aspect ratio and the height would be readjusted accordingly in the same proportion, after the images are resized.
Step 4
Under Preferences, you can select an Action which you would like to apply to your images. Since, we are only interested in resizing our images, we can safely skip this step and click on the Run button in the top right corner of the dialog.
On clicking on Run, Photoshop would start converting or resizing your images. The time it takes would depend on the number of files, file size of your original images and your system’s hardware config and it may take a few seconds or minutes.
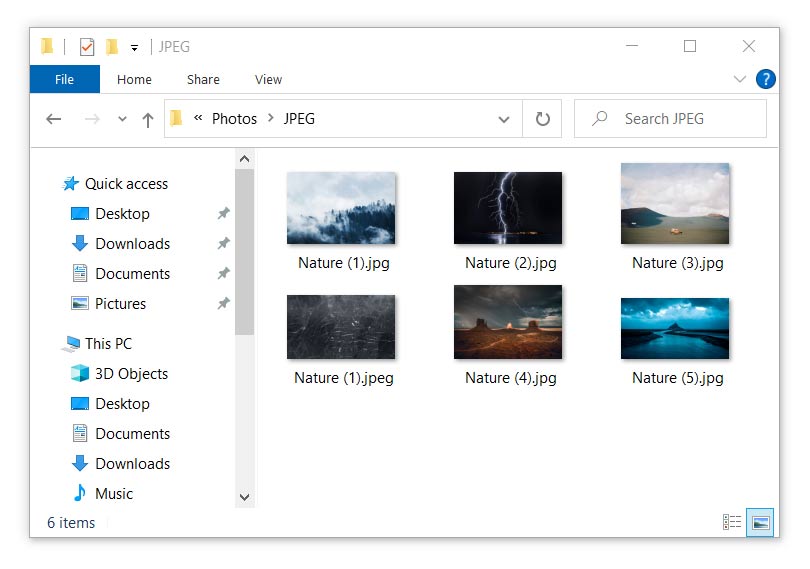
Open the folder which you had selected in the Step 2 above, to find your resized images. If you chose the same location as your original folder then a new folder titled JPEG would be created inside that folder, containing the resized images.