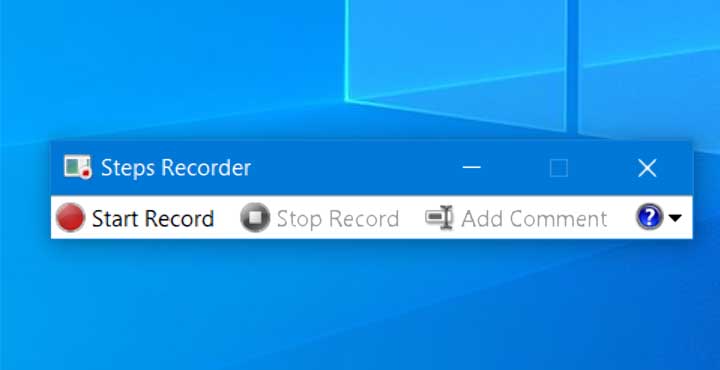
The Steps Recorder (also called the Problems Steps Recorder) is a feature in Windows PC’s which helps you take automatic screenshots of every action or step you perform like click of a mouse or press of a key on the keyboard.
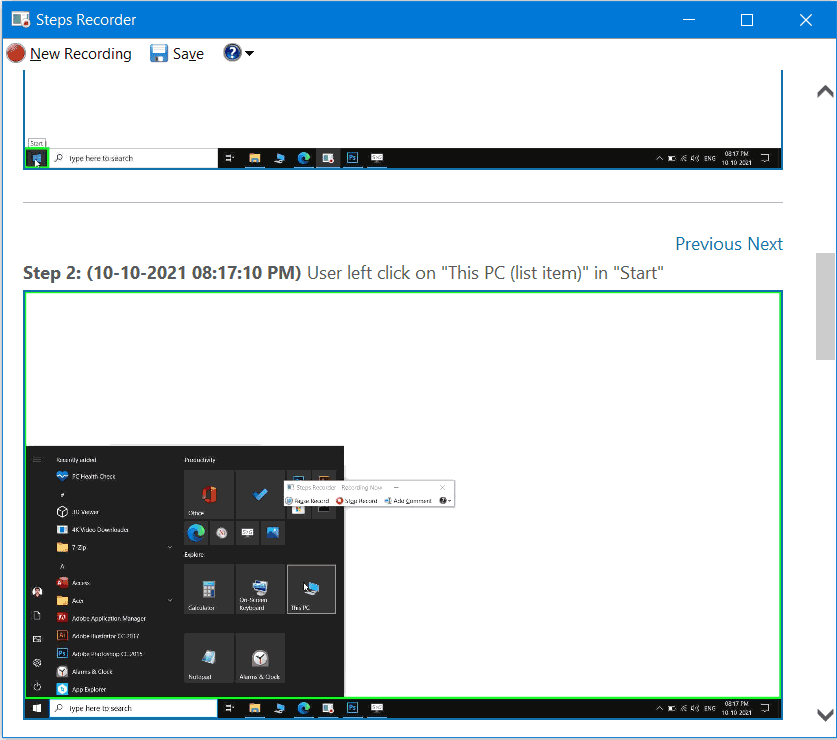
The Steps Recorder would also add a system date and time stamp with each screenshot or step along with a small description of the step you took. This is helpful in situations when you encounter problems on your PC and need to send screenshots to a support professional.
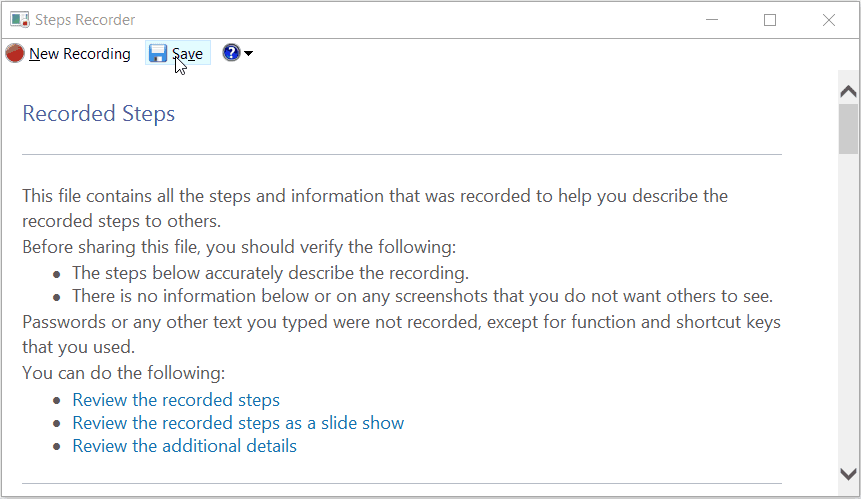
The screenshots taken by Steps Recorder are automatically saved to a zip file which can be sent to the support team. It would help them in diagnosing the problem by analyzing the recorded steps.
The Steps Recorder would not record any Sensitive information like Passwords or text you enter in text boxes, except for Function and Shortcut keys you press.
Using the Steps Recorder
Click on the Start button, and then select Windows Accessories > Steps Recorder. In Windows 8 and 7 you can open, Accessories > Problem Steps Recorder.

Click on the Start Record button to start the recording. Now, Windows would automatically take a screenshot at every mouse click, or key press events of the keyboard. You can reproduce the steps to make a recording and to diagnose the problem.
You can also press on the Add Comment button in the Recorder and use your mouse to select and highlight any particular section of the screen and add a comment.
Finally click on Stop Recording when you are done. Steps Recorder would generate a report with screenshots and a description of the steps you took.
You can Click on the Save button to save the recording as a ZIP file.
You can mail this Zip file as an attachment to the support professional, if you are trying to Troubleshoot a problem on your computer.
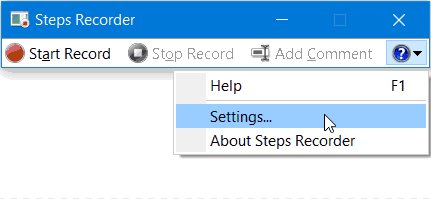
Steps Recorder Settings
You can access the Settings by pressing the Alt + G shortcut and then selecting Settings.
In the Settings dialog you can set a default file name and save location if you don’t want Windows to ask for a filename or save location whenever you create a recording using Steps Recorder.
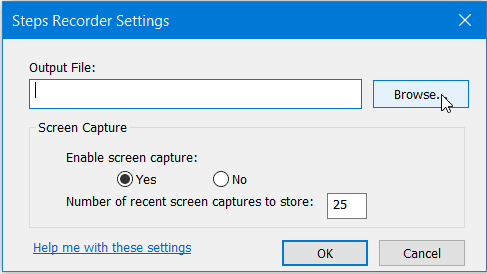
Under Screen Capture you can set the maximum number of screenshots which Steps Recorder can take. By default, Steps Recorder only takes 25 screenshots; you can increase this number if you are taking a long duration recording.
However, these settings are only active till Steps Recorder is open. It would go back to defaults when you close and open the program again.