Gradients are an essential part of graphic design and help a designer to blend one color to another to create the illusion of reality or add realism to an artwork.
Human eyes are attuned to seeing gradients quite frequently in nature. Think of the sky at the sunrise or sunset and how it forms a natural gradient of colors.
Any physical object’s color appears as a gradient of light and dark shades of that color depending on how light is falling on it.

Any artist always strives to replicate these natural aspects of any object in their artwork. So, a design which uses gradients instead of flat colors should look more real and appealing to the eye.
Illustrator offers a basic gradient tool for incorporating gradients in your design. The simple gradient tool lets you choose the colors, angle and the style of the gradient like linear or radial.
However, real life objects reflect or scatter light in multiple directions depending on the shape, size or the surface of the object. The objects in real life are three dimensional and they form multiple gradients on their surface.
To replicate three dimensional gradients; Graphic design software like Illustrator offer Mesh Tool.
How to use the Mesh Tool in Illustrator
Before using the Mesh Tool, you have to keep in mind that the Mesh tool would not give you perfect results like those with a full-fledged 3D-modeling software.
3D modeling software like Blender or Maya create true 3-Dimensional mesh objects and the interaction of light, color and gradients on their surface is automatically generated by the software.
Illustrator on the other hand gives you a 2D mesh which has to be edited manually and the choice of colors and gradients is up to you.
Step 1
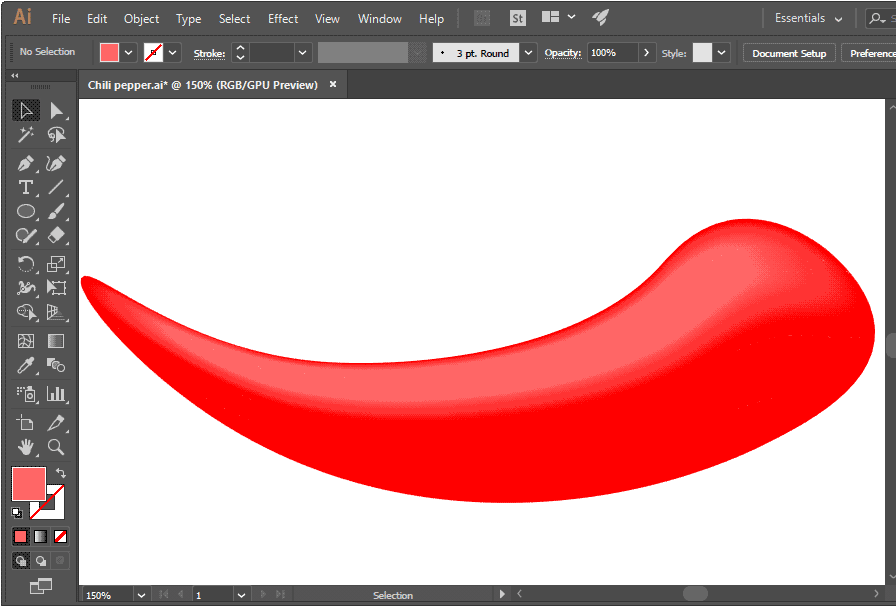
Create the outline of the object using the Pen tool. We are going to create a vector shape of a Chili pepper using the pen tool and then use the mesh tool to add the mesh points. Create the path for the object using either the Curvature tool or the Pen tool. Give it a red color.
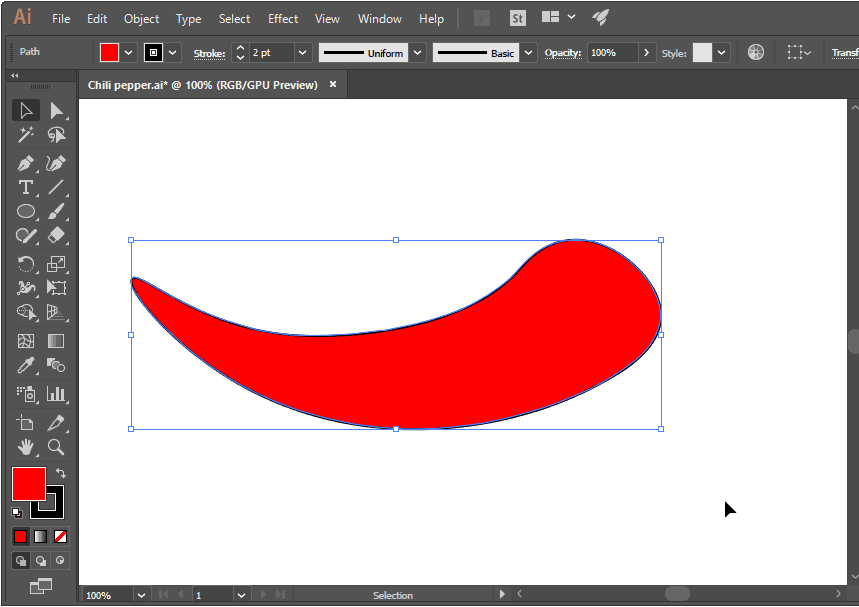
A mesh tool can be applied to any vector object except for text objects and compound paths.
Step 2
Now, we would add the mesh points to our vector object which we created in the previous step. You can create the mesh points for the gradients using two ways.
You can either let Illustrator create the gradient mesh or you can create a custom mesh using the Mesh Tool. The following image would better explain the difference between the two methods.
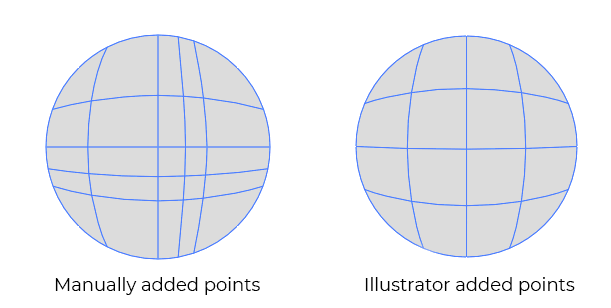
When you let Illustrator create the Mesh, it would add the mesh points at equal distance from other points or with a regular pattern.
Adding Points Manually
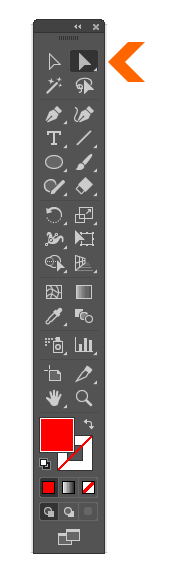
To manually add the points you just have to select the vector object. Then click on the Mesh Tool in the toolbar on the left.

Click, where you want to position the mesh point inside the object. You can add any number of mesh points by clicking anywhere inside the object.
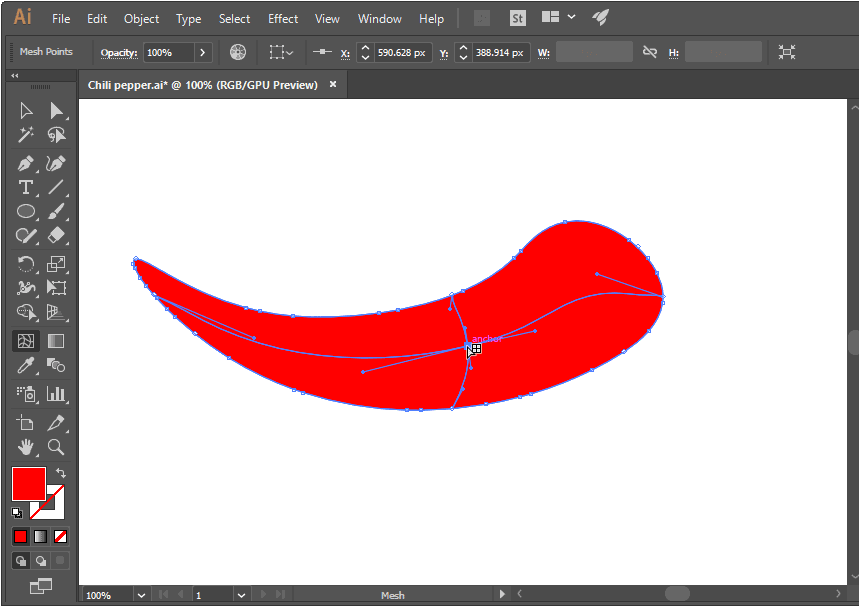
Intersecting mesh lines are automatically created by Illustrator when you add the mesh point. The gradient color which we would add later, would adhere to these mesh lines. You can modify these lines using the anchor points which appear at the mesh point.
The mesh tool adds, as well as selects the mesh points. To select any mesh point, hover your mouse over the mesh point till a white square or anchor appears.

Then click and drag it with your mouse to reposition or move it.
Let Illustrator create the Mesh Points
You can also tell Illustrator to automatically add the mesh points for you. To do that, select the vector object and then go to, Object > Create Gradient Mesh.
Illustrator would ask you for the number of rows and columns for creating the mesh lines. For Appearance choose Flat from the dropdown. Click on OK to add the gradient mesh.
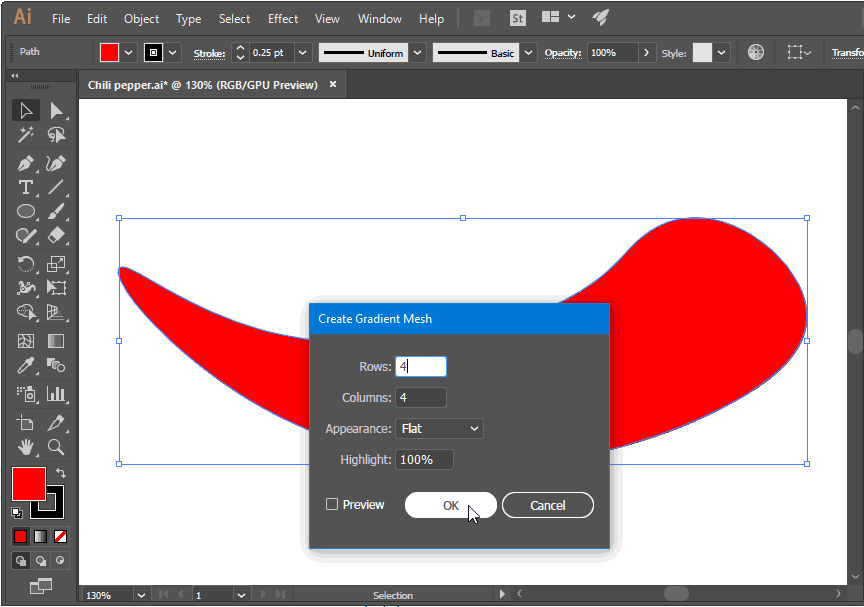
We have added four Rows and four columns to our mesh.
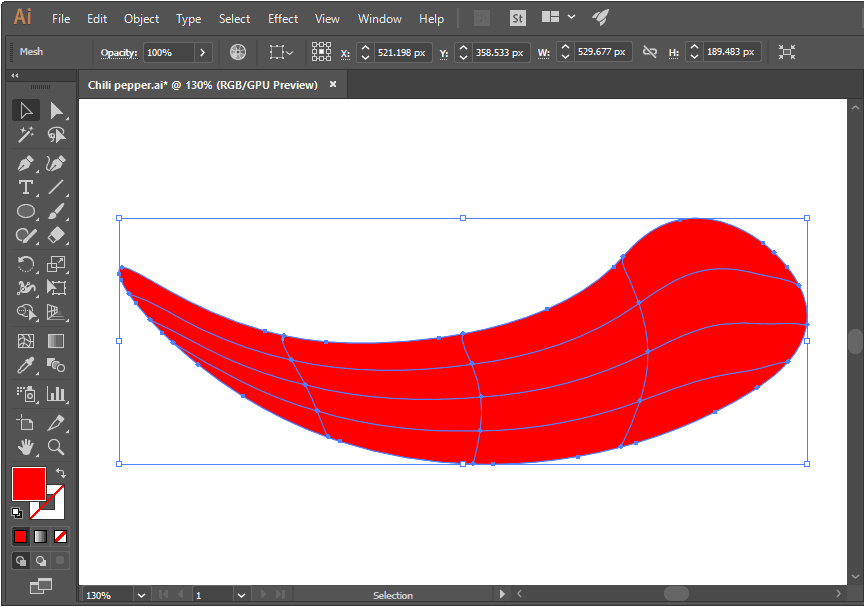
We would also add an extra mesh line at the top, manually using the mesh tool.
To do that, select the object with the Selection tool (V) and then click on the mesh tool in the toolbar.
Then add an anchor point by clicking at the location shown in the image below.
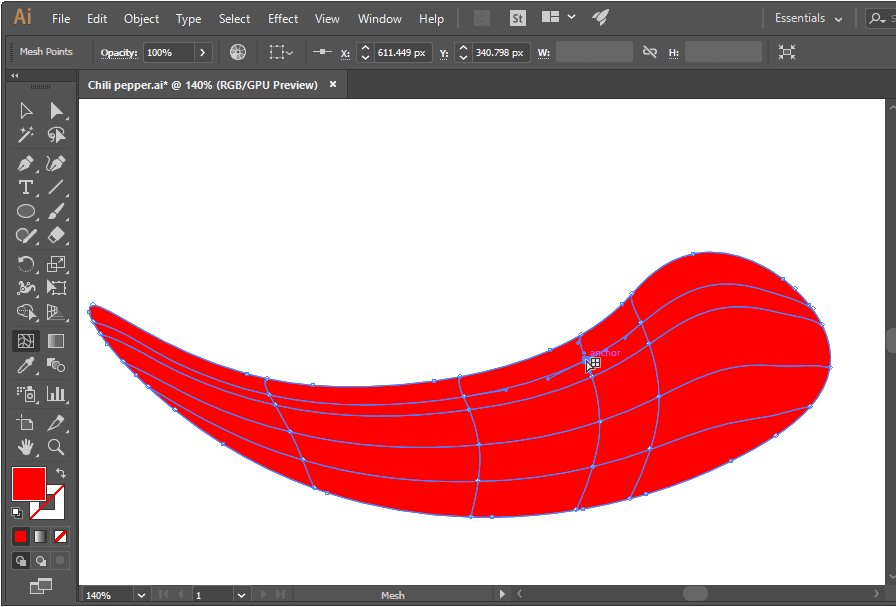
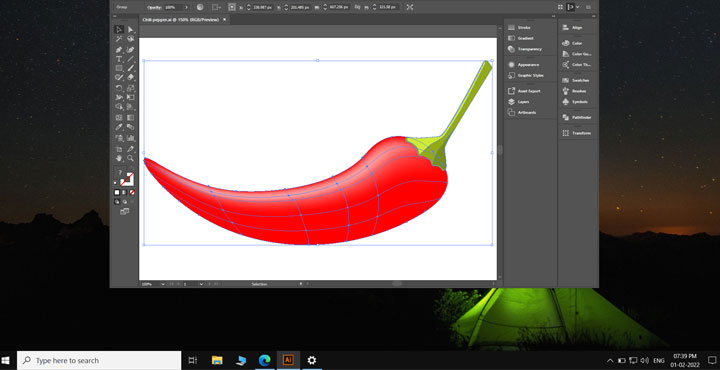
We have created the final mesh for applying the gradients.
Step 3
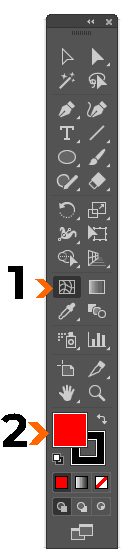
Now we would add the color to the gradient mesh. The color can be added to mesh points after selecting them with the Direct Selection Tool. To select the mesh points, click on the Direct Selection Tool in the toolbar.
Press and hold the Shift key and select the following mesh points, marked with a circle, in the following image below. To select the mesh point hover your mouse above it, until a small white square appears or the tooltip text shows “anchor”. Then click on it to select the mesh point. Make sure that you have selected all the points.

Then click on the Mesh tool to select it and then double click on the Fill color in toolbar to open the color picker.
Choose a lighter tint of red ( red + white) from the color picker.

The gradient color would be applied to the mesh lines and anchor points you selected.
You can also add shades of red color to the mesh points at the bottom using this same step.
Step 4
We created the stem for our chili pepper without using the Mesh Tool. Create the following shapes using the pen tool.
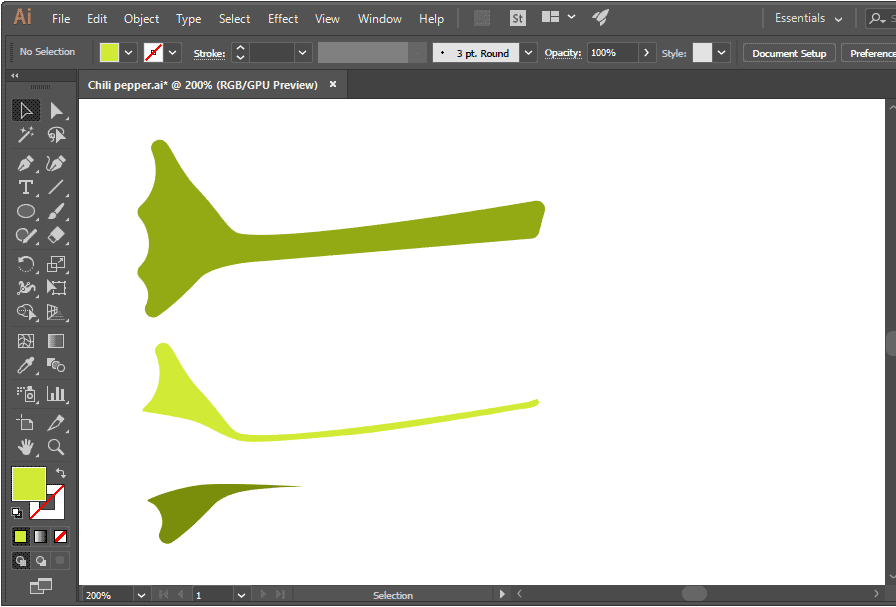
You can make three copies of the first shape. Then divide the copies using the Pathfinder, to create the other two constituent shapes. Change their color to a lighter and a darker shade.
Bring them together to create the stem shape.
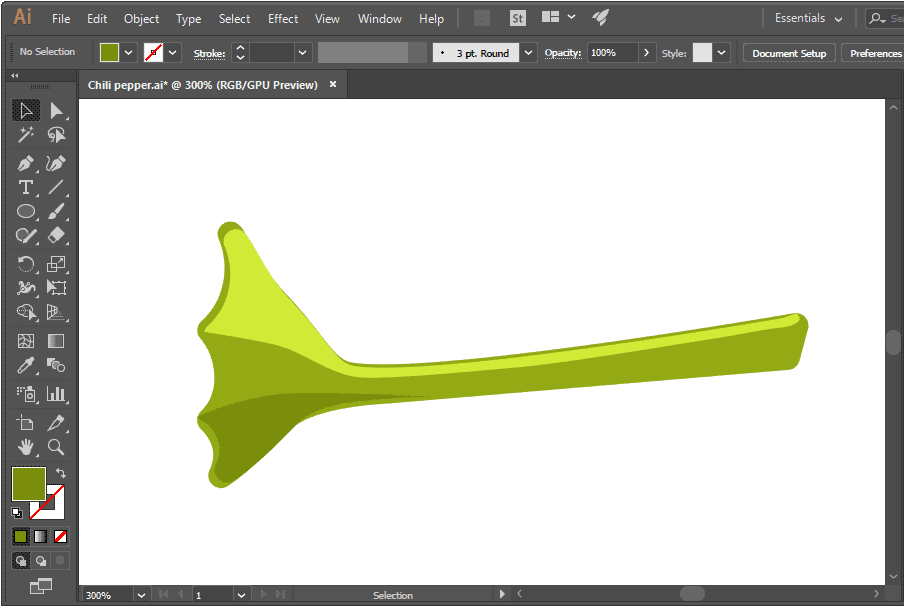
Select this composite shape with the Selection Tool and then right click and select Group from the contextual menu.
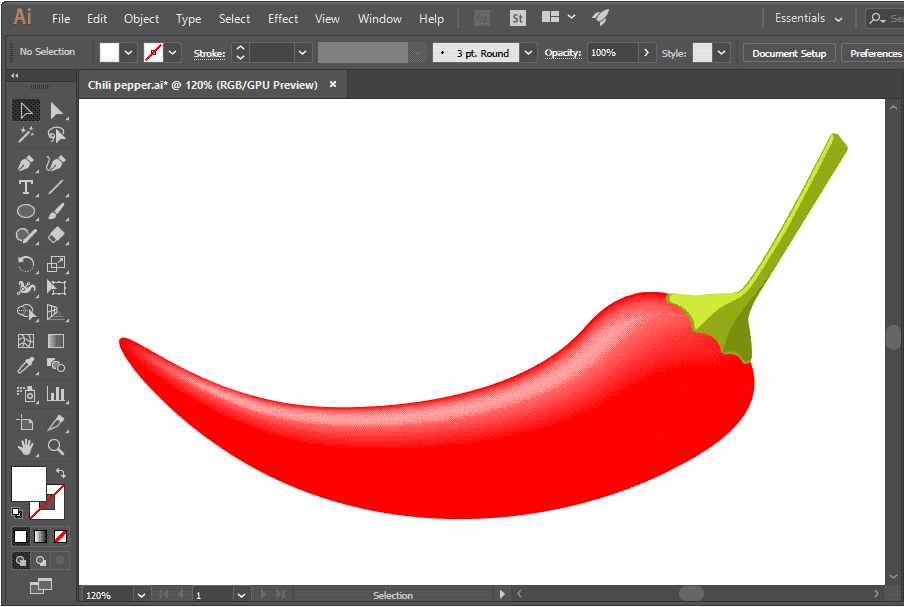
Step 5
Finally bring all the elements or objects together to create your chili pepper illustration.