
Voice typing or the Dictation feature in Windows 11 can help you to type without the keyboard by dictating your text using your Microphone.
You can also dictate punctuation and formatting commands and also edit your document using voice commands. Voice typing is especially useful for users who can’t type fast or need accessibility features to use their computers.
To use Voice typing you don’t need a fancy microphone and there’s no need to train your computer. Voice typing in Windows 10 & 11 works straight out of the box. Moreover, the speech engine in Windows now supports most of the major languages. Also, the word detection & accuracy has improved quite significantly.
To Enable and Use Voice Typing in Windows 11 you can follow the instructions given below.
Enable Voice Typing in Windows 11
Note: To use Voice Typing in Windows 11 you will need to be connected to the internet and have a working microphone. If your microphone doesn’t work or doesn’t detect audio then you can try the fix suggested in the following link.
Fix Microphone Not Working in Windows 11 – Digitional
To turn on voice typing you simply have to press Windows + H shortcut after placing your cursor inside a textbox.
This shortcut will open the Windows Voice Typing Tool in the Listening Mode. Make sure that you are connected to the internet and your microphone is not set to mute.
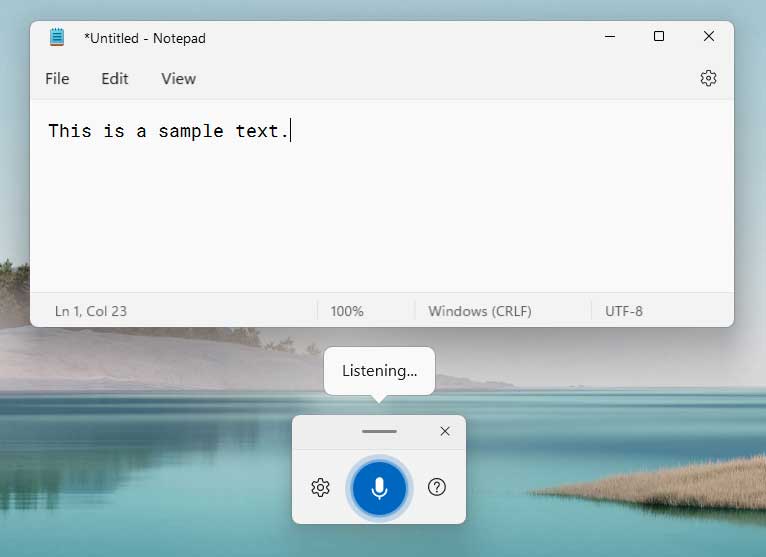
Wait for the listening alert and start speaking at a normal volume and pace. Windows would take a split second to analyze and convert your audio to text.
To Stop Voice typing simply say “Stop Listening” or click on the microphone icon on the voice typing tool.
Voice Typing commands for Editing Text
You can use predefined Voice typing commands for selecting, deleting or editing the text. For example, saying things like ‘select that’ or ‘delete that’ would select or delete the most recent sentence, phrase or word you said. If a word is selected then saying “delete that” would delete it.
The voice commands can also be used to navigate within the document. Moreover, there are application specific commands for voice typing supported apps like Ms-Word, Office365 etc.
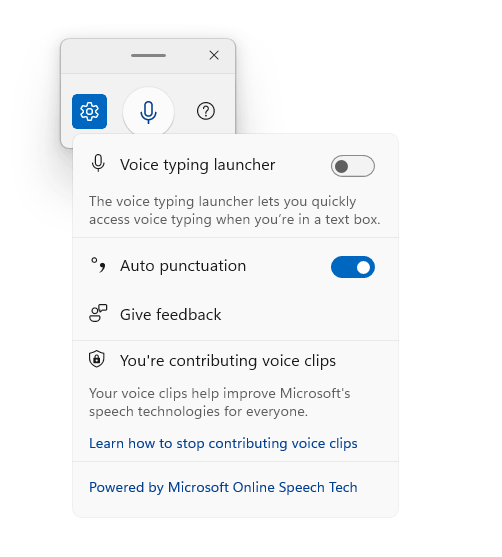
You can also enable Auto Punctuation setting in the Voice Typing tool. Windows would automatically add punctuation like comma and period when auto punctuation is enabled. To enable it click on the Settings icon in the Voice Typing Tool and enable Auto Punctuation.
Moreover, you can also use voice commands to enter punctuation and special characters.
Voice Typing Commands
| Command | For doing this |
| Select that | To select the last spoken word, phrase or sentence |
| Delete that | To delete the last spoken word, phrase or sentence. You can also use this command to delete the selected text. |
| Stop Listening | To stop voice typing. |
Punctuation Commands
| To insert this | Say this |
| ‘ | Begin single quote / Close single quote |
| – | Hyphen, minus sign, n-dash |
| _ | m-dash |
| ! | exclamation mark |
| # | pound sign |
| $ | dollar sign |
| % | percent sign |
| & | ampersand |
| ( ) | Open parenthesis, close parenthesis |
| * | asterisk |
| , | comma |
| . | period, fullstop |
| … | ellipsis, dot dot dot |
| : | colon |
| / | forward slash |
| @ | at sign, at mention |
Changing the Language for Voice Typing
Windows 11 voice typing supports the following languages at the moment.
Fully supported Languages:
Chinese (China), English (Canada), English (United Kingdom), English (United States), French (France), German (Germany), Italian (Italy), Spanish (Spain), Spanish (Mexico)
Voice Typing works for following languages but the accuracy may be limited.
Bulgarian, Chinese (Traditional, Taiwan), Croatian, Czech, Danish, Dutch (Netherlands), Estonian, Finnish, French (France, Canada), German, Gujarati, Hindi, Hungarian, Irish, Italian (Italy), Japanese, Korean, Latvian, Lithuanian, Maltese, Marathi, Norwegian(Bokmål), Polish, Portuguese(Brazil, Portugal), Romanian (Romania), Russian, Slovak, Slovenian, Swedish (Sweden), Tamil (India), Telugu, Thai,Turkish, Vietnamese.
You can also choose a voice typing language that is different from the one you have chosen to install Windows.
To change the Voice Typing language to any language other than the one you have set for Windows; you will have to first install the language pack. To install it,
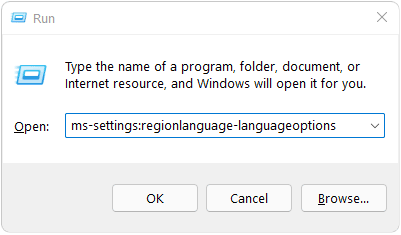
Go to Start > Settings > Time & Language > Language & region. You can also open the Language & region setting by pressing the Windows + R shortcut key and typing the following code in the Run dialog.
ms-settings:regionlanguage-languageoptions
In the Language & region, find Preferred Languages in the list and then click on the Add a Language button. Then select your language from the list and click on Next to install it.
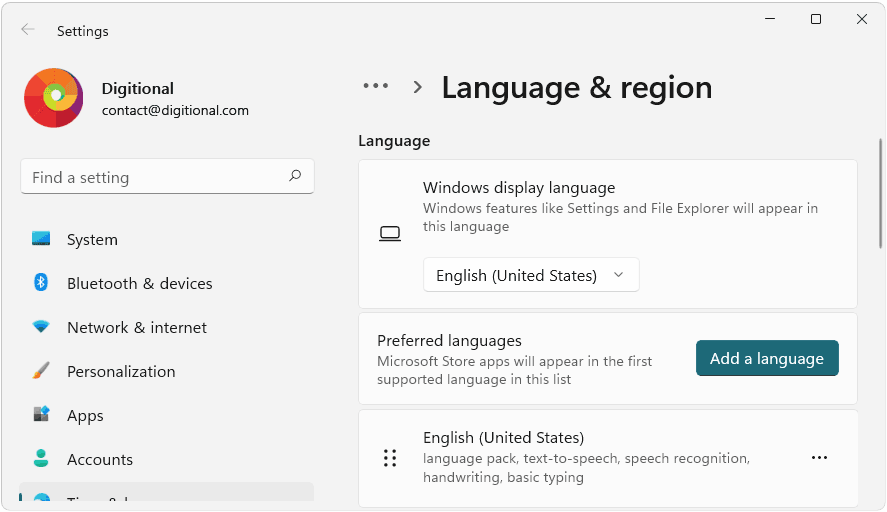
However, make sure that the language you are choosing supports voice typing. After installing the language; you can activate it by clicking on the language switcher in your taskbar.
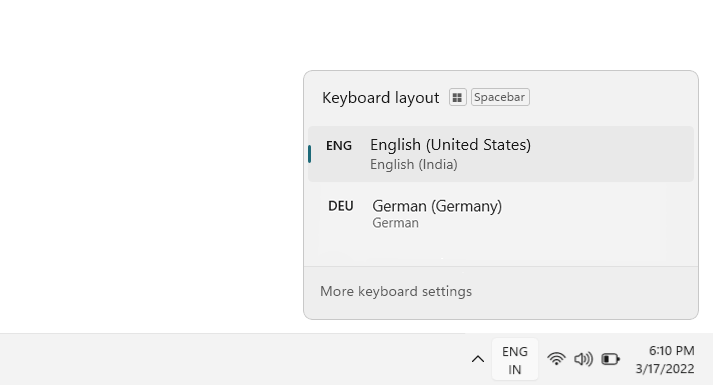
You can also try pressing and holding the Windows key on your keyboard and then pressing the spacebar to change the language.