
Mouse Pointers are always present on your screen but sometimes they can play hide and seek and be difficult to find.
It may be hiding at the edges of the screen or it’s hidden because Windows hides it while entering text or playing a video. This situation is more common in high resolution displays and monitors. The inability to quickly locate the pointer can sometimes become annoying as you feel like an idiot not able to find a puny mouse pointer.
In Windows 10 you can make the mouse pointer bigger, activate pointer shadows, show pointer trails and use the Ctrl Key to reveal the pointer location.
Activate Find Mouse Pointer with Ctrl Key
Windows makes it easier to quickly find the mouse pointer using the Ctrl Key. This feature is a continuation from the previous versions of Windows and has been retained in Windows 10. You press the Ctrl Key on your keyboard and your mouse pointer would reveal its location by showing a small beacon animation.

To activate this setting you have to open the Mouse properties from the Control Panel. Follow the steps below.
Step 1
Open the File Explorer and type the following address in the address bar at the top and hit Enter key.
Control Panel\All Control Panel Items\Mouse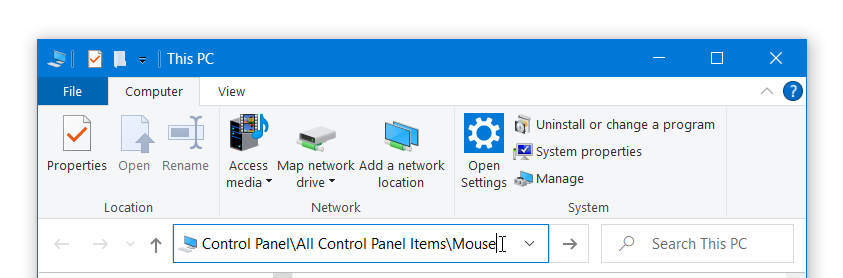
This would open the Mouse Properties window.
Step 2
In Mouse Properties select the Pointer Options tab.
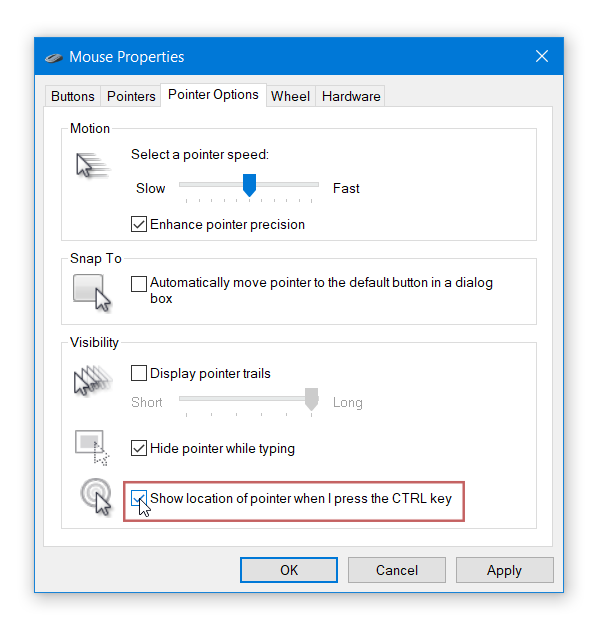
In the pointer option tab tick the check box with ‘Show location of pointer when I press the CTRL key’.
Activate Pointer Trails
You can activate pointer trails which would make the pointer more visible if you find it difficult to discern the mouse movements on screen. The pointer trails would enable a trail of arrows which would follow the mouse pointer. This makes it easier to spot and find the pointer on your screen.
To activate the Pointer trails Open the Mouse Properties.
Step 1
Open the File Explorer and enter the following path in the address bar and hit enter.
Control Panel\All Control Panel Items\MouseAlternatively You can Go to Start > Settings > Devices and Select Mouse. In the Mouse Settings page click on Additional Mouse Options.
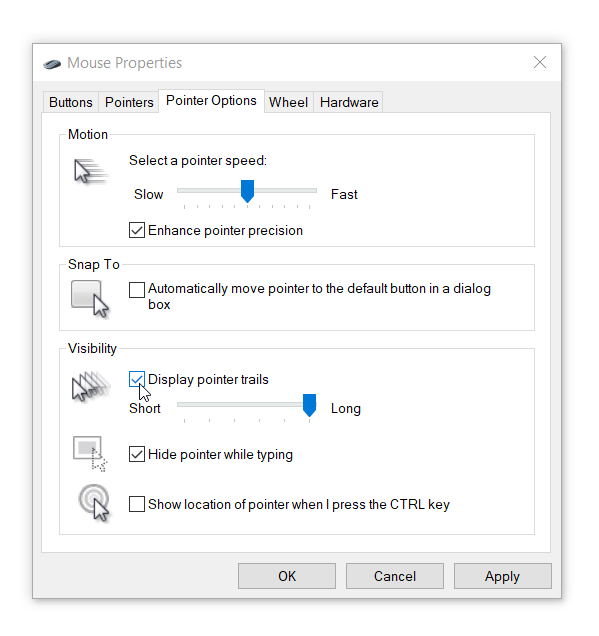
Step 2

In the Mouse Properties window select the Pointer Options tab and tick the check box next to ‘Display Pointer trails’.
Change the Pointer Size and Color
Windows 10 lets you choose the color and size of your mouse pointer.
To open the Pointer Settings, Go to Start button, then select Settings > Ease of Access > Mouse Pointer

You can set the pointer size to a value between 1 to 15 with 1 being the default value.
You can change the pointer color to black from the default white or can choose a custom color.
You can also choose an inverted color mouse pointer, which would make the pointer see through with the pointer appearing in inverted colors of the underlying element.
Change the Pointer Speed
A fast moving pointer can be difficult to find and control. You can slow the pointer speed to make it easier to control. To open the Mouse Pointer settings;
Open the File Explorer and type the following address in the address bar at the top and hit enter.
Control Panel\All Control Panel Items\MouseAlternatively, You can Go to Start > Settings > Devices and Select Mouse. In the Mouse Settings page click on Additional Mouse Options.
In the Mouse Properties Window, Select the Pointer Option Tab. In Pointer Options Tab; Under Motion you can change the pointer speed.
Also, ensure that the pointer precision check box is ticked.
Enable Pointer Shadow
Windows 10 default mouse setting doesn’t have mouse shadow enabled. You can enable it from Pointer properties.
Step 1
Open the File Explorer and type the following address in the address bar at the top and hit enter.
Control Panel\All Control Panel Items\Mouse
Step 2
In Mouse Properties select the Pointers tab and then tick the Enable Pointer Shadow checkbox.

This would enable pointer shadow which would slightly improve its visibility.