
There are many different ways of dividing, cutting or trimming shapes in illustrator which can be confusing at first to most of the beginners. A shape in illustrator is composed of paths. So, a square or a rectangle shape in illustrator is basically a closed path with 4 anchor points at the corners.
When you edit a shape in illustrator you are editing the path information of that shape. That’s why when you use the eraser tool in illustrator it is essentially editing or deleting the path and not the pixels, whereas a raster graphic software like Photoshop works on the pixel level.
In Illustrator, we use tools as well as shapes or paths to cut and divide other shapes. If you want to divide a square into 4 smaller squares of equal size, then you can use the Knife tool to make a horizontal and a vertical cut.
However, the knife tool cuts along the freehand path you draw. So, in order to cut in a straight line you would have to press and hold Shift + Alt keys and you also have to ensure that you’re making the cuts through the center of the square.

You may or may not get the desired result by using the knife tool but, there are other methods which would give you more accurate and precise results.
How to Split a Shape into Grid in Illustrator?
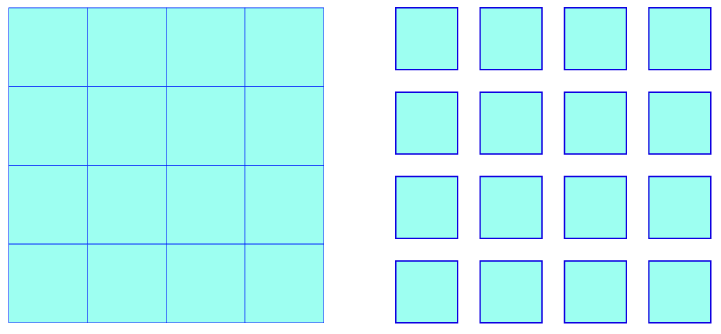
To Split a square or rectangle into rows and columns like a table, you can use the Split into Grid function.
First, Select the square shape with the Selection Tool (V). Then, Go to Object > Path > Split into Grid.

In the Split into Grid dialog, you can enter the number of rows and number of columns to divide the square. If you want gaps between the rows and columns, then enter the value for Gutter in pixels. Click on OK to split the shape.
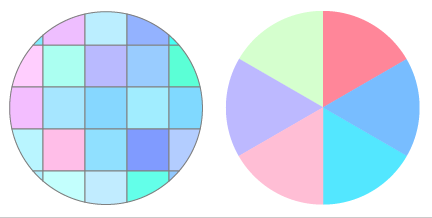
However, Split into Grid won’t work on circles or polygons like hexagons or octagons or other irregular shapes. If you want to split a circle, like the images given below, then you would have to split it using the pathfinder tool.
Split a shape using the Pathfinder Tool
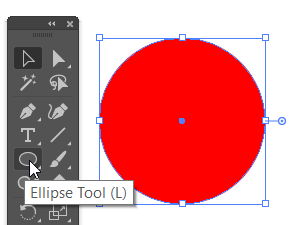
Create a circle using the Ellipse tool (L). Press and hold the Shift key while drawing the circle. Give it any color.
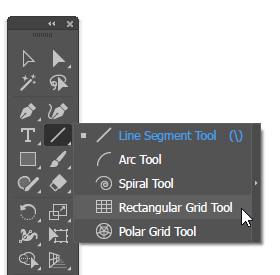
Then, Select the Rectangular grid tool from the toolbar.
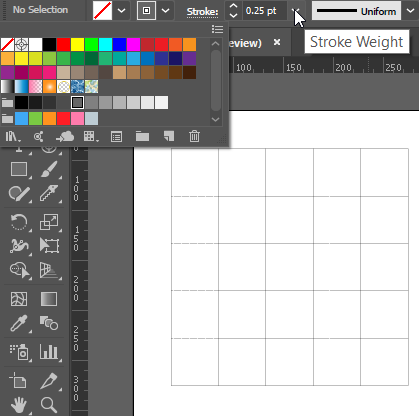
Create the rectangular grid shape by pressing and holding the Shift key. Give it a 0.25pt Stroke weight and choose a stroke color.
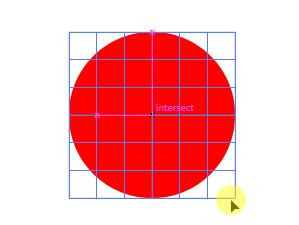
Place the grid above the circle such that their centers intersect with each other. You can resize the grid shape if it’s bigger than the circle. Just press and hold Shift key while resizing.
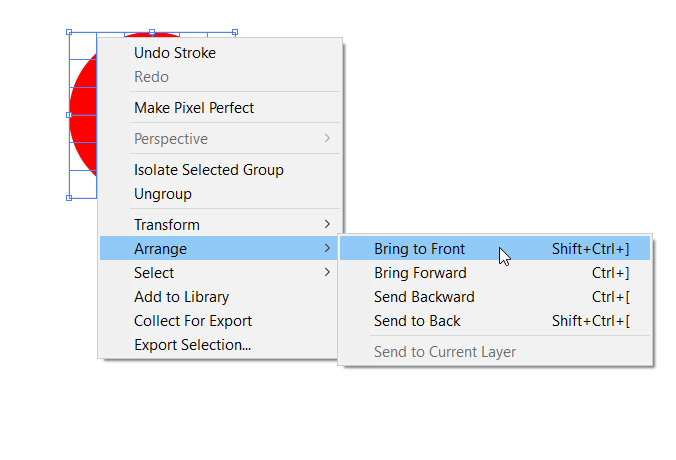
Then select the Rectangular grid shape with the selection tool(v) and right click on it and select Arrange > Bring to Front.
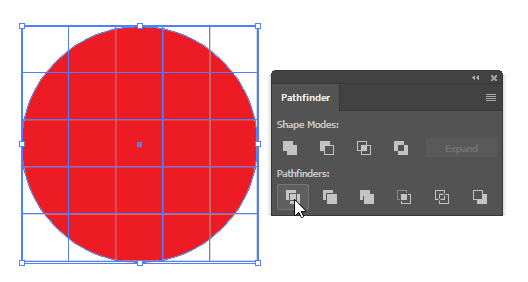
Select Both the circle and the Rectangular grid shape with the Selection tool(V). Now Go to Window > Pathfinder to open the pathfinder palette and click on the Divide tool.
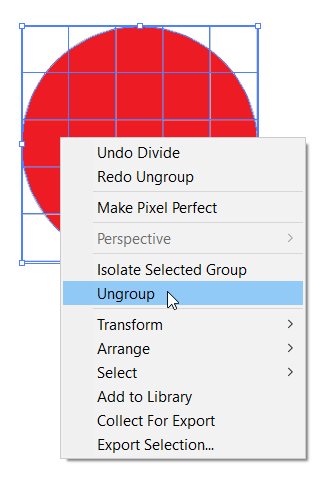
Now, Right Click on the circle and select Ungroup, to make the divided circle grid editable.
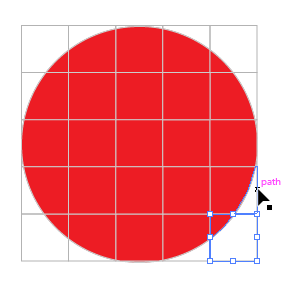
You can delete the shapes at the edges of the circle by selecting them with the selection tool(V) and pressing Del key.
The individual squares within the circle have their own path information. You can edit them individually, change their color or other attributes.
The same method can be used to split other shapes like hexagons, and other complex and irregular polygons into square grids.
If you want to divide a circle like a pie chart or pizza crust then use the rotate tool to create the path and then use the Pathfinder to divide the circle using this path. The steps are explained below in detail.
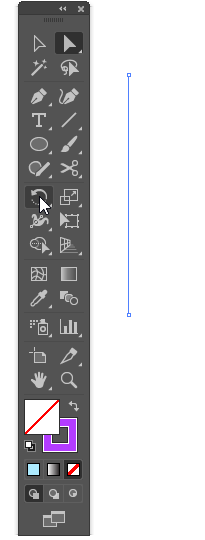
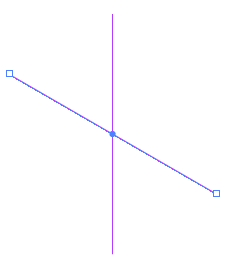
Create a vertical line using the Line Segment tool(\).
Set the stroke weight to 0.25pt and the color to grey.
Select the Line Segment you just created using the Selection tool (V) and then double click the Rotate Tool (R) in the toolbar.
In the Rotate Dialog enter the value for the angle. If you want to divide the circle in 6 equal pieces then you can calculate the angle by dividing 360° by 6 which would give us an angle of 60° . If you want 9 equal shapes then the angle would be 360°÷9 = 40°.
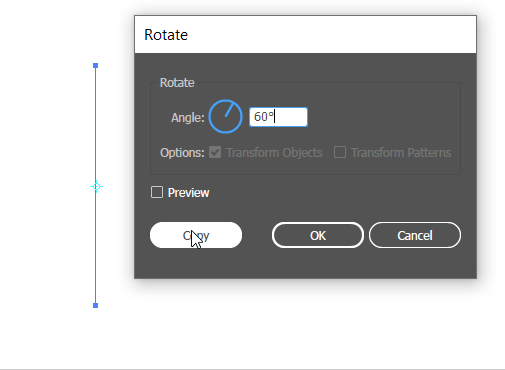
Enter the desired angle and then click on Copy (Do not click on OK), to make a copy of the line which would be rotated by 60° in the counterclockwise direction.
Press Ctrl + D to duplicate and rotate the line again. Select the entire shape with the Selection Tool (V) and then go to, Object > Group.
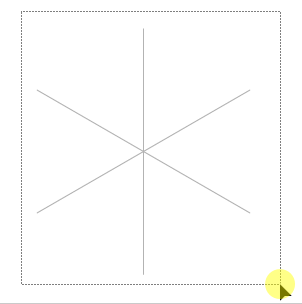
This would create our shape which we will use to divide the circle.
Place this shape above the circle such that its center intersects with the center of the circle. Now Go to Window > Pathfinder to open the pathfinder palette and click on the Divide tool.
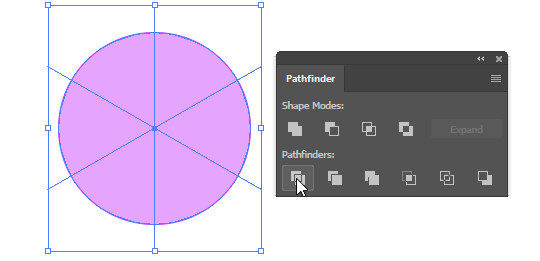
Ungroup the resultant shape by right clicking it and selecting Ungroup. Now, You can edit the divided segments of the circle.
You can also use the Polar Grid Tool to divide a circle into a polar grid using the method described above.
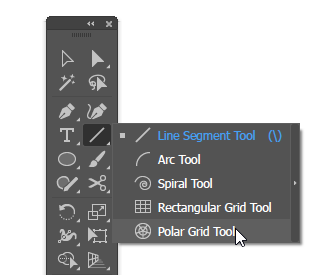
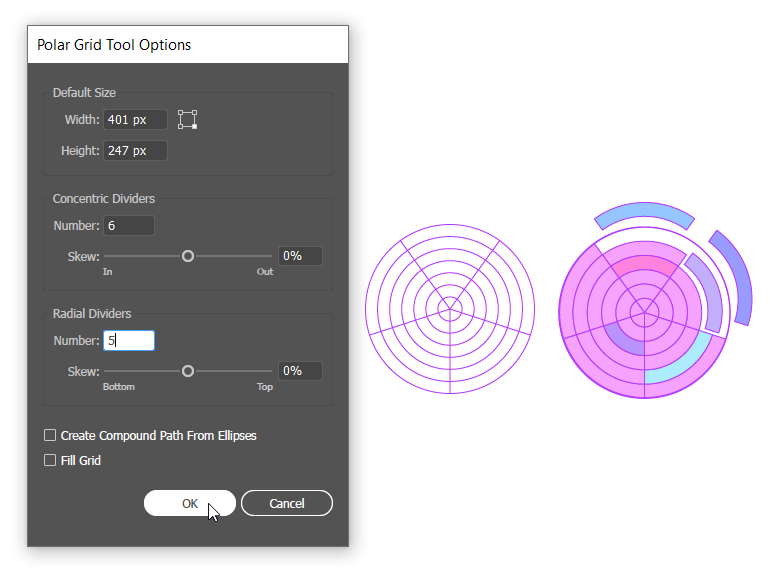
Double Click the Polar Grid tool to customize it. Enter the number of concentric circles and the number of radial dividers. Click on OK. Now, you can use this shape to divide a circle into a Polar Grid using the pathfinder tool.