Desktop icons rearranging, shifting from their positions on their own is a common problem in Windows 10 and 11 PCs especially after you connect an external display or monitor.
This can also happen due to numerous other reasons such as, different resolution or scaling on external display, corrupt user profile or icon cache.
If you are facing this issue in Windows 10 or 11 then you can use some of the fixes we list here to rectify this problem
Stop Themes from Changing Desktop Icons
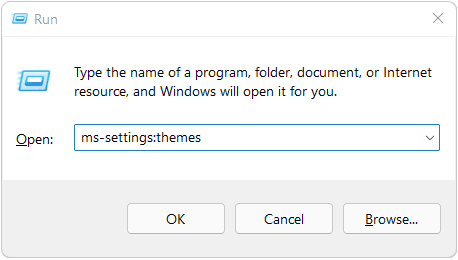
In Windows 10 & 11, Press the Windows + R shortcut key and then enter the following command in the Run dialog.
ms-settings:themes
In the Themes Settings window, look for “Desktop Icon Settings” under Related Settings. In Windows 10, the link for this setting would be available on the right side pane of the Themes window, listed under Related Settings.
In the Desktop Icons Settings window, uncheck the box labeled “Allow themes to change desktop icons”
This would prevent Theme changes from messing up your desktop icon layout, in the future.
Try Changing Scale and Layout Settings of the External Display
You can also try changing the Scale and Layout Settings that would apply specifically to the external display. This sometimes fixes the icons rearranging issue by lowering the scaling setting for the texts, icons, apps and other items on the external display.
To change this setting follow the steps given below. The Steps for both Windows 10 and 11 users are similar.
Step 1: Make sure that your external display is connected with an HDMI cable or Wi-Fi.
Step 2: Go to Start > Settings > System. Then select Display from the left pane. This should open the Display settings with your primary and secondary display marked ‘1‘ and ‘2‘ respectively.
If you don’t see the Display Setting page shown in the following screenshot; try disconnecting your HDMI cable and connecting it again.
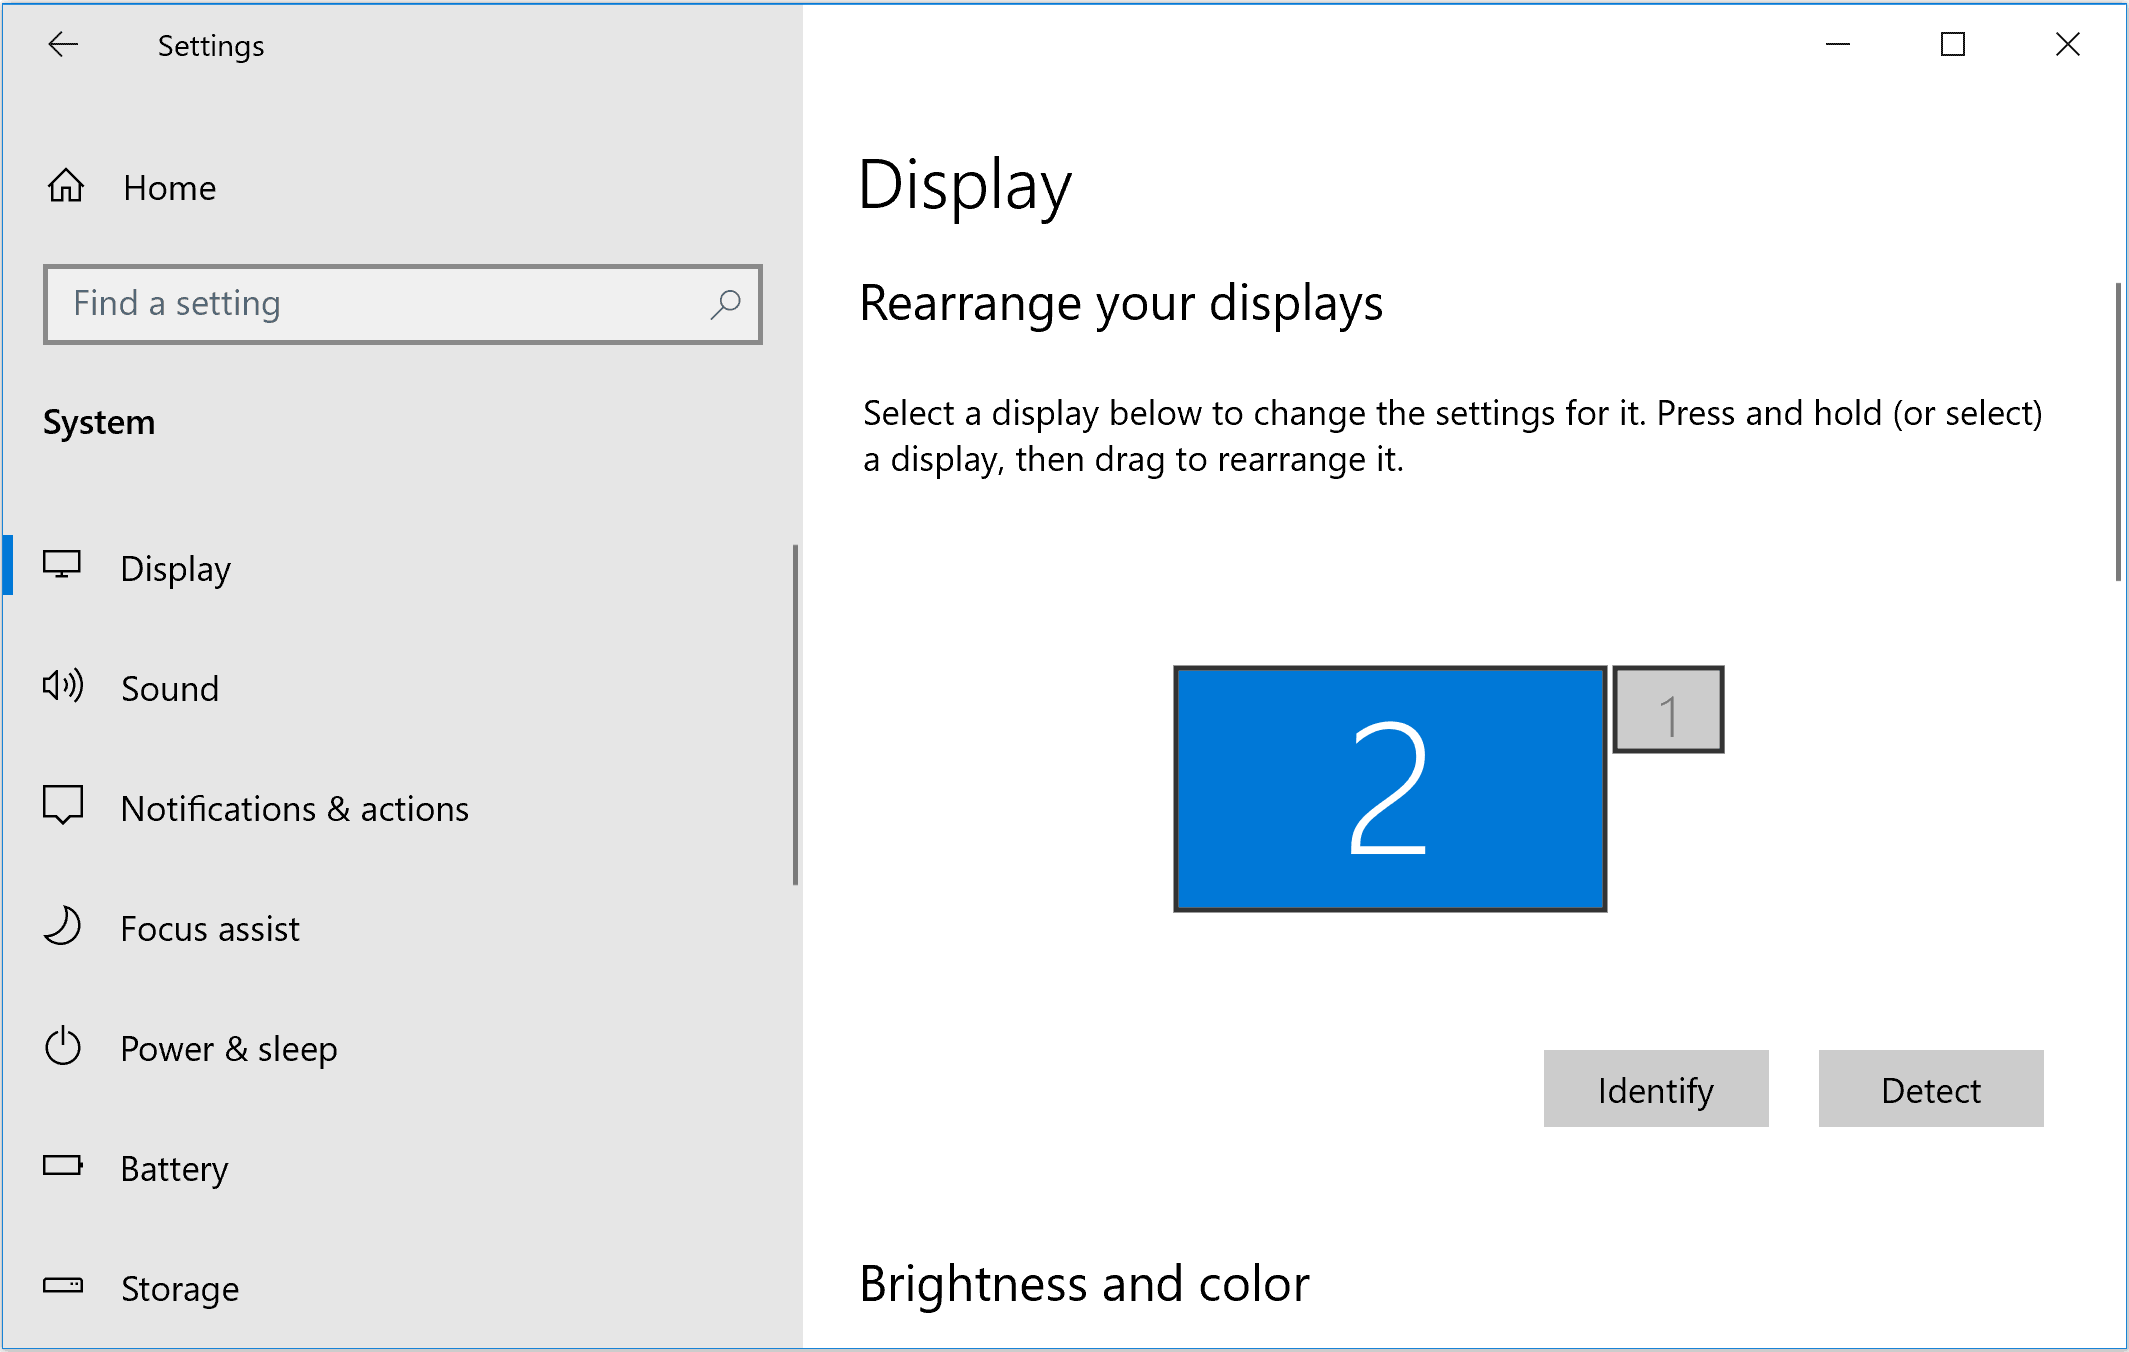
Select the external display by clicking on it, to change its setting. Its settings would appear below.
Go to Scale and Layout and click on the dropdown below the label “Change the size of text, apps and other items”.
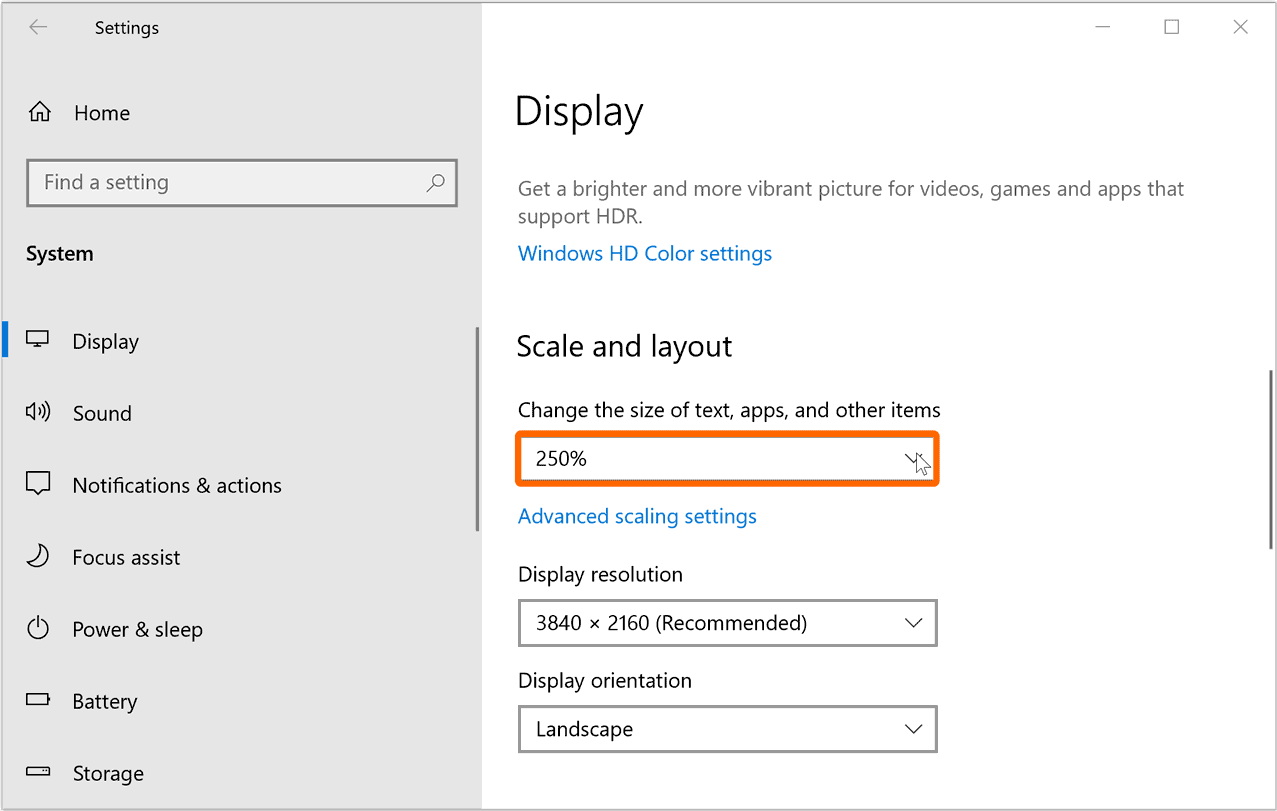
Select 250% or 225% or any scaling size below the one recommended by Windows. You will have to find and select the right Scaling setting by trial and error, which would also fix your icons rearranging issue.
Try Setting a Custom Scaling Size
Windows choses a default Scaling Size for your display depending on its native resolution and physical dimensions. For example, a 15 inch laptop display with an 1920 x 1080 resolution would have a default scaling of 125%.
A scaling size of 125% means that Windows would be digitally upscaling everything on your display so that the graphics and text are legible. Scaling is necessary on high pixel density screens like laptops because if Windows shows everything using the native resolution then a 720pixel wide image would take exactly 720 pixels on your screen, which would be too small for viewing. With a scaling factor of 125%, that photo would be 900 pixels wide despite its original resolution of 720 pixels.
How Does Scaling Effect Desktop Icons?
This scaling size is also applied to the icons and their positions on your desktop. However, when you connect an external display; Windows would choose a scaling size of either 100% or less than the one set on your laptop computer because big screens don’t require scaling to be legible. But, this also means; your icons may move and change their position automatically as Windows scales them down.
To fix this, you can set a Custom scaling size which would remain the same for both your main and secondary display. It won’t be changed by Windows whenever you connect an external display. This would lead to your icons staying in place the way you see them on your laptop.
However, you should keep in mind that this leads to your laptop screen and your external display being rendered with the same custom scaling size set by you. In simple terms, everything on your external display would appear slightly bigger as Windows is forcing your external display to scale to 125% instead of 100%.
Set Custom Scaling in Windows 10
To set the custom scaling in Windows 10 you can do the following,
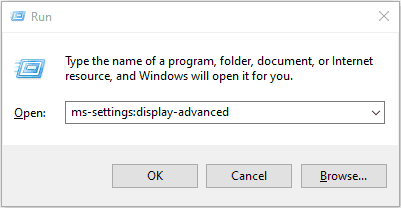
Press the Windows + R shortcut key and then type the following command in the Run dialog.
ms-settings:display-advanced
In Windows 10, this command would open the following page. Look for Custom Scaling and enter 120 in the text box and click on the Apply button. Windows may require you to Sign out and login again for this setting change to take effect.
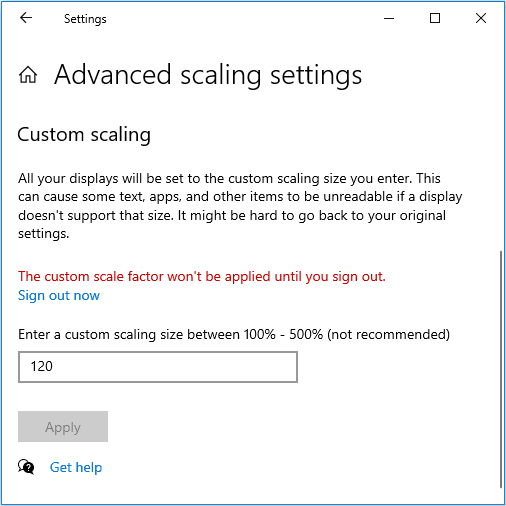
Click on the Sign out now button to sign out and then login again to enable Custom Scaling.
On enabling Custom Scaling, Windows would mess up the layout of your desktop icons. You will have to Rearrange them just once, but after that the desktop icon layout would not change randomly when you connect any external display.
Set Custom Scaling in Windows 11
Press the Windows + R shortcut Key and then type the following command in the run dialog.
ms-settings:display-advanced
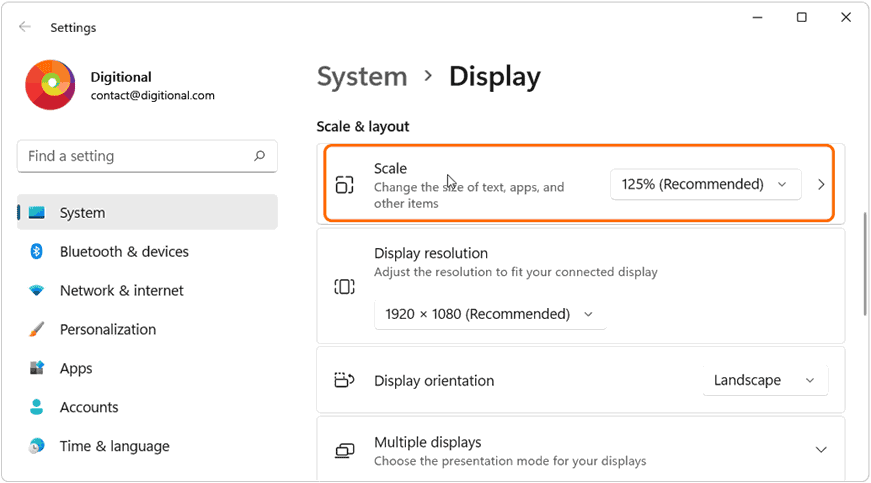
This will open the System > Display window in the Settings app. In this window, click on Scale under ‘Scale & Layout’.
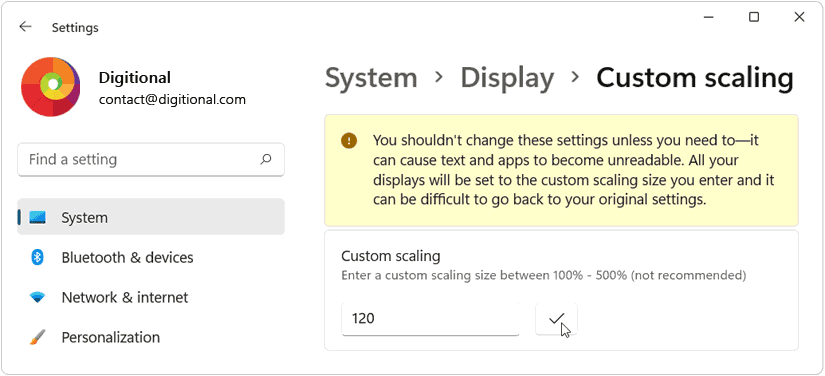
In the System > Display > Custom Scaling window, Enter 120% in the textbox next to Custom Scaling and click on the ✓ check mark button next to it.
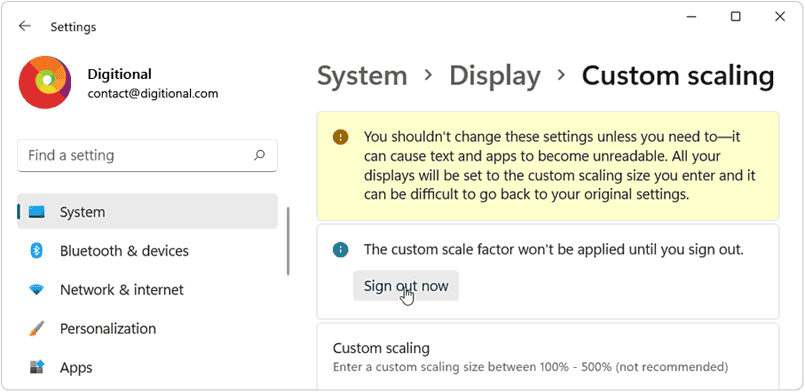
Windows would then display the “The custom scale factor won’t be applied until you sign out” message with the ‘Sign out now’ button. Click on this button to Sign out of Windows and then login again.
NOTE: You may see an alert message warning you to avoid setting a custom scaling. Windows shows this message because setting any value close to 100% may make text on your laptop’s main display too small. However, this workaround requires you to enable custom scaling. Just make sure to chose a value between 110% and 125%.
You have now, set a custom scaling of 120% which would remain fixed for both your laptop and every secondary display you connect to your PC. Windows would not scale it down to 100% for external displays.
When custom scaling is active, you would see the “A custom scale factor is set” message in the System > Display settings window. It also gives you an option to “Turn off custom scaling and sign out”.
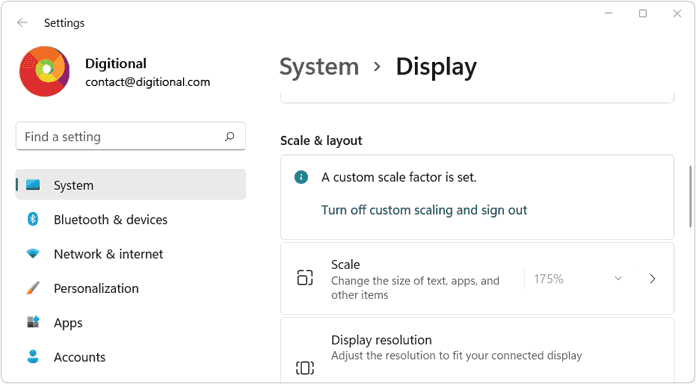
Clicking on this button would revert back to the default scaling of either 125% or the one recommended by Windows 11 for your display.
Install a Third Party App for Managing Desktop Icons
You can install third party freeware apps like DesktopOk from SoftwareOk.com. It would save the resolution of the connected display along with the layout of the desktop icons, by date and time. It would help you to restore the position when you disconnect or switch the display.
NOTE: However, keep in mind that this is not a sponsored recommendation and it’s totally up to you to trust/not trust the app or its owner. We didn’t find any safety/security issue on our usage of this app, however, we cannot be held responsible for any issue caused to you by your usage of this app.
Try Clearing Icon Cache
Windows maintains a database which contains thumbnails, generated for the files on your computer. If this database is corrupt or too large then it may cause icon rendering and layout shift issue.
You can try clearing the Icon Cache to fix this issue. The detailed instructions are given in the following link.
How to Reset & Rebuild the Icon Cache in Windows 11 & 10
Try disabling Align To Grid and Auto Arrange
You can try this to automatically align your icons if their layout has been messed up, however, this is not a permanent fix for this issue.
Right Click on your desktop and then select View. Then Uncheck Align Icons to Grid. You can also try Unchecking Auto Arrange icons. This may fix the icon issue temporarily.
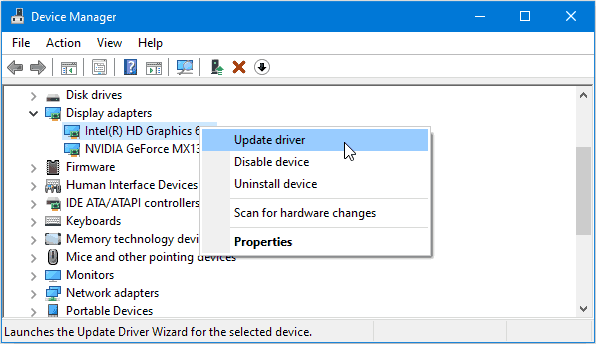
Update Display Drivers
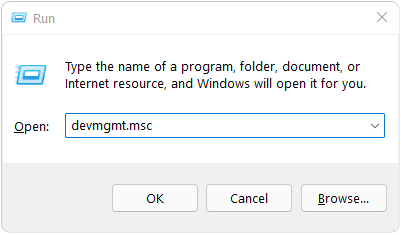
To update the display drivers press the Windows + R shortcut and then type the following command in the Run dialog and hit Enter.
devmgmt.msc
Expand Display adapters and right click on the Graphic Cards and select Update Drivers.
We hope, these steps helped you to fix the icon shifting issue in windows.