Ubuntu is a Linux based operating system or distribution from Canonical Ltd. and is free to use for individual users. Ubuntu is perhaps the most popular Linux based operating system which sometimes comes stock installed on PC’s which don’t have a Windows OS license.
It has a graphical user interface like Windows; is easier to use and comes preinstalled with most of the basic software like audio/video players for running media files and with basic word processing software. It also offers the best hardware compatibility compared to other Linux distros and would automatically install third party drivers, if needed.
Moreover, you don’t need to replace your current operating system for trying Ubuntu. You can make a bootable USB Flash drive which can be plugged into any computer which already has Windows or any other OS installed.
Ubuntu would boot from the USB and run like a normal operating system. You would be able to run all the software and utilities and access your files on the hard drive. Remove the Ubuntu flash drive, after turning off your computer and you can then continue again with your installed OS.
What’s a Bootable Ubuntu USB stick?
With, a bootable Ubuntu USB Flash drive you can
- Run Ubuntu and test out the Ubuntu Desktop Experience without making any changes to your PC’s configuration or hard drive.
- You can use it to install Ubuntu on a clean PC or to replace the existing OS with Ubuntu.
- You can use it to repair, fix, upgrade a broken Ubuntu installation on a PC.
- You can use it to take backup of your personal data from a Windows PC which won’t boot due to a broken or corrupt operating system.
To make the bootable USB stick you will need the following
Ubuntu’s latest distro in the .iso file format. You can download it from the following link.
https://ubuntu.com/download/desktop
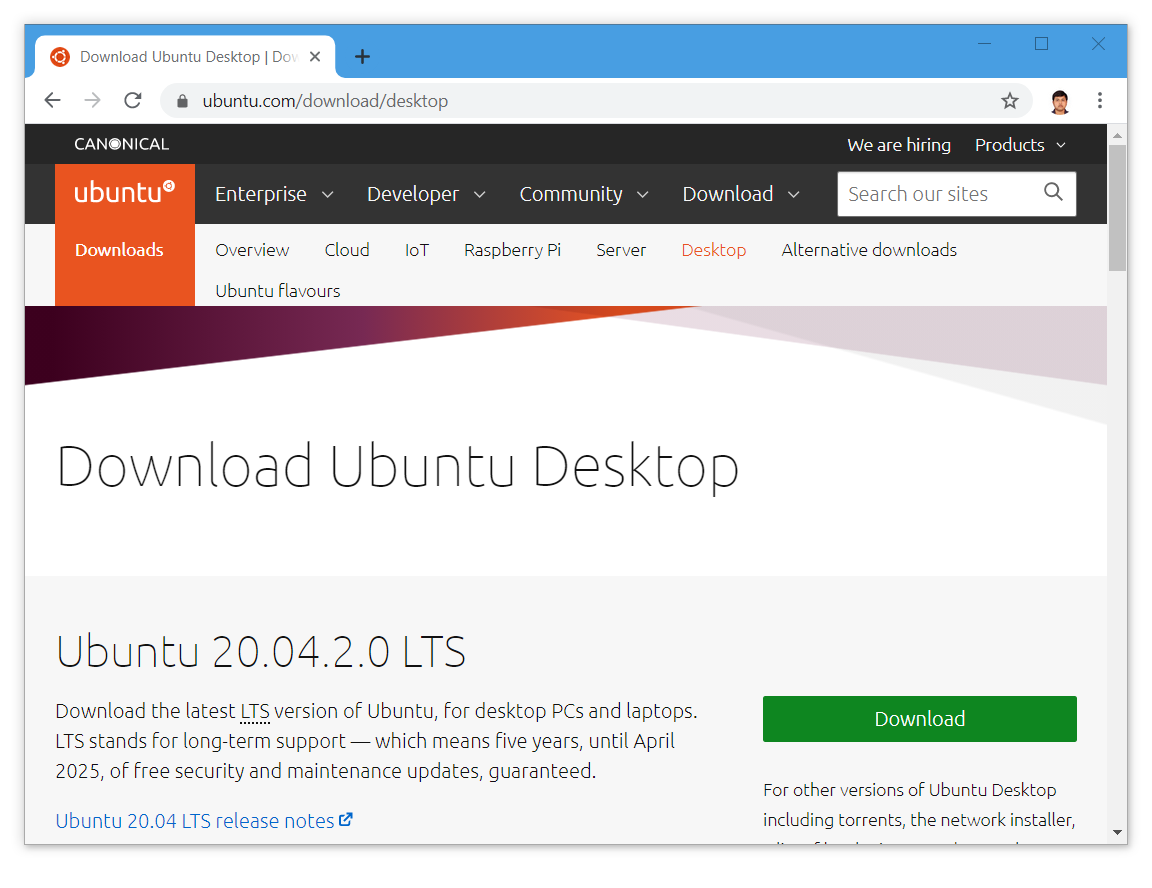
Download the latest version of Ubuntu with long term support. As of writing this tutorial Ubuntu 20.04.2.0 LTS is the latest version of Ubuntu for desktop PC’s. The size of the download is around 3GB. Save the .iso file after downloading.
You need a blank USB flash drive/stick with at least 4GB capacity. If you want to continue running Ubuntu from the USB flash drive, for a longer duration without installing it on your hard drive, then you should use an USB stick with higher capacity (8GB, recommended). Take a backup of any data from the Flash drive as it will be erased for writing the .iso file.
A USB stick writing software or tool would be needed to write the Ubuntu .iso file on to the USB stick and make it bootable. We will be using Rufus which is a standalone .exe file for creating bootable USB’s. It’s a perfectly safe application which is also recommended by Ubuntu’s official website.
You can download the standalone version from Rufus’s official page. The link is given below:
Click here to download it directly from its developer, Peter Batard’s Github page. You can take a look at the source code of the EXE file by visiting his Github page at the following link
https://github.com/pbatard/rufus
We would be creating the USB stick on an Windows 10 PC. This tutorial would assume that you are using a Windows PC with XP or later OS installed.
Steps to create the Bootable USB Stick
Step 1
Launch Rufus by double clicking the portable .exe file which you downloaded earlier. Insert the USB stick. The flash drive should be completely blank so, make sure that you have taken a backup of all the data from the USB stick before continuing.
Make sure that you don’t have any other USB sticks inserted in any of the ports apart from the one you intend to use.
Step 2
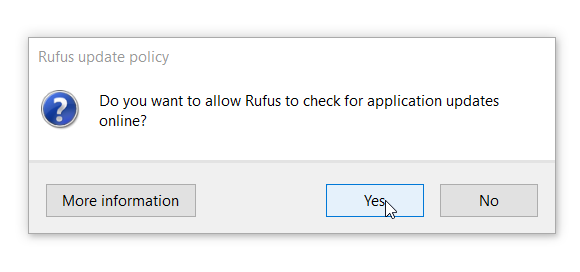
On starting it, Rufus may ask you to allow online updates. Click on either Yes or No.
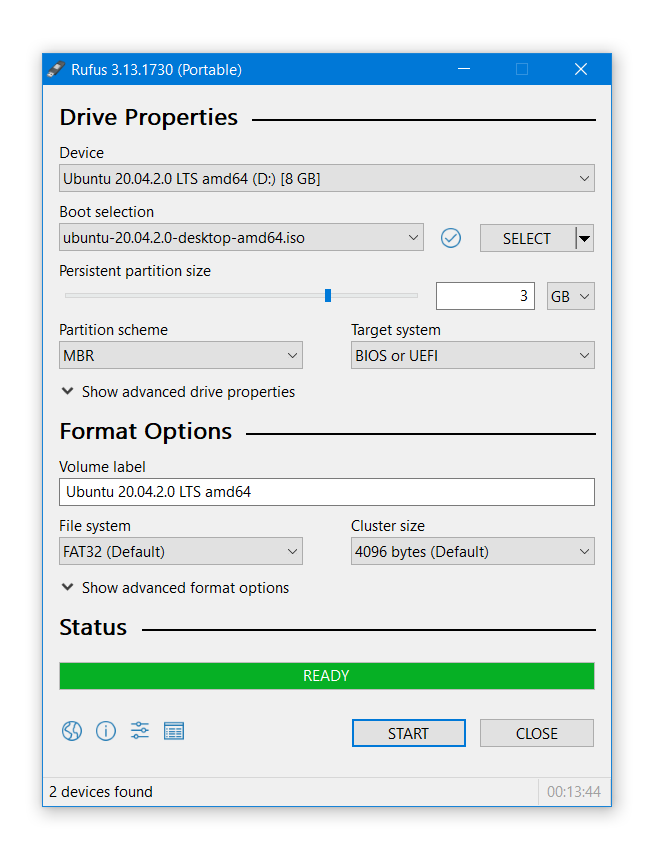
When the Rufus Window opens, it will show the connected USB stick under Device in Drive Properties.

The Boot Selection Dropdown would show Disk or ISO image (Please select). Click on SELECT and navigate to the Ubuntu .iso file which you downloaded earlier. Upon selecting the ISO file, Boot Selection dropdown should show its file name.
Step 3
Now, that we have selected the iso file, some new settings and options would appear. You can slide the Persistent partition size slider up to to 4 GB.
Persistent partition size is the space which would be allocated for saving any files which would be generated while Ubuntu is running from an USB stick, for instance, files downloaded from the internet or for saving any changes in settings or files.
If you don’t allocate this space then any files you create would be treated as temporary files and would be lost when you log off and disconnect the USB flash drive.
If you want Ubuntu to save all the changes you make, to the USB flash then make sure that Persistent partition size is set to, at least 1GB. You should use a flash drive with more than 4 GB of capacity, if you wish to create a bootable USB with a Persistent partition.
Step 4
For the Partition scheme select MBR.
For Target System select BIOS or UEFI.
Under, Format Options you can leave all the settings at default values. Make sure that File System is set to FAT32(Default)
Step 5
Check that all the settings are correct and click on the START button to start the writing process.
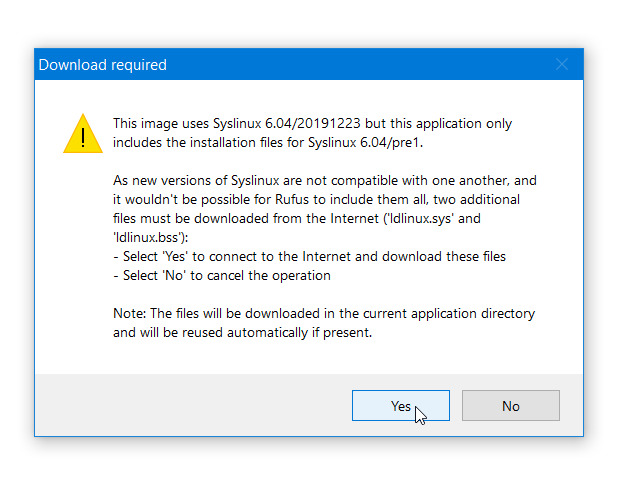
On clicking START Rufus may ask for your confirmation to download some additional Syslinux installation files from the internet. Click on Yes to allow the download.
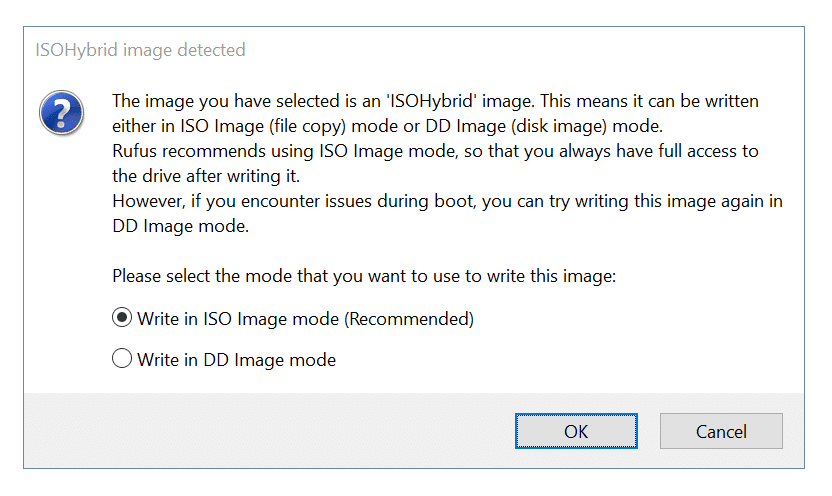
You might also get an ISOHybrid image detected message. Make sure that Write in ISO Image mode(Recommended) option is selected and then click on the OK.
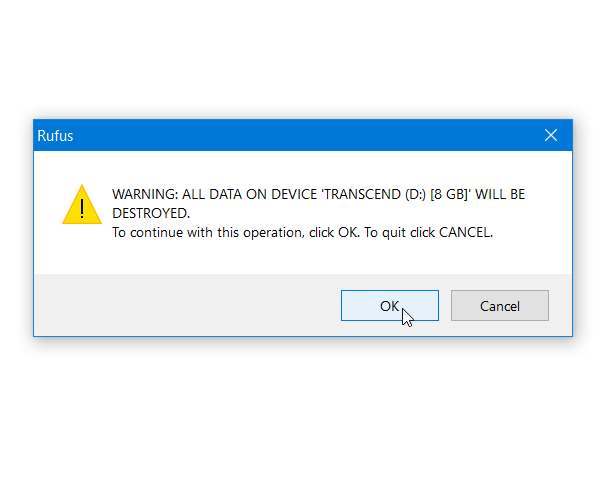
Finally, Rufus would give you a warning message, alerting you that all the data on your USB drive will be deleted or destroyed. Click on OK if you are sure about proceeding further.
Step 6
Rufus would format the USB drive and then it would start copying the ISO files. Rufus may take a few minutes to extract and write the ISO files to the USB and finally show the READY message on the progress bar.
Click on CLOSE to exit Rufus. Safely Eject your USB flash drive, which is now ready for running or installing Ubuntu.
How to run Ubuntu using this Bootable USB flash drive?
You can connect this bootable USB flash drive to any PC. Insert it before booting or switching On the system. Most PC’s would automatically boot from the USB and load Ubuntu, if they detect that a bootable USB is connected to the PC.
However, if your PC fails to boot from the USB then most probably you would have to change the boot priority aka the boot sequence in your system’s BIOS and set removable drive or USB drive as top priority.
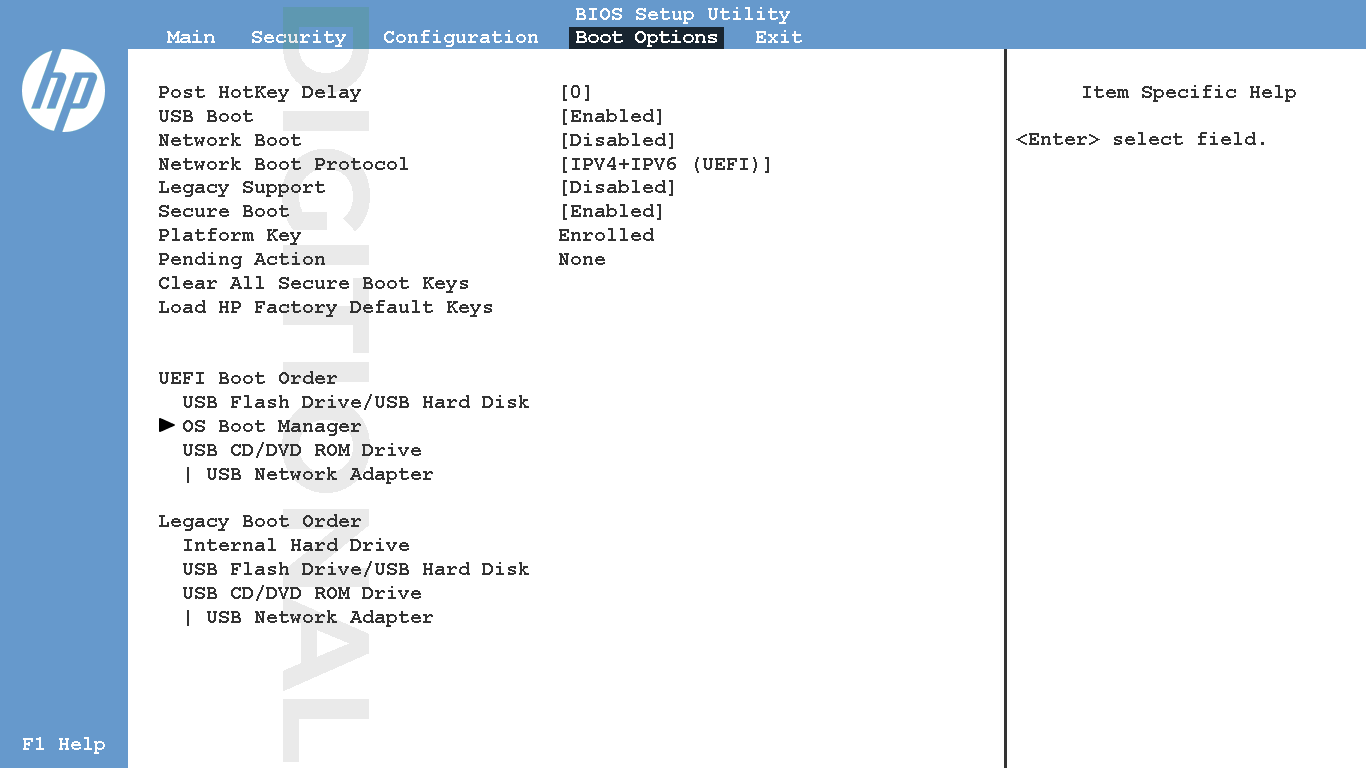
You can use DEL or F2 to access BIOS settings on most of the PCs or refer to your PC manufacturer’s website.
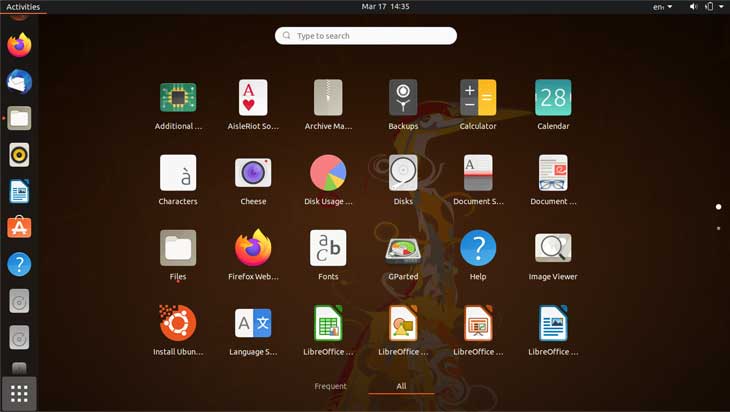
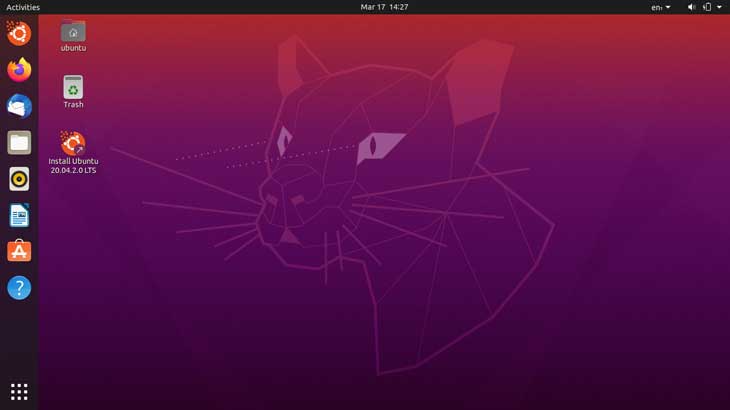
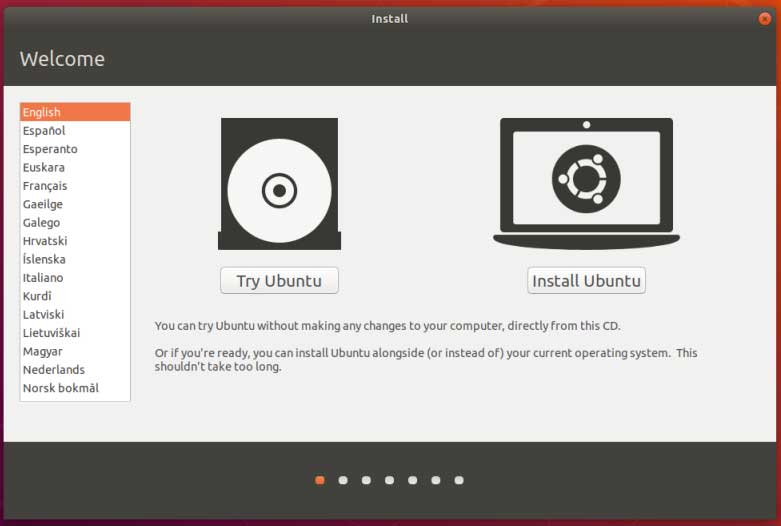
On successfully booting from the USB, Ubuntu would give you the option of either installing or trying Ubuntu. Select your preferred language and then click on Try Ubuntu to run Ubuntu without installing.
Do not remove the Flash drive and keep it connected while you are running Ubuntu. Ubuntu would ask you to remove the USB flash drive when you power off your PC.
Remove the Flash drive and power off your PC. On the next boot your PC would boot with your original OS.
This method of booting Ubuntu from an USB flash drive is best for trying it without installing. You can rest assure that, It won’t make any changes to your PC config or hard drive.
RELATED: How to Add or Replace Audio in Video Files using the Photos app in Windows 10
RELATED: How to Access your Phone’s WhatsApp from a Desktop Browser
RELATED: How to Invert Colors of Your Photos in Windows
RELATED: How to UnSend a Sent Email in Gmail and Outlook
RELATED: How to use the Start Menu’s Inbuilt Image Search in Windows 10