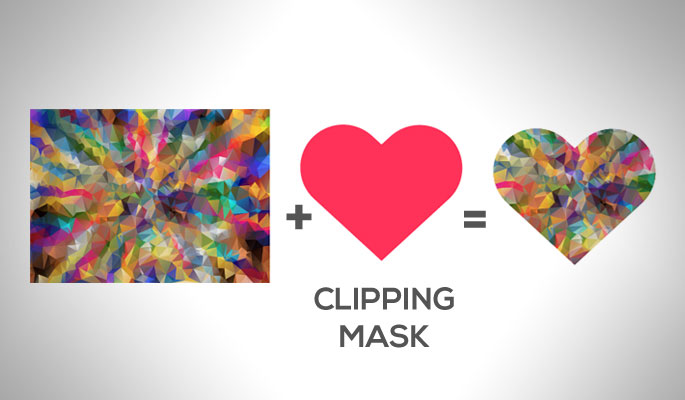
A clipping mask in Illustrator is a vector mask that masks the object or a group of objects which lay below it and just shows the area which is inside its boundary or path. Clipping masks allow you to easily hide the areas of an object or group of objects without actually editing or deleting the unwanted areas of that object or group. The following image would help you better understand what a clipping mask in Illustrator actually does.

You apply a clipping mask to an individual layer or group of vector artwork and the resultant artwork would have only those areas visible which are confined within the clipping mask’s path.
Achieving this without using a clipping mask is very difficult as you have to edit the individual layers to get the desired result but a clipping mask makes it a lot easier to accomplish. Moreover, the original artworks path information is preserved.
You can even release the clipping mask after applying it and make changes to the original artwork and even the clipping mask path can be edited and reapplied.
If you are new to Illustrator, then understanding how a clipping mask works can be a bit difficult at first but once you learn to use it, then it would become one of your most useful and essential tools.
How to Apply Clipping Masks in Illustrator?
Create your original art work. It can either be an individual object with a single layer or a group of object with multiple layers. It can also be a raster artwork like a jpg or png photo.
Select all the layers inside that artwork with the Selection Tool(V) and group them together by either selecting Group from the context menu or by pressing Ctrl +G or by Going to Object Menu and selecting Group.
Create a clipping mask or the path which would work as your clipping mask. A Clipping mask can only be a vector image or a vector path object. You cannot select a raster image (jpg, png images) as a clipping mask.
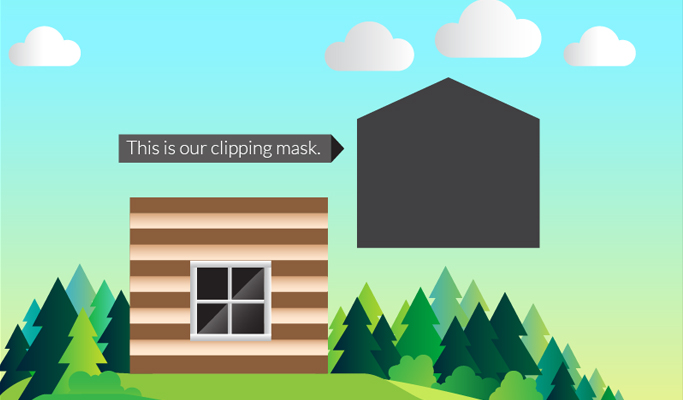
Place the clipping mask immediately above the original art work. If it’s not on the top then you can select Arrange-> Bring to Front from the Context Menu or can Press Shift+Ctrl+] to bring it at the top.

Now select the original artwork and then press and hold Shift and click on the clipping mask to select it. When both the artwork and clipping mask are selected, Go to context menu and select Make Clipping mask. Alternatively, you can Go to Object -> Clipping Mask -> Make

If you want to make changes to the original artwork or the clipping path then you can release the clipping mask. To release the clipping mask you can simply click on the artwork and select Release Clipping mask from the context menu.

After a clipping mask is released it looses its fill information and becomes transparent or invisible. If you are unable to find it then you can switch to outline mode to select the clipping mask after it is released. The keyboard shortcut for toggling between modes is, Command+Y (Mac) or Ctrl+Y (Windows).